Mark
-
Posts
792 -
Joined
-
Last visited
-
Days Won
12
Content Type
Profiles
Forums
Events
Blogs
Store
Downloads
Articles
Gallery
Classifieds
Everything posted by Mark
-
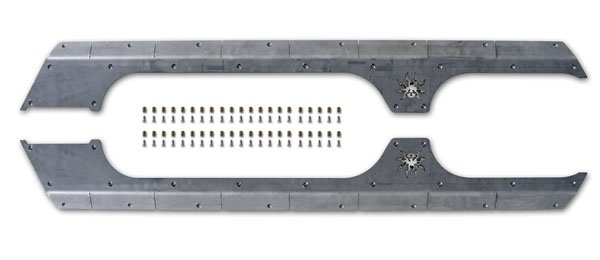
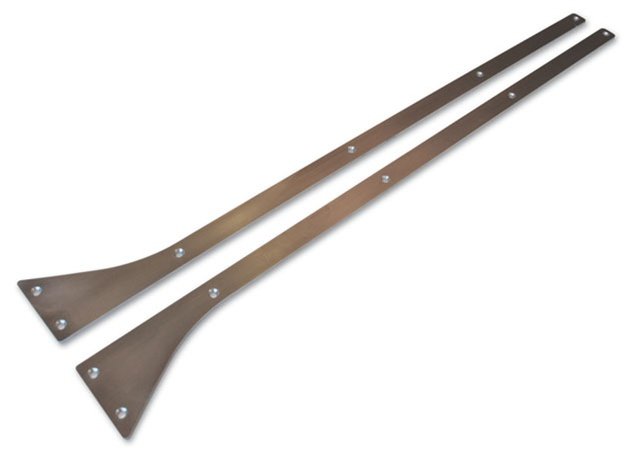
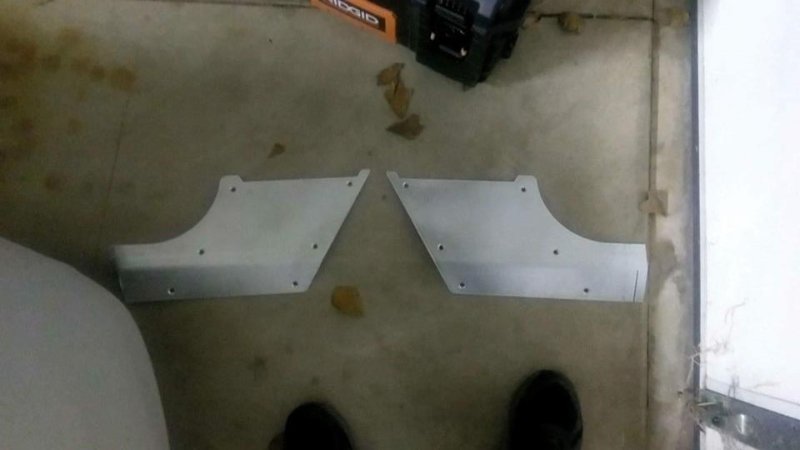
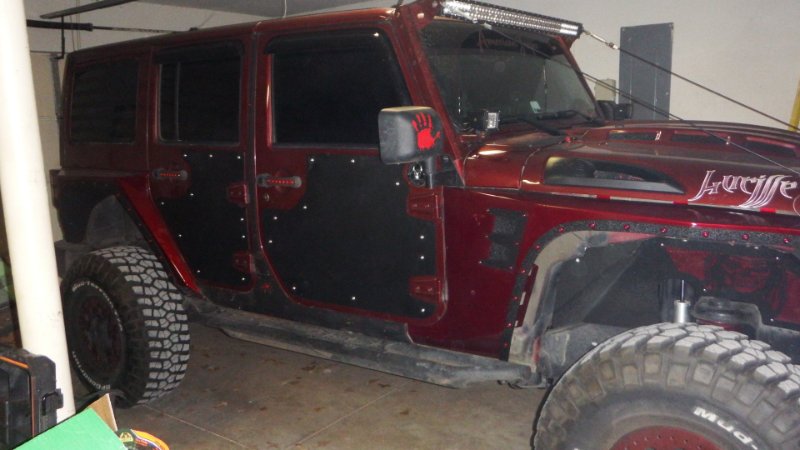
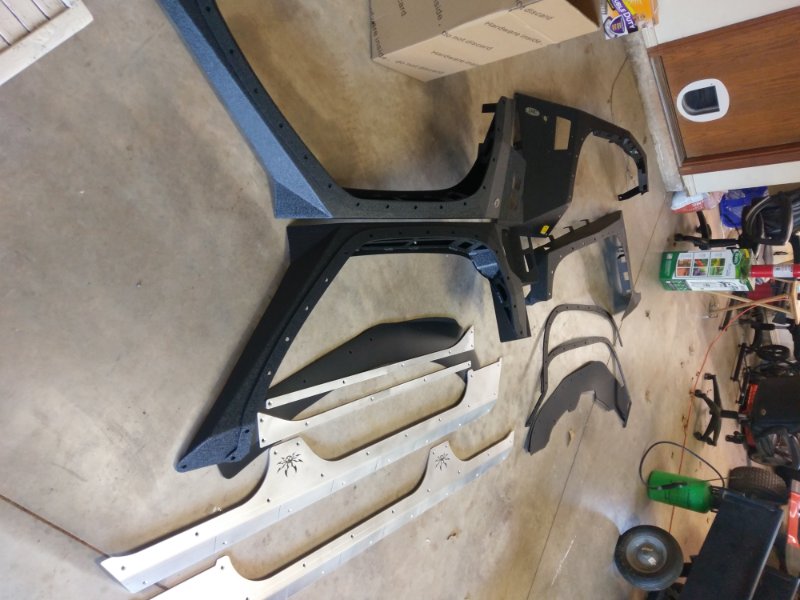
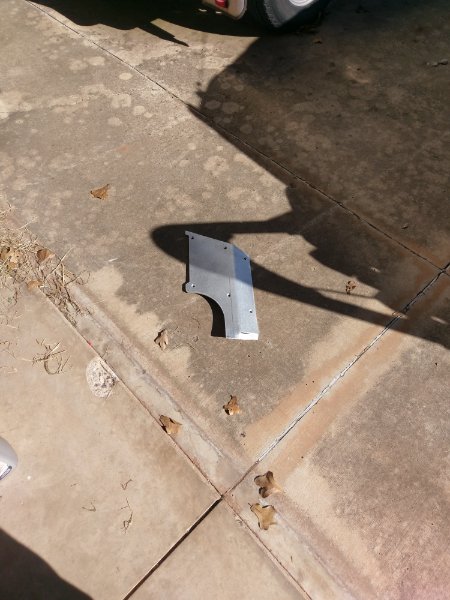
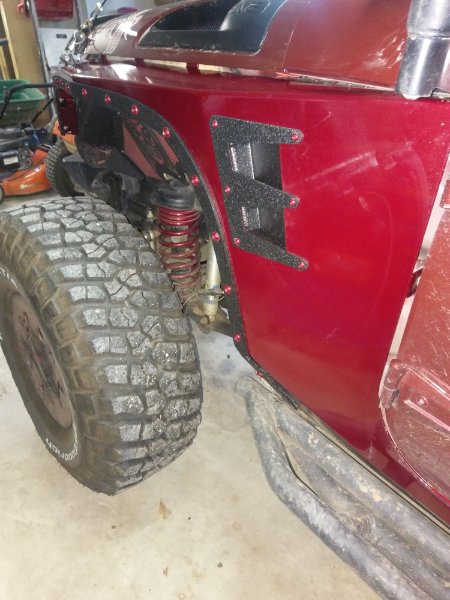
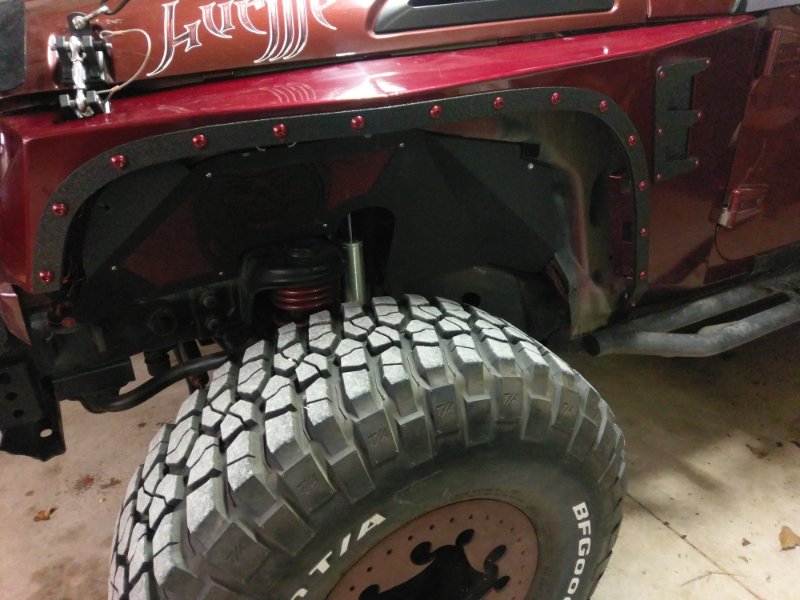
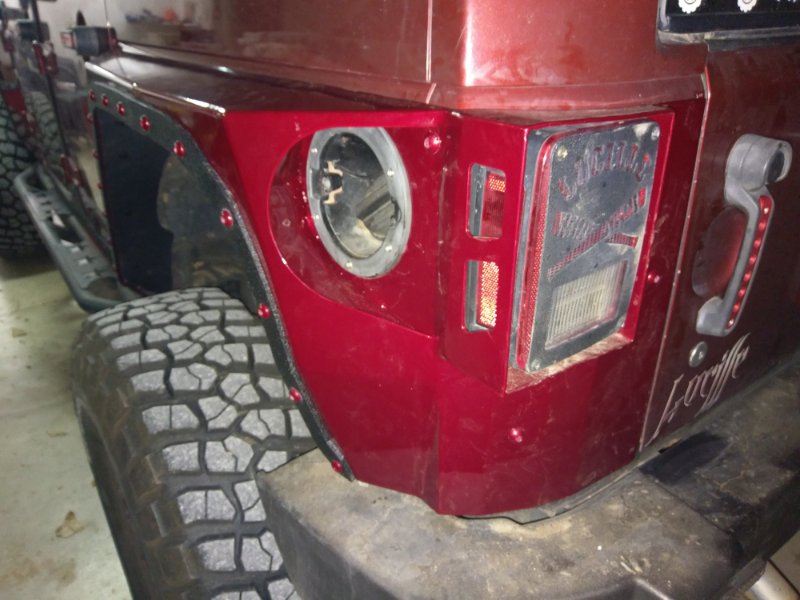
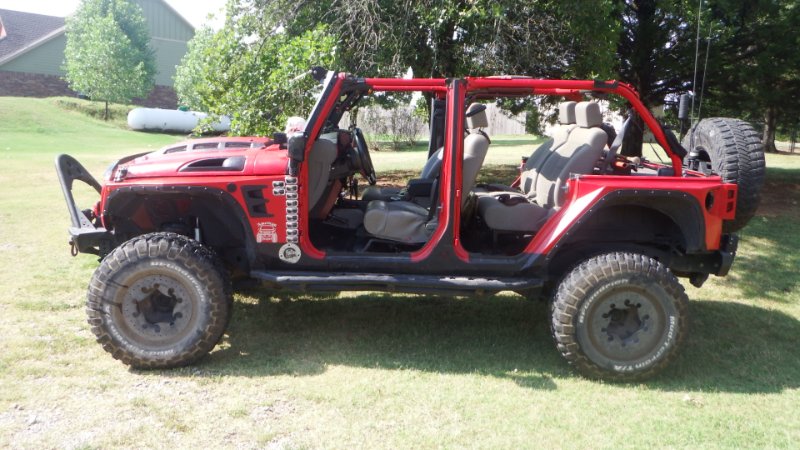
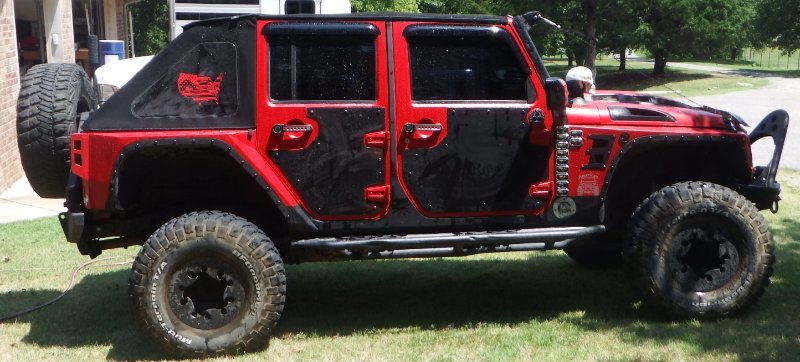
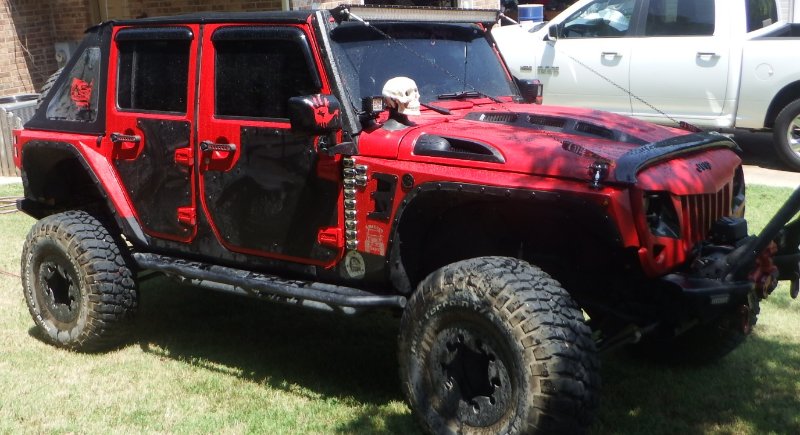
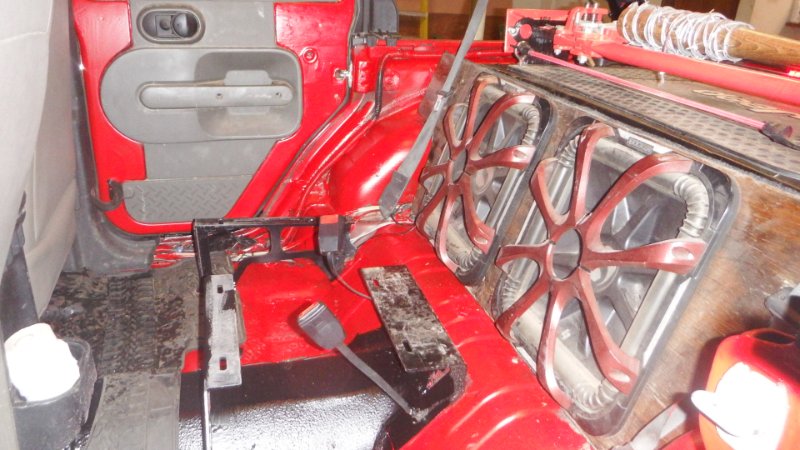
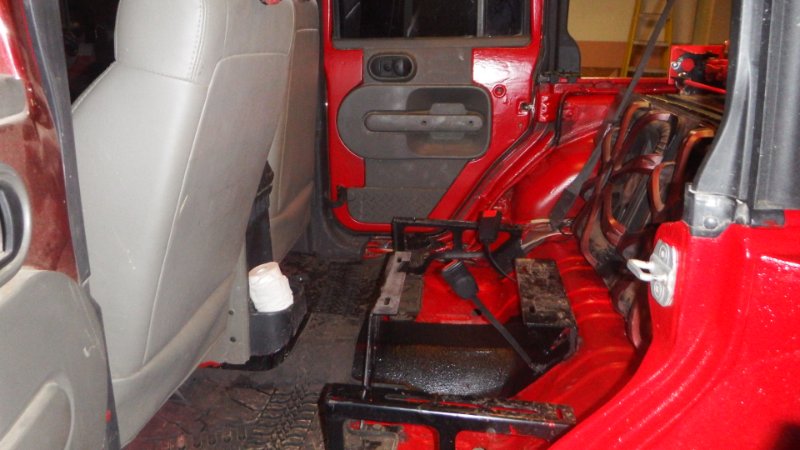
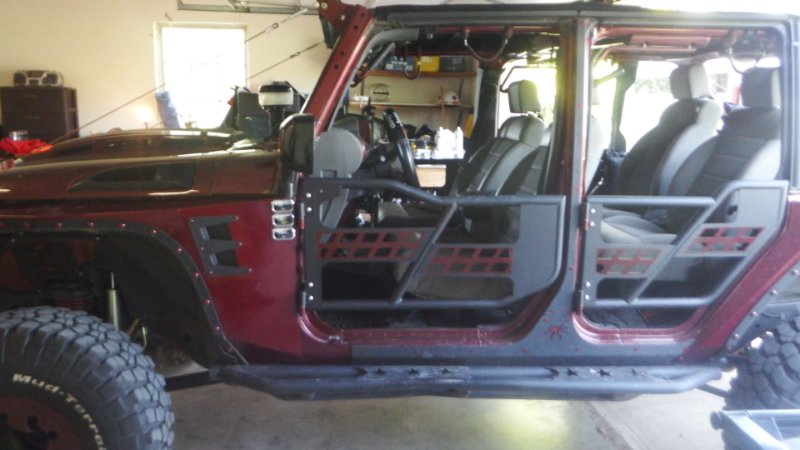
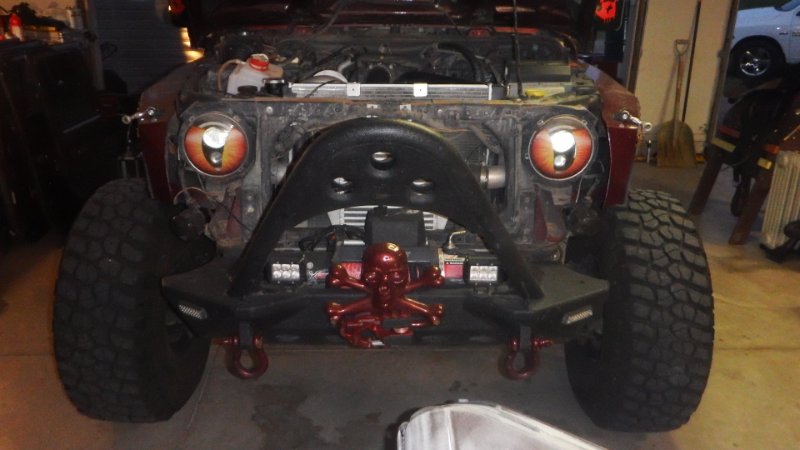
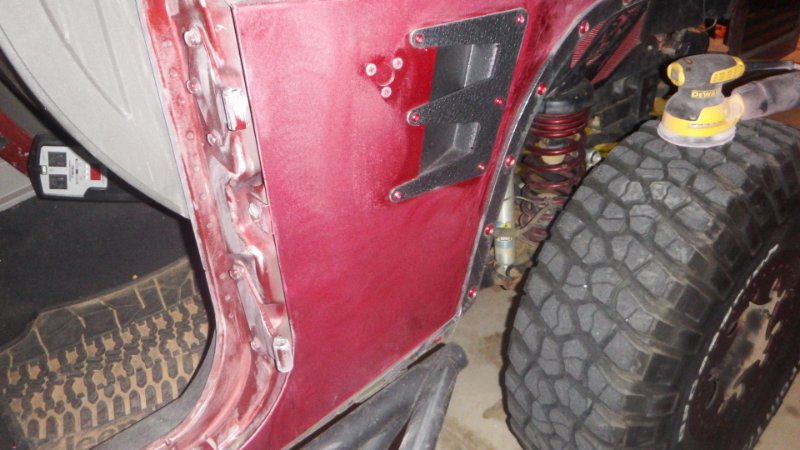
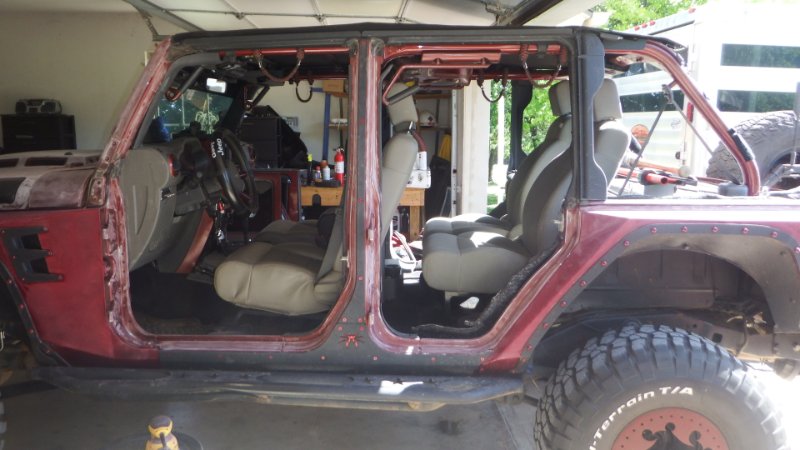
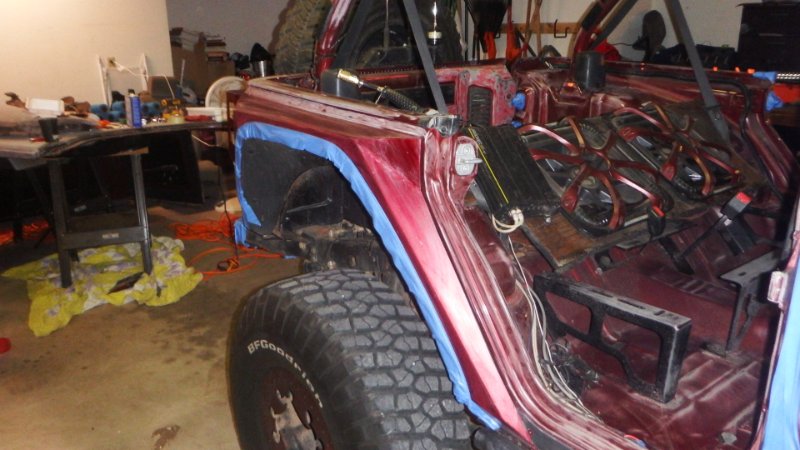
Then Scratches appeared as if over night almost... Well I decided I wanted some Bad ass Armor so I went XRC,,, Love the shit... except installation... I wouldnt care if I ever heard of Rivets and NutCerts Yep Nutt Inserts... or what we call Crush Nutts... Anyhow more pics...now... I had to cut off the Posion Spider side rails to match XRCs The right fender for example in XRC comes onto the side support for the bottom of the door where Posion spider includes up the fender frontwards see the two sections removed after a few measurements...

-
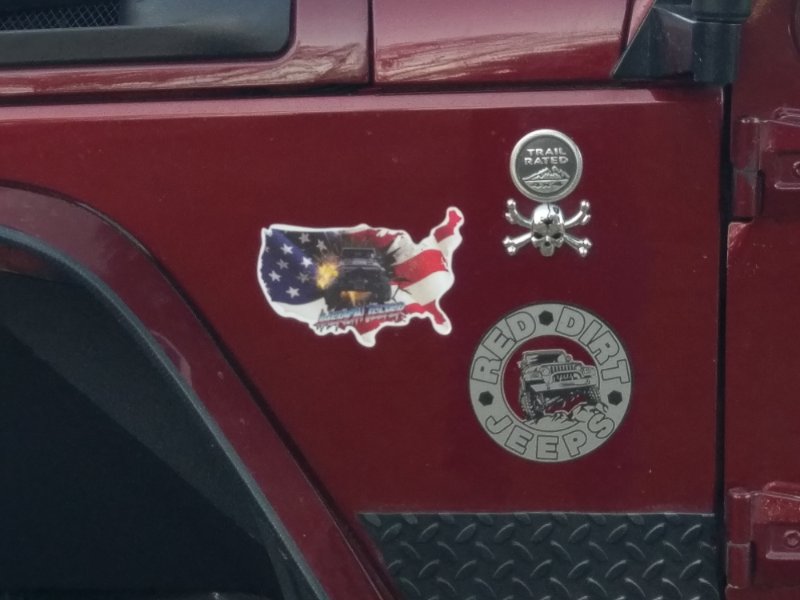
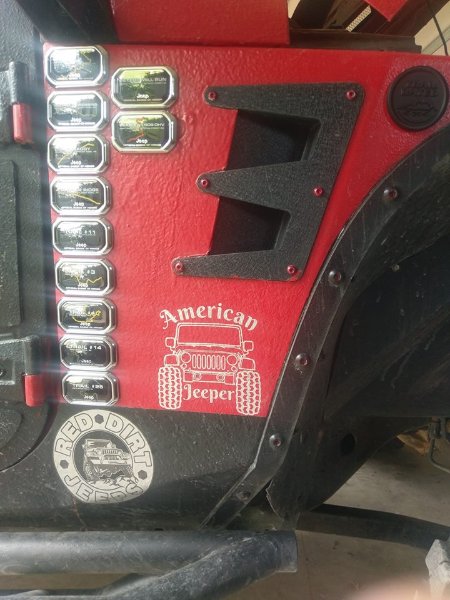
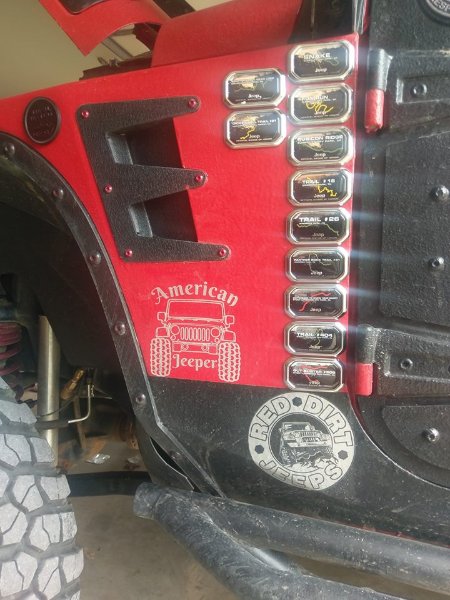
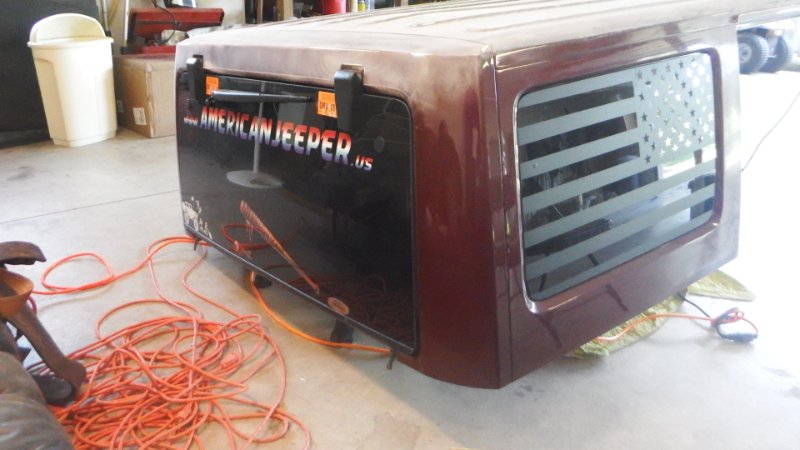
Then it downed on me... Maybe I had too Many Stickers... Wait what did I just say...? Is such a thing possible...I summarize Yes In fact it is and I did exactly that...
-
Here is what made the final cut in a 24 in instead of 36 as requested...
-
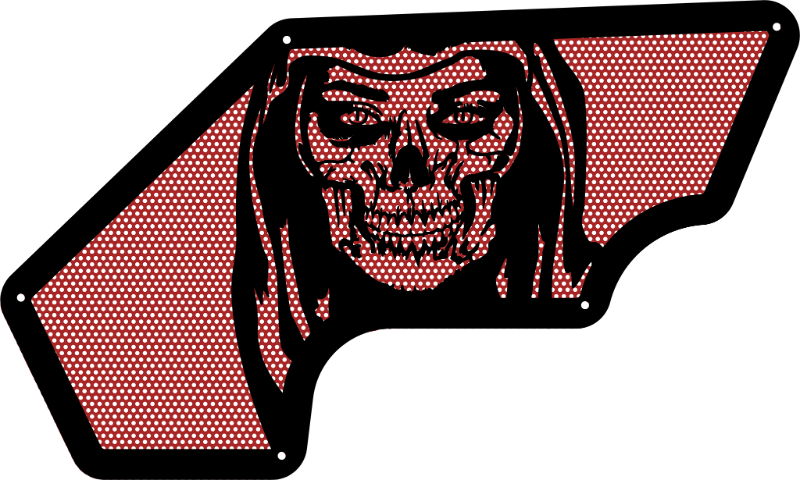
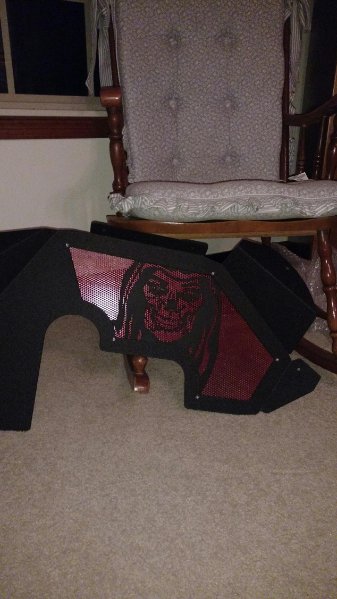
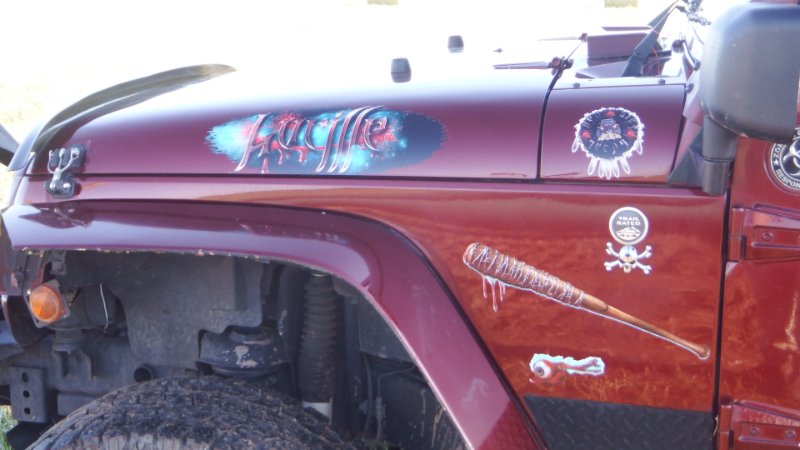
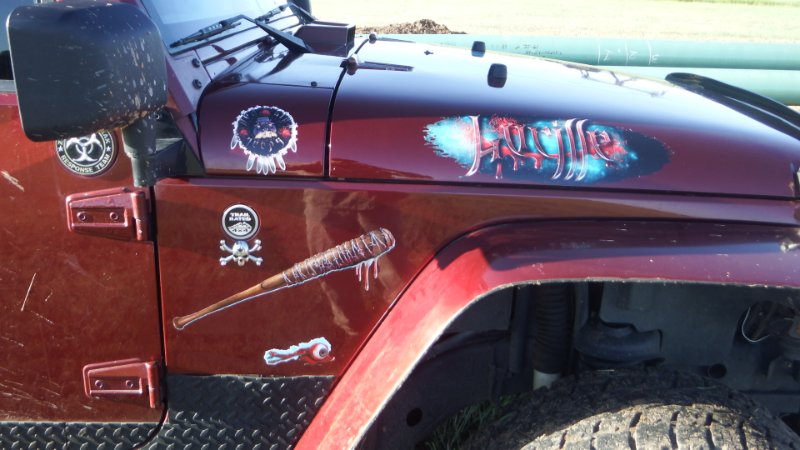
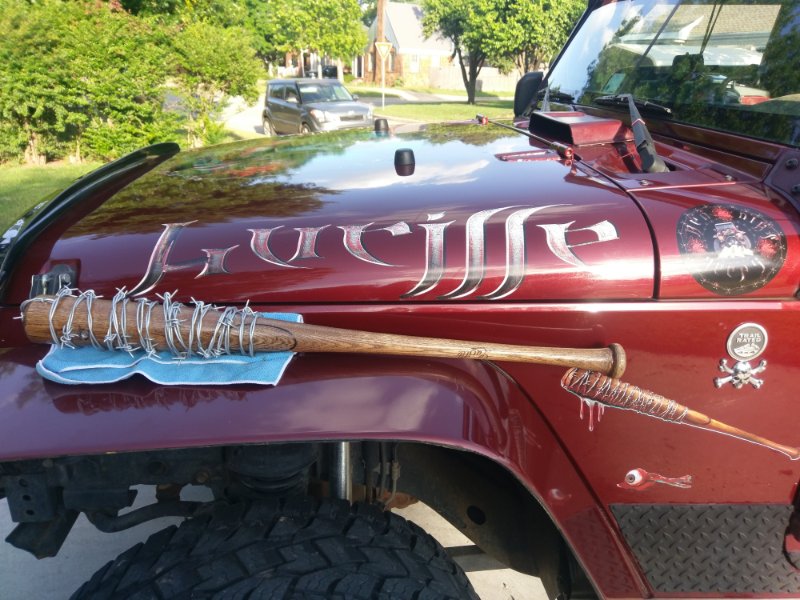
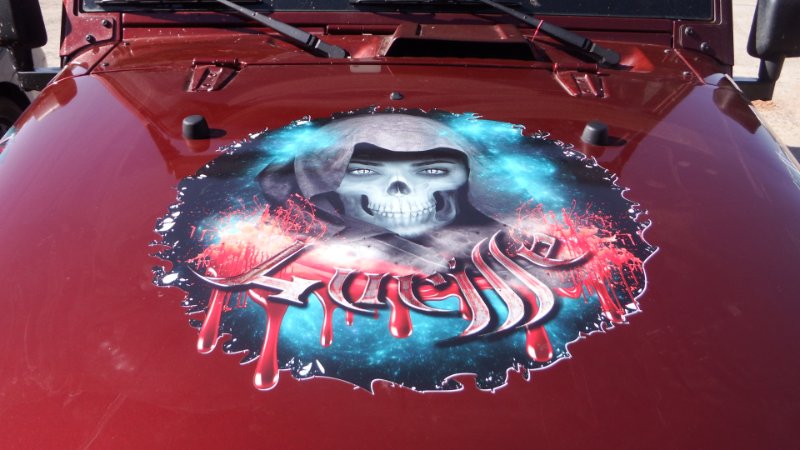
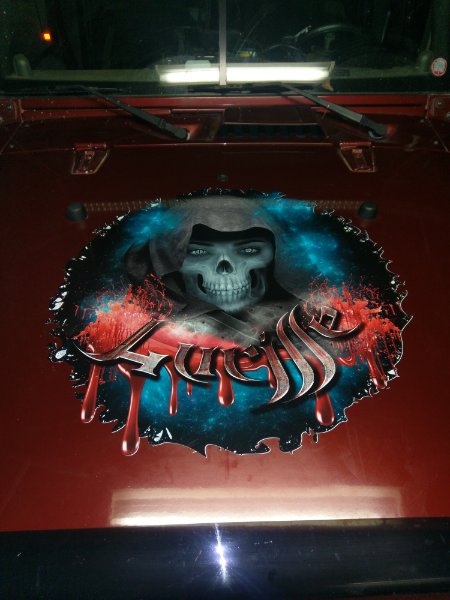
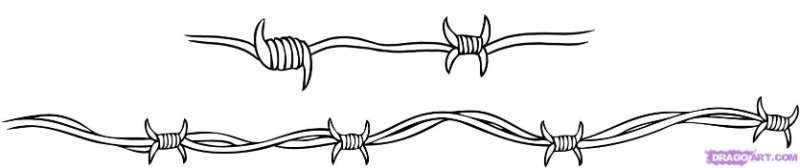
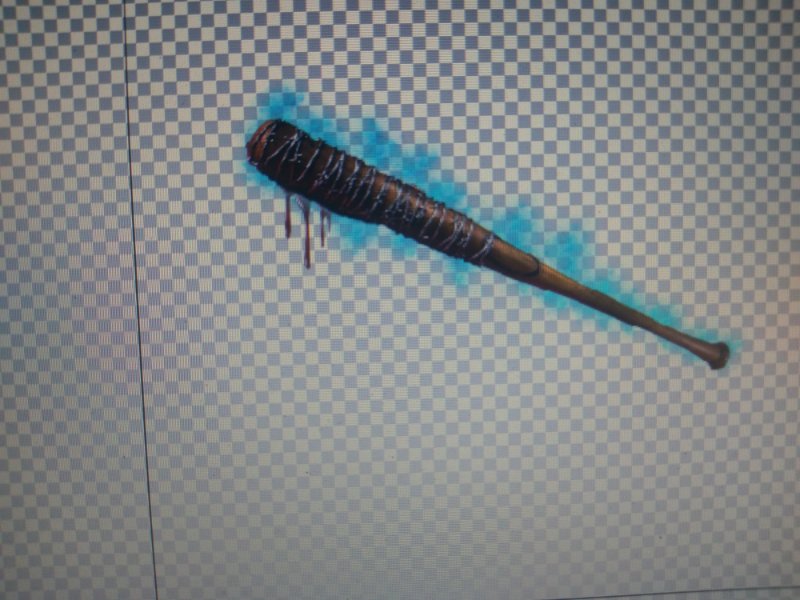
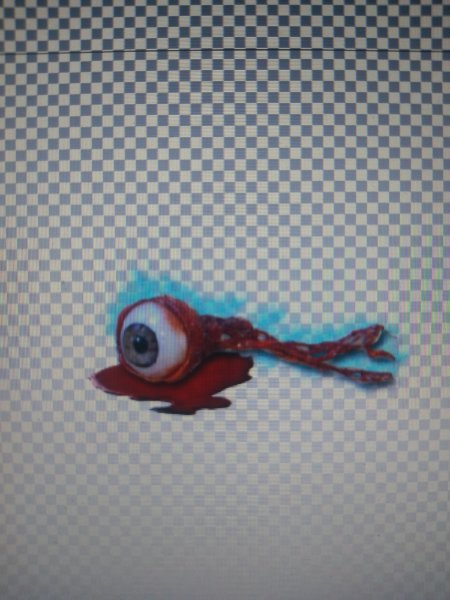
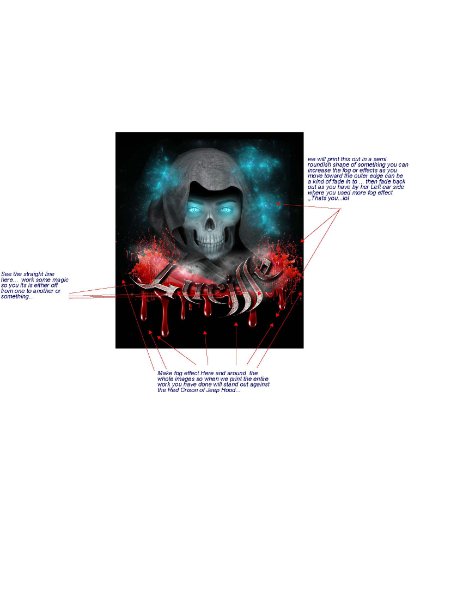
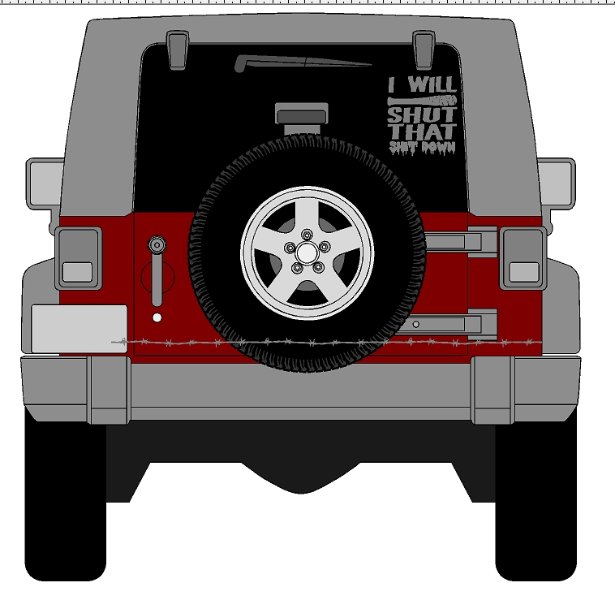
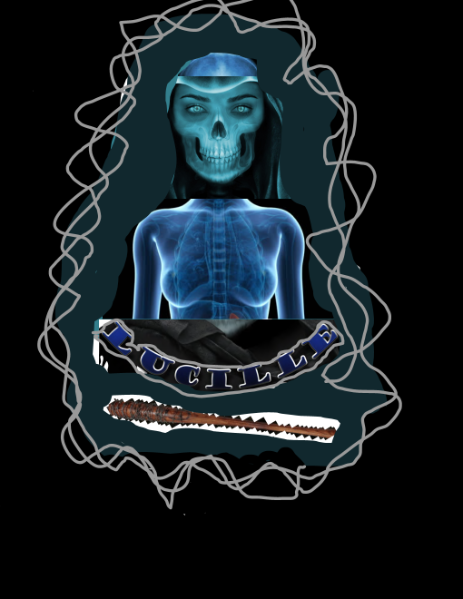
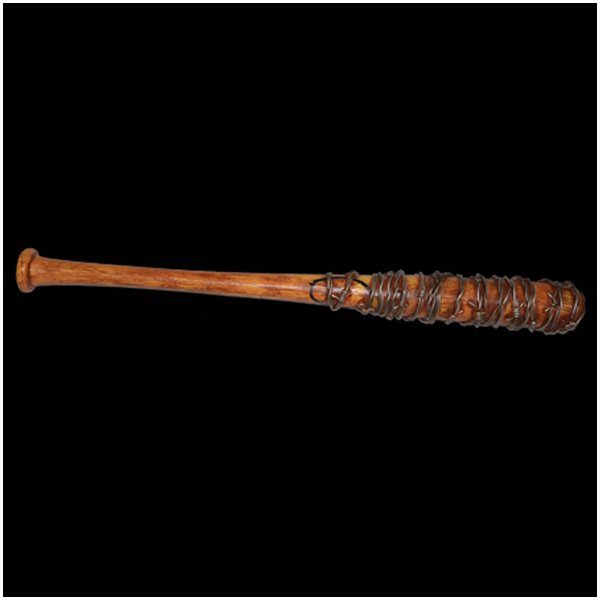
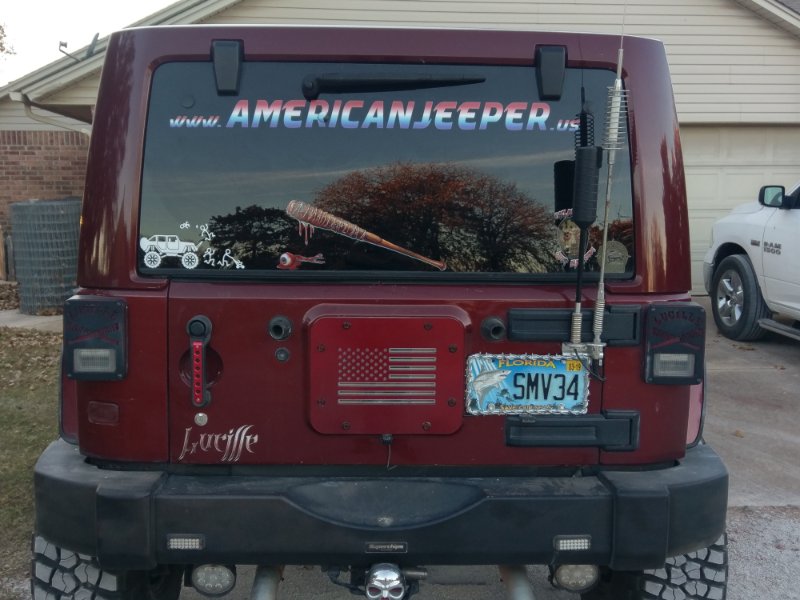
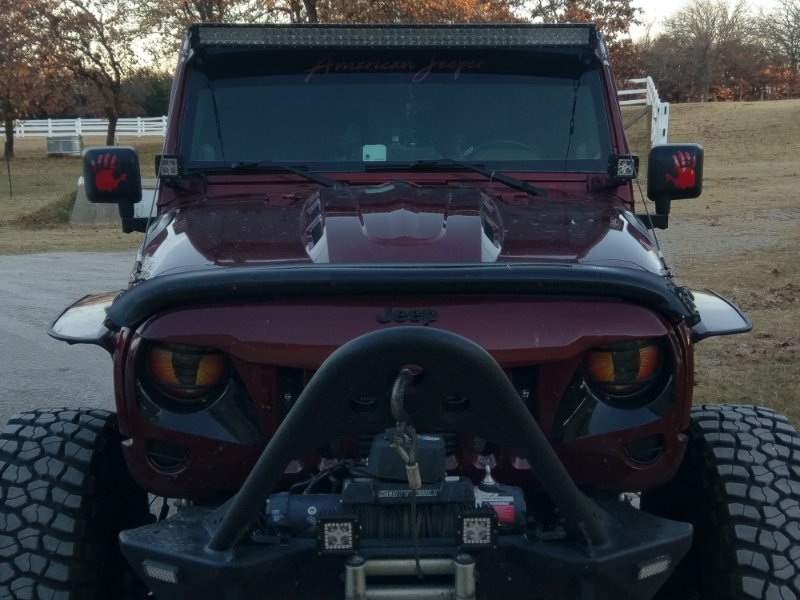
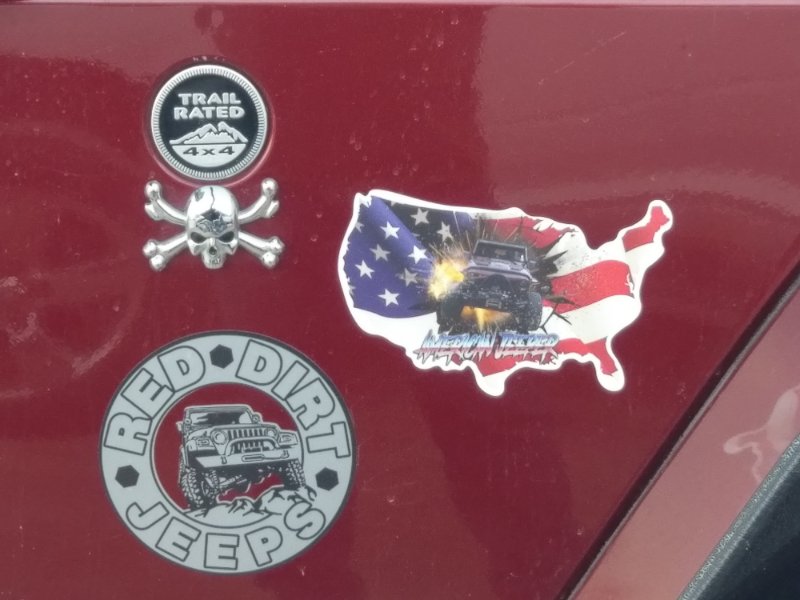
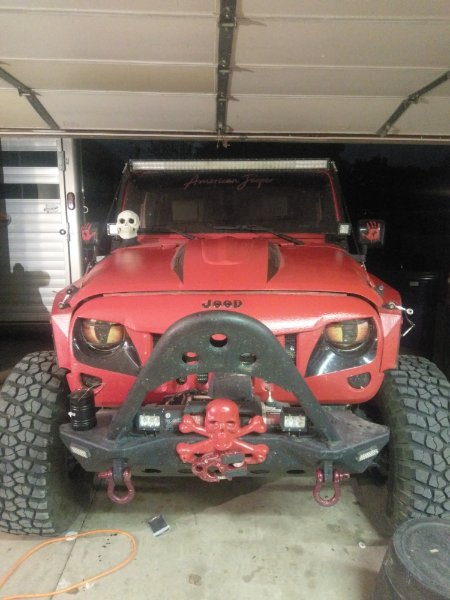
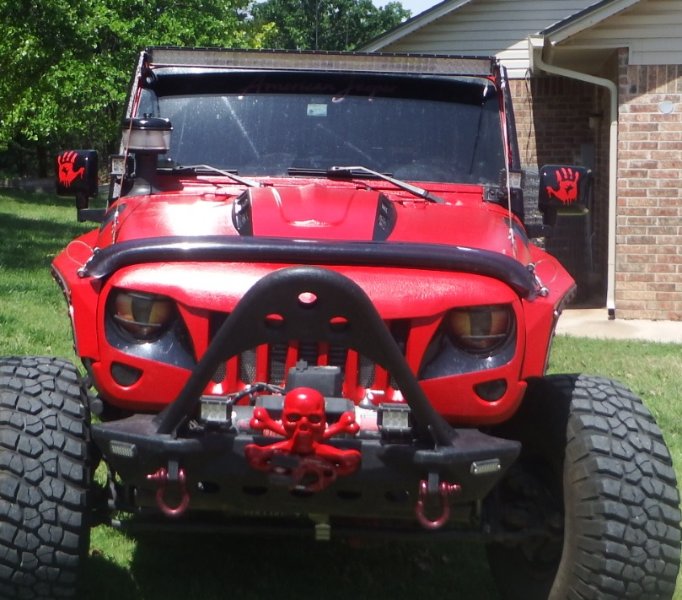
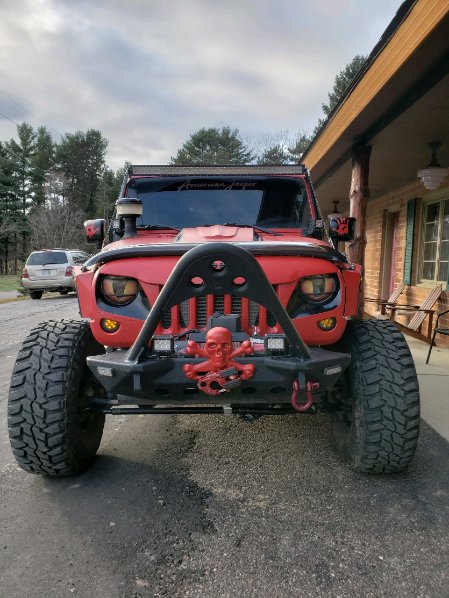
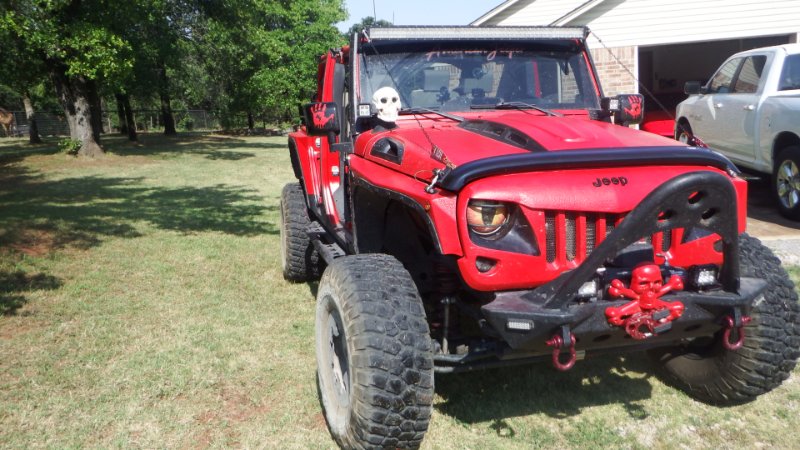
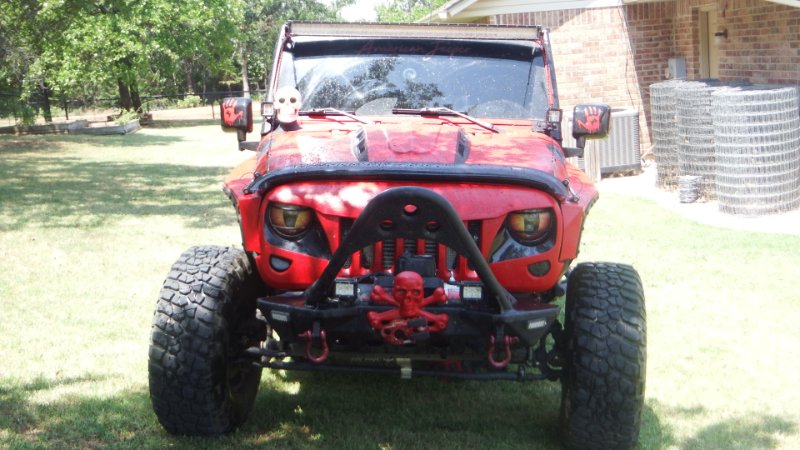
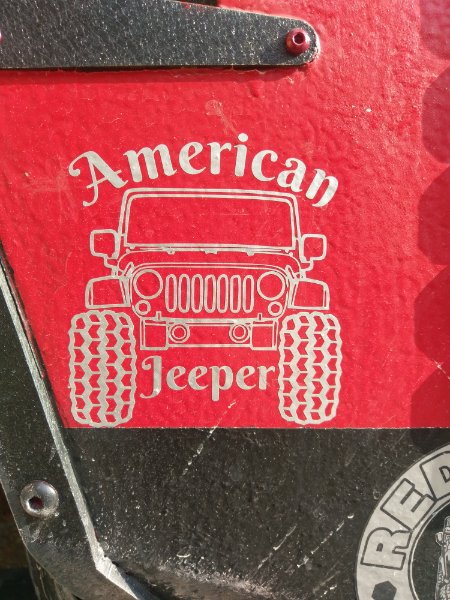
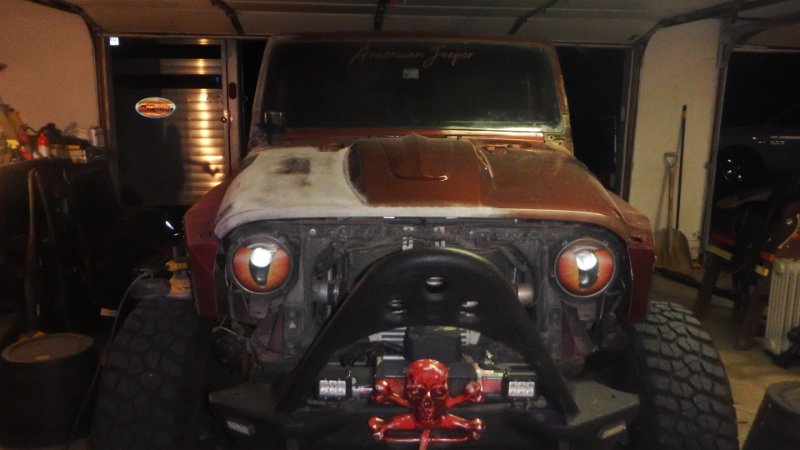
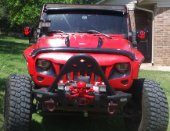
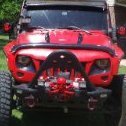
Next it was paying a guy good friend of mine named Mark Incidentally... to custom design me a Jeep theme... I held a contest and paid the winner two free dinners worth up to 50 bucks and 30 in cash... First one out of 175 suggested Lucille based on the jeep having some basic Zombie hunting stuff already in place... I liked that one and went from there... Creating the Lucille Female Grim reaper Well look below I do own the rights to her use... the eyes and skull image... The images of the red jeep is what a Decal Company suggested, I can say I was a bit disappointed in their suggestions looked more like a chick jeep... Then I started looking at getting my own design done by getting in my head onto a decal... Well thats why so many images... I also taught my buddy how to create Barbed wire which he thanked me later for...Not really...
-
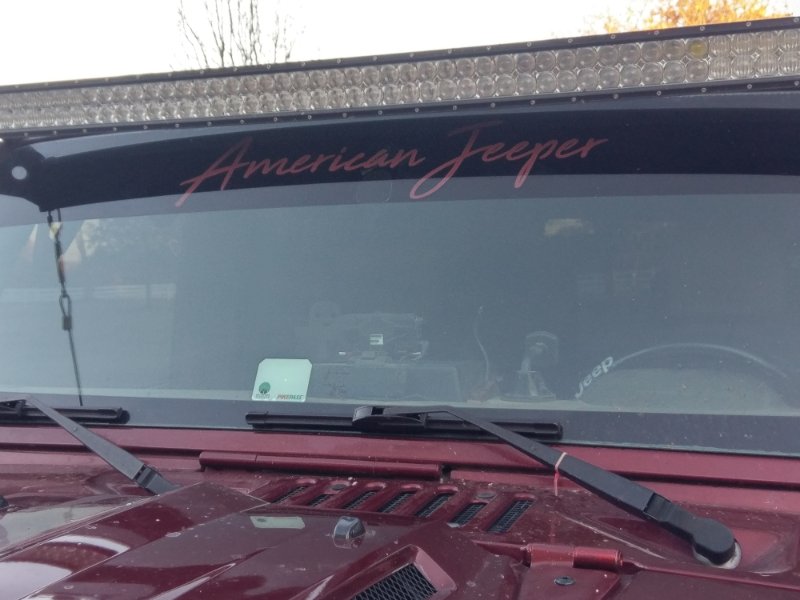
Then I messed around with Decals a bit...
-
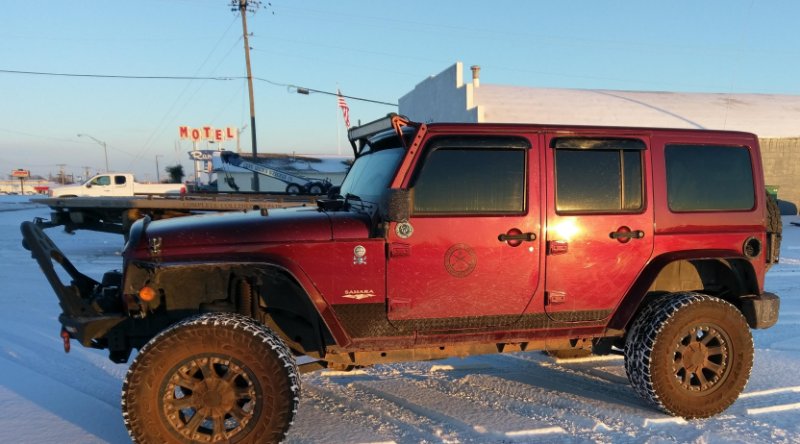
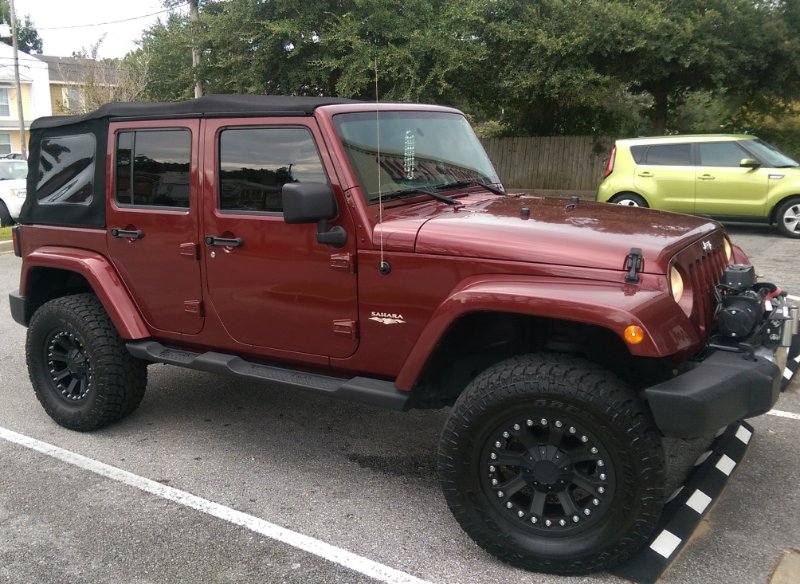
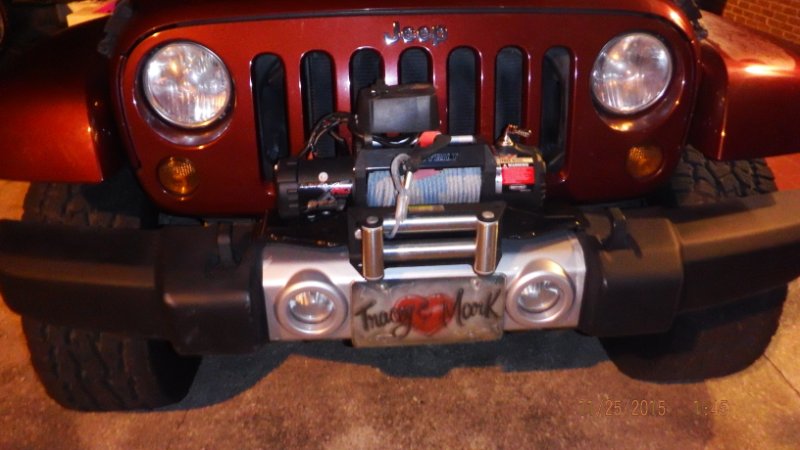
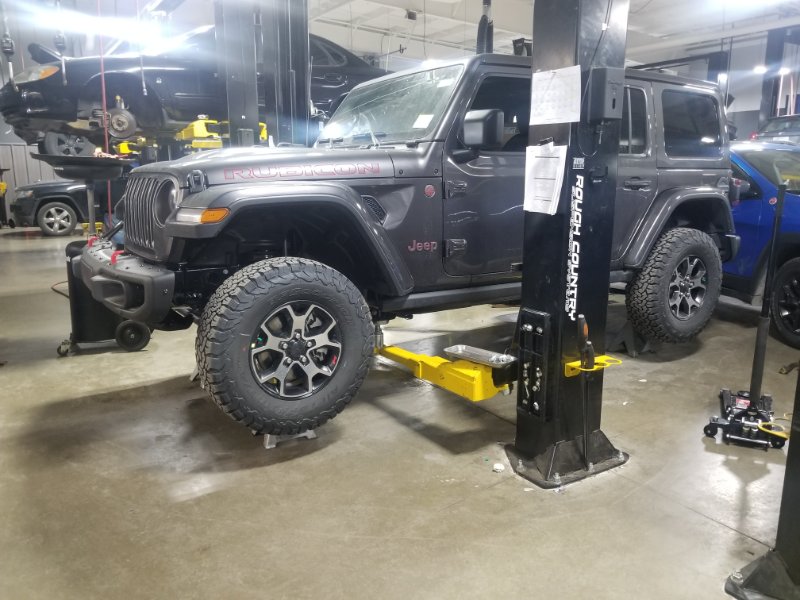
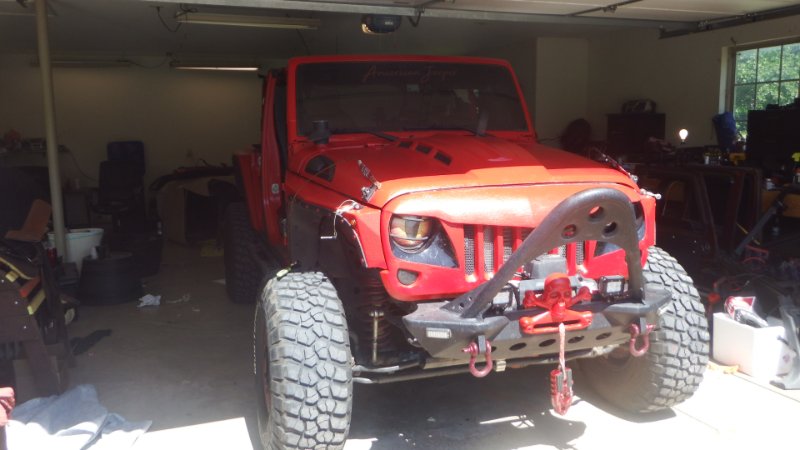
Stock with some minor additions... I added the Poison Spider Diff covers got them both for 100 painted red already... Seemed perfect... Th winch was already on it. It also had a 2.5 lift supposedly added we think It was rough country... lol
-
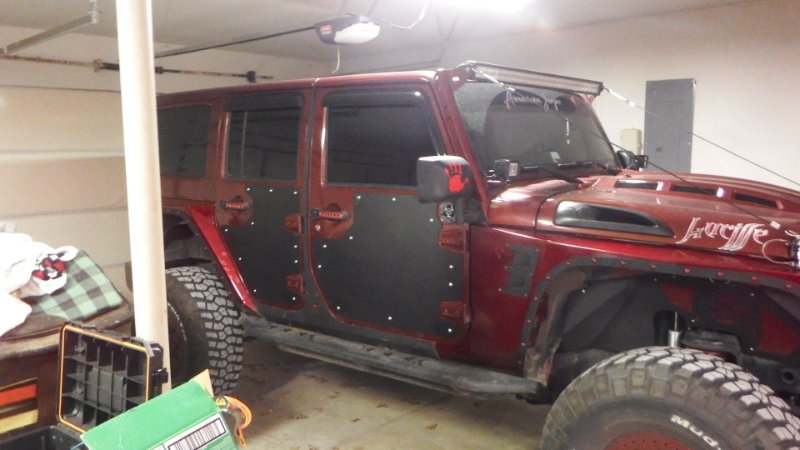
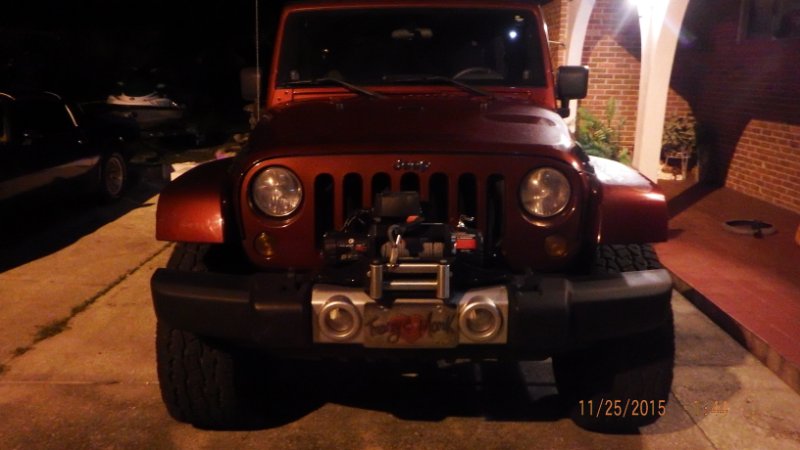
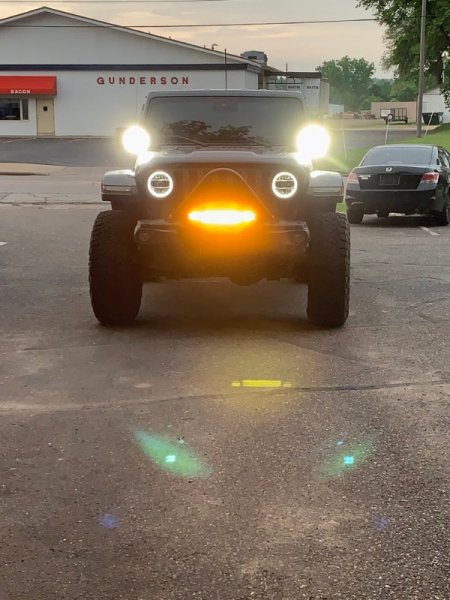
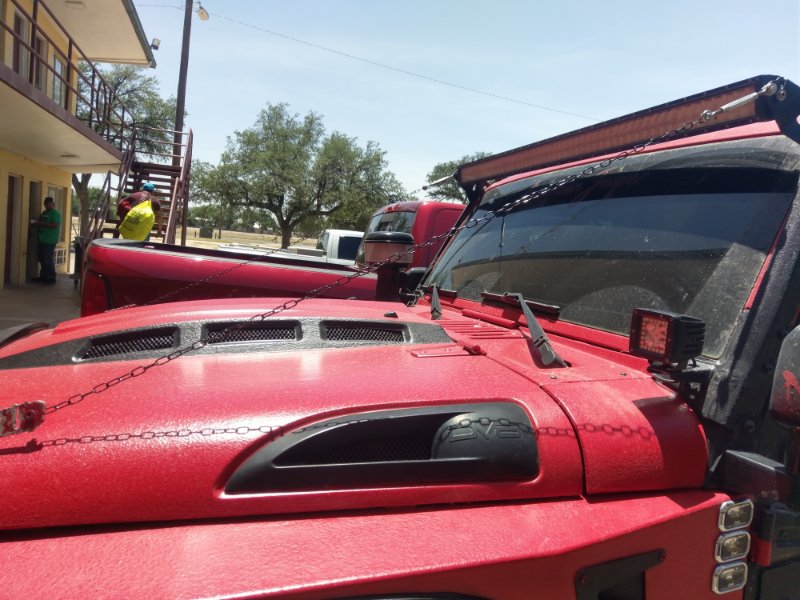
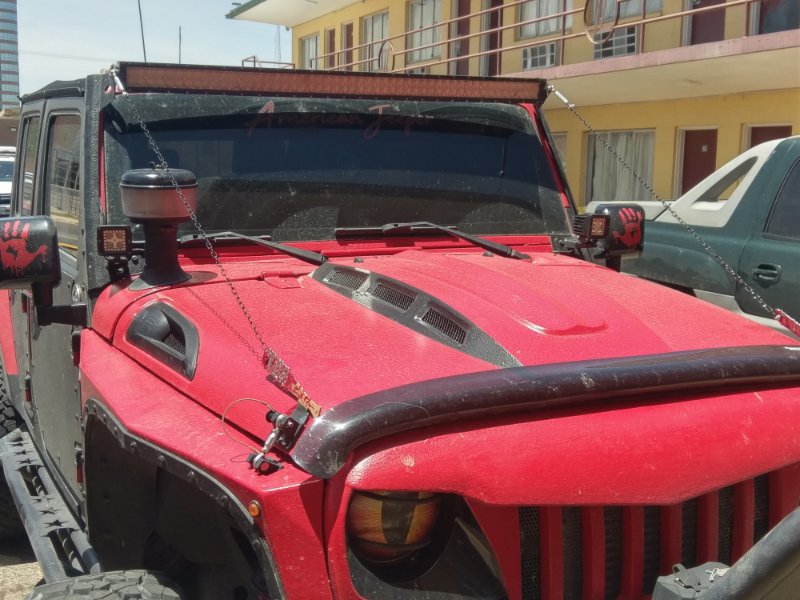
I added a smaller Light bar to the front solid colors or strobing in all options meaning orange White both either way...
-
I was able to put to good use The additional Flat stock on the mounts by mounting my police grade clear Bright Strobes since we do work on the side of the road in certain cases, this allows added safety for myself and our work crews...so Worked out for me... I had some pics on FB but thats another story...
-
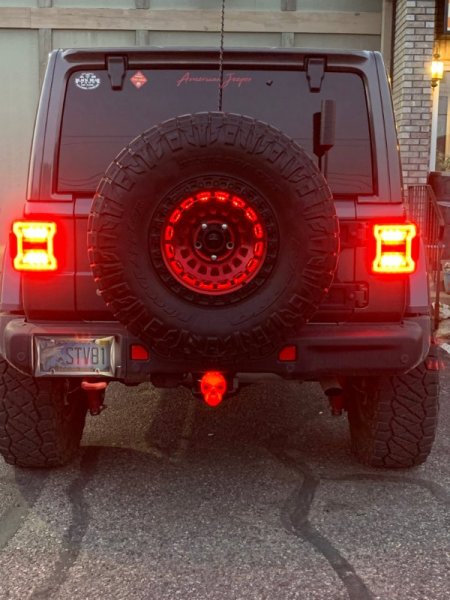
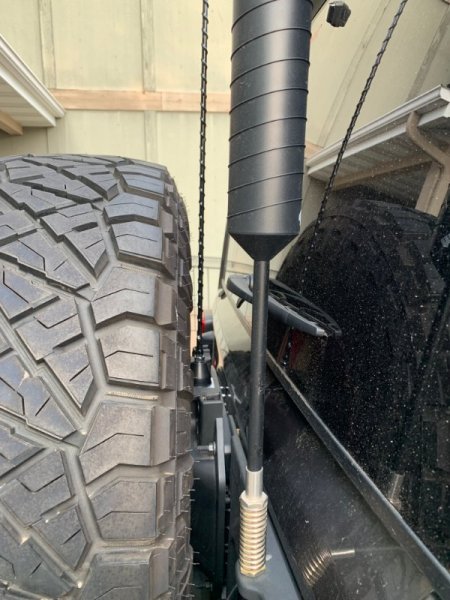
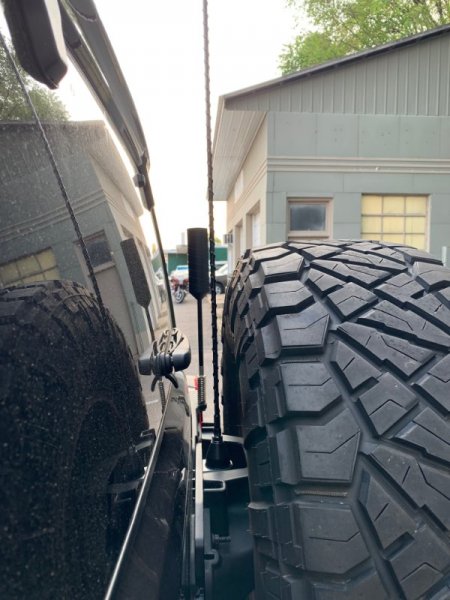
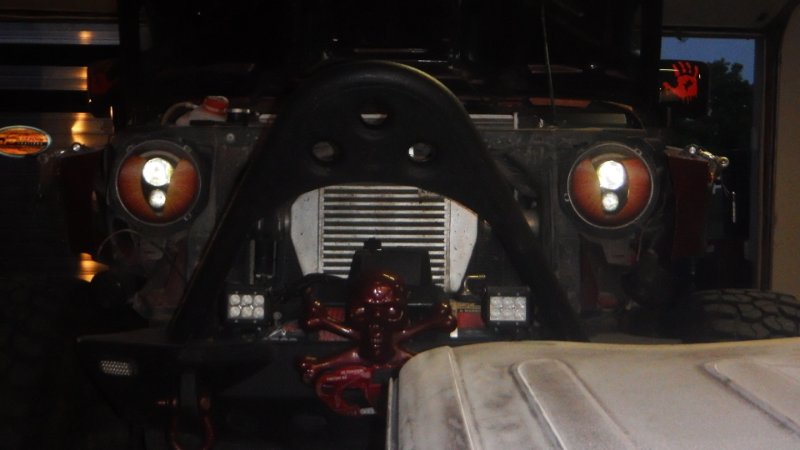
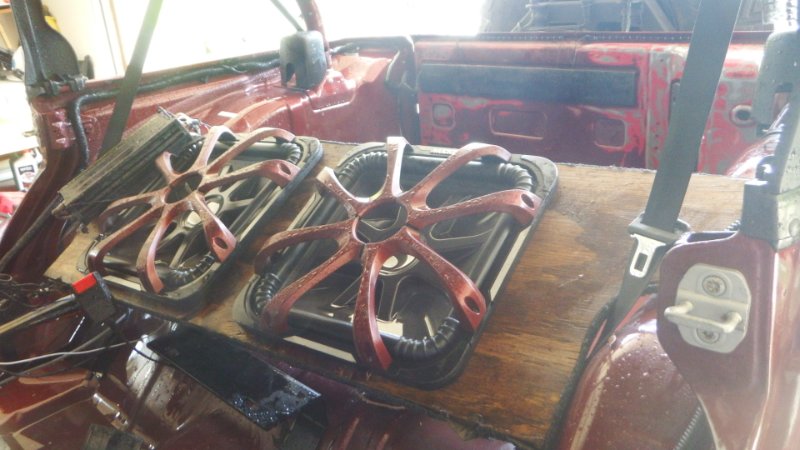
 With that said I went with 5" not 7s and I have to be 100% the 7" looks meaty... However I have never been disappointed in the brightness of mine in any way they are brighter than my high beams on the jeep...no worry hands down... I aim them off into the field on both sides of the road for deer spotting so I can avoid an accident on a lonely back road... love them but they do make a lot better looking and sleeker designs these things are like metal formed steel brackets with no thought at all about ascetics...
-
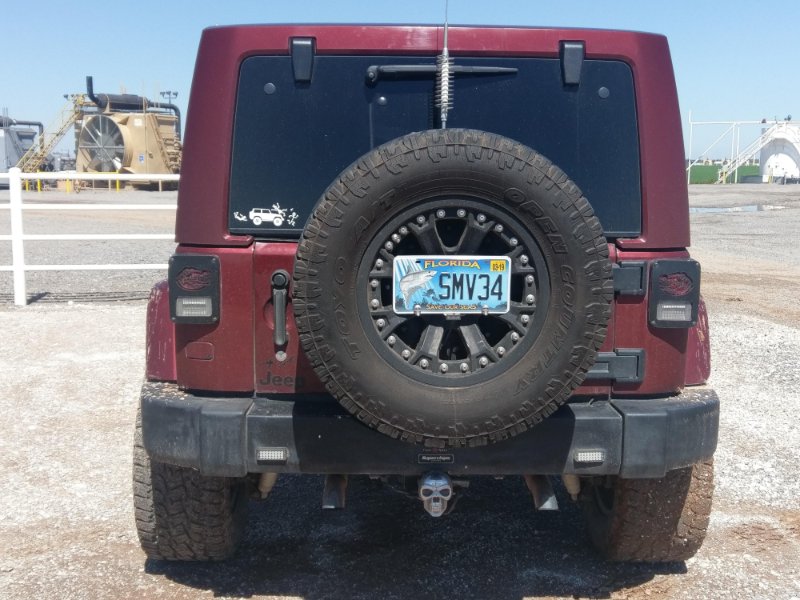
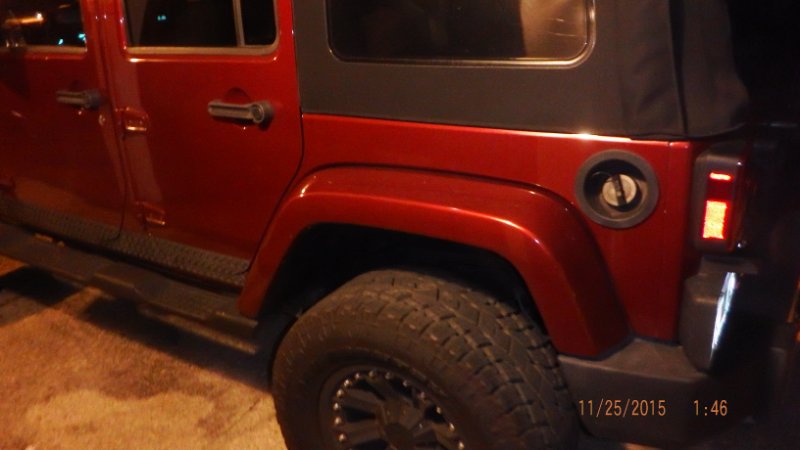
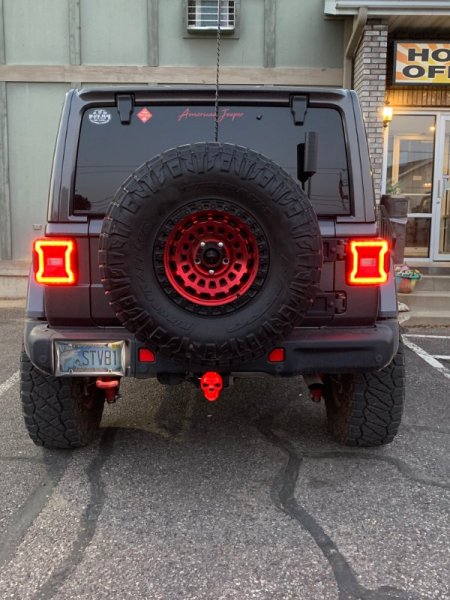
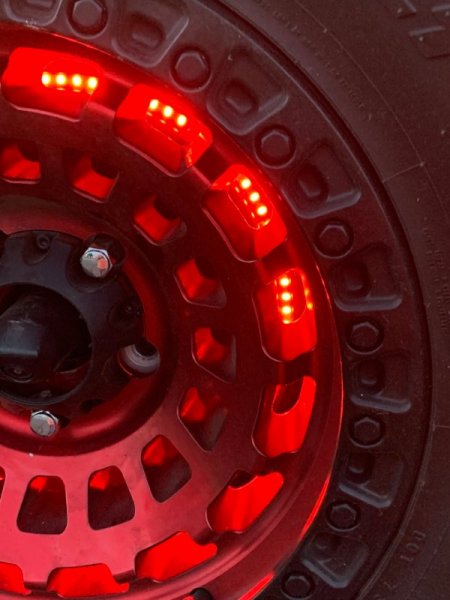
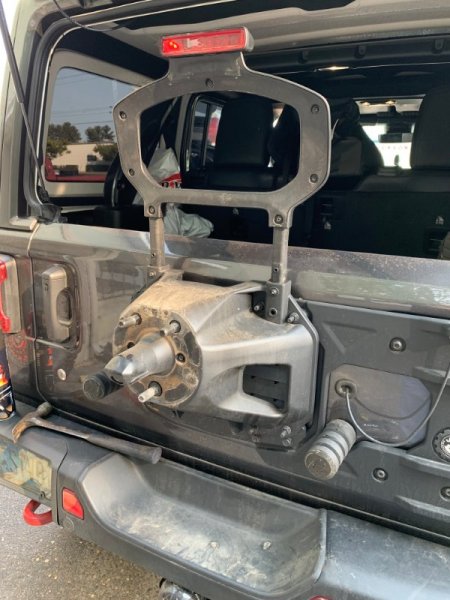
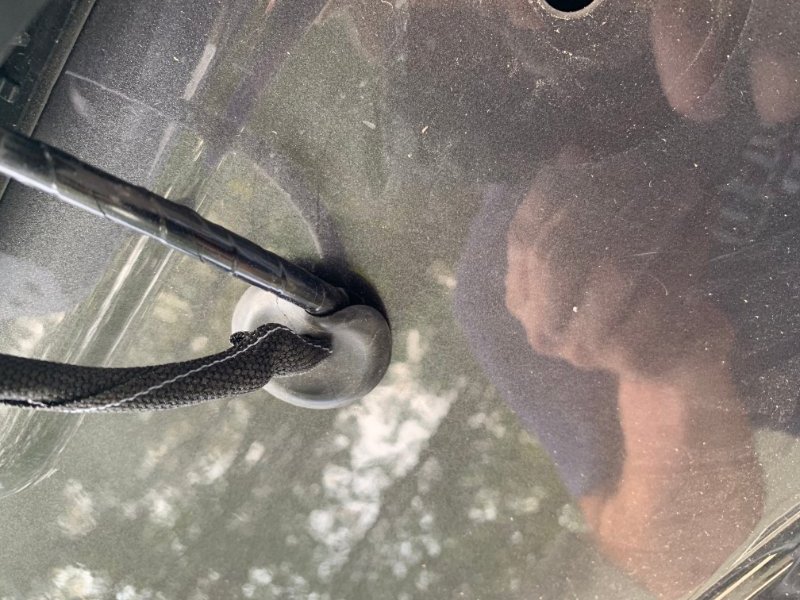
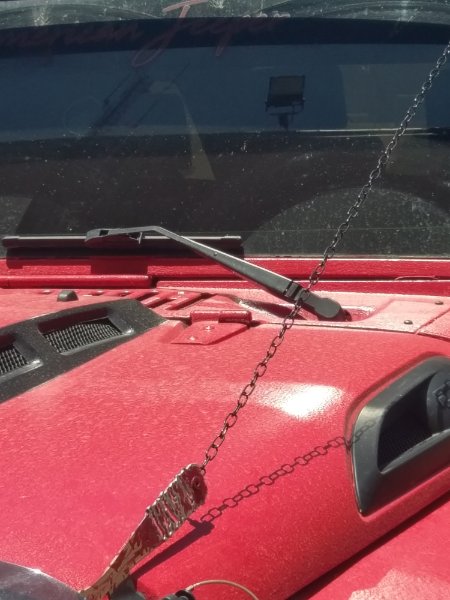
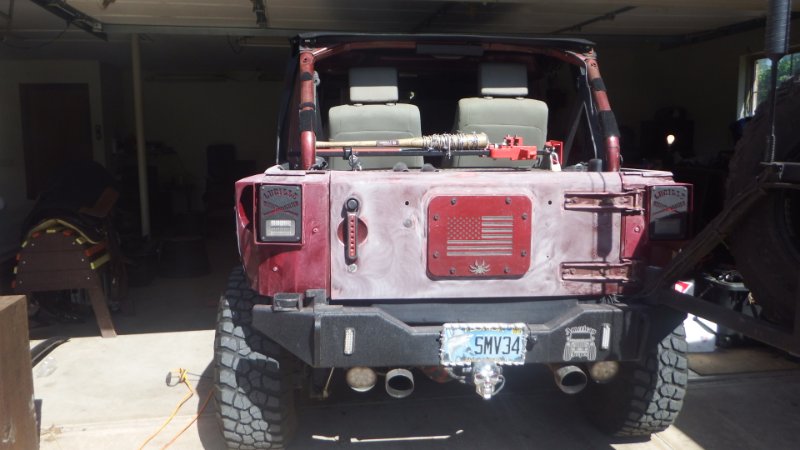
Simple instead of creating one I paid like 29 bucks got a disk thing full of red leds... I followed theor directions and installed the clip into the clip then mounted on the lugs for the spare tossed tire back on and this was with my 17s rims a bit tight but Im good with it...
-
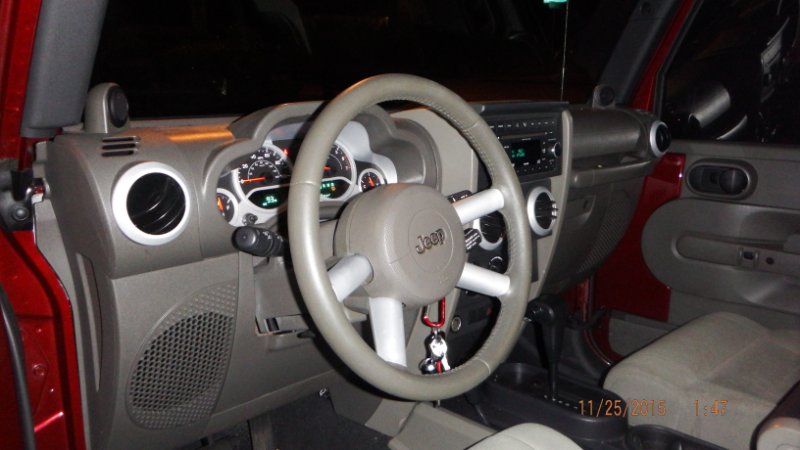
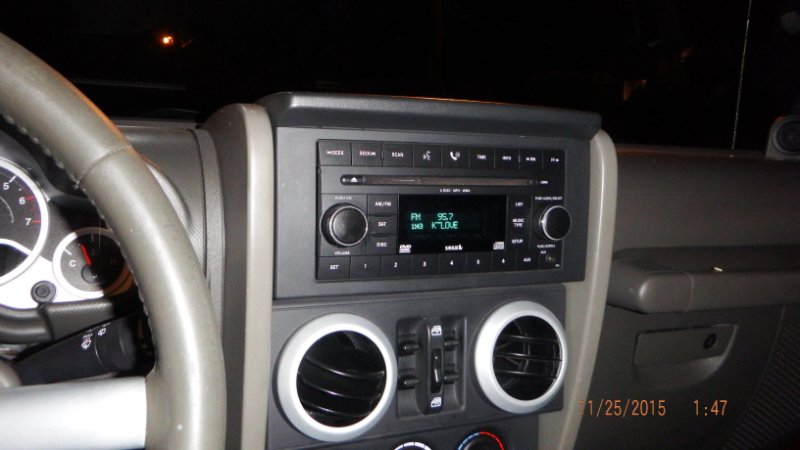
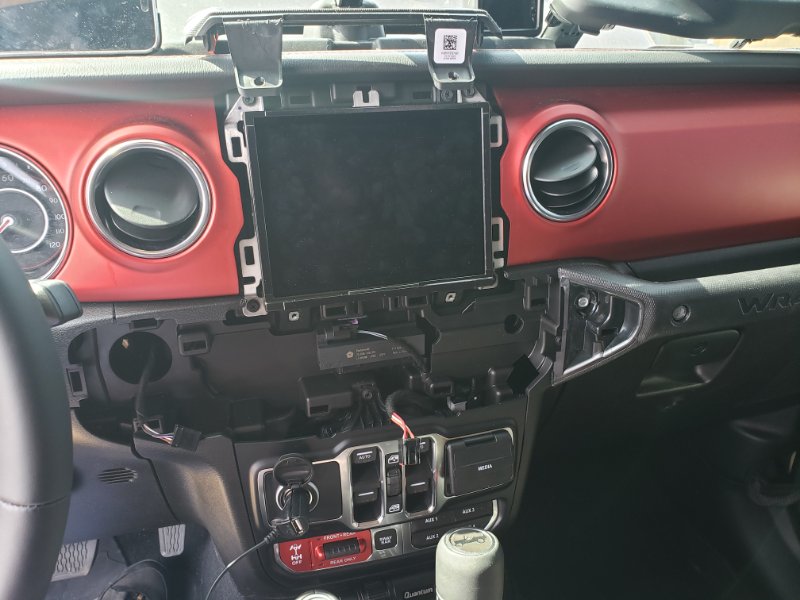
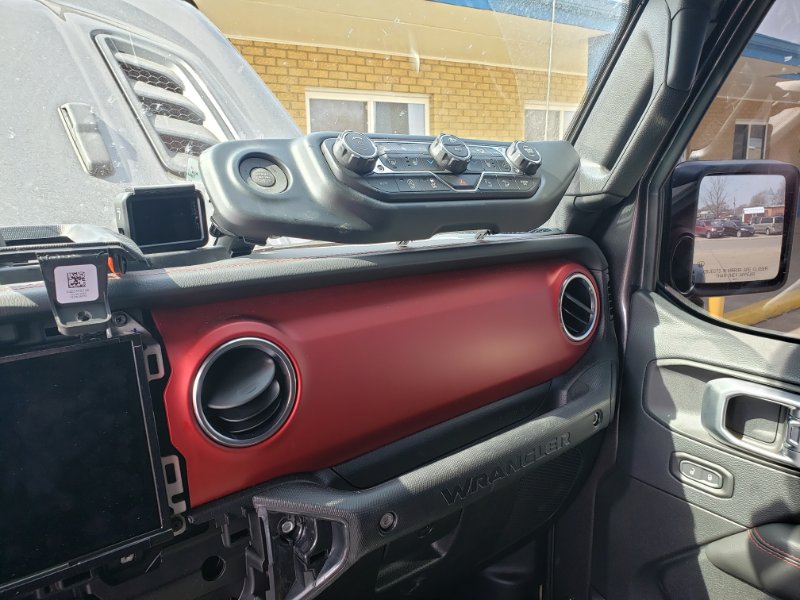
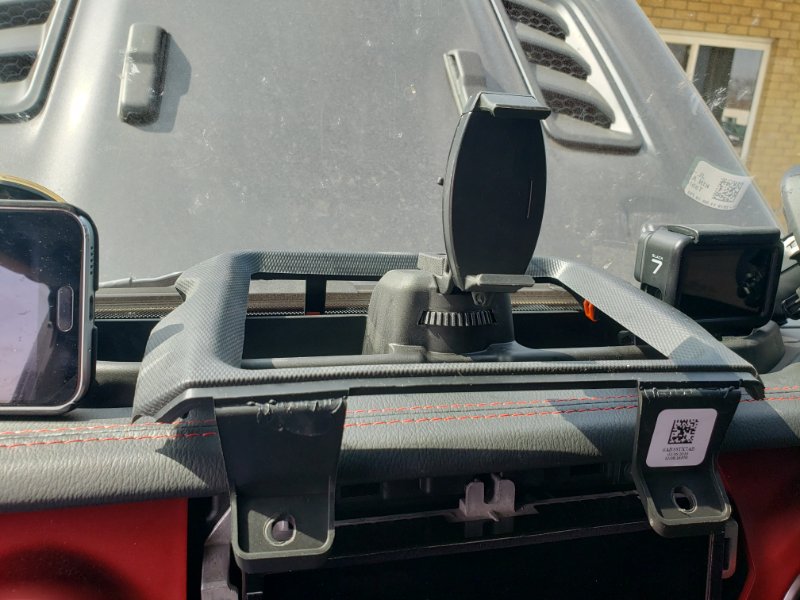
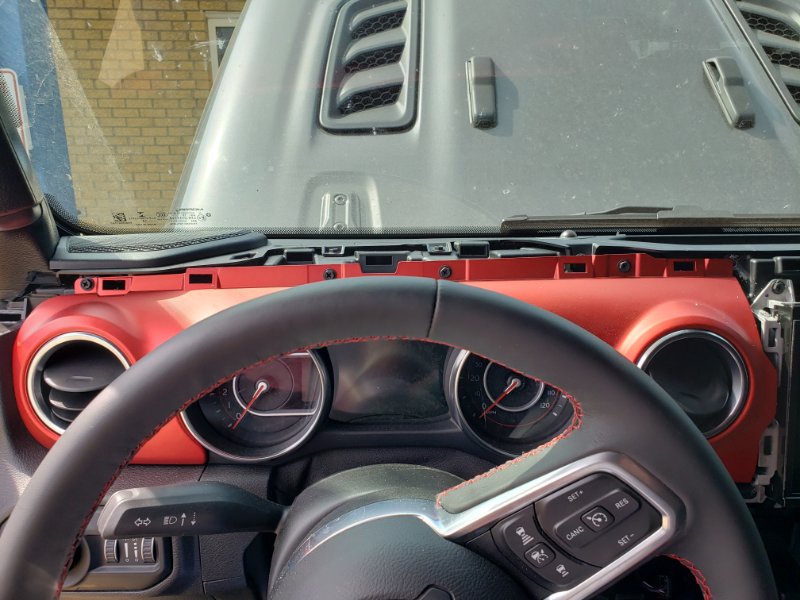
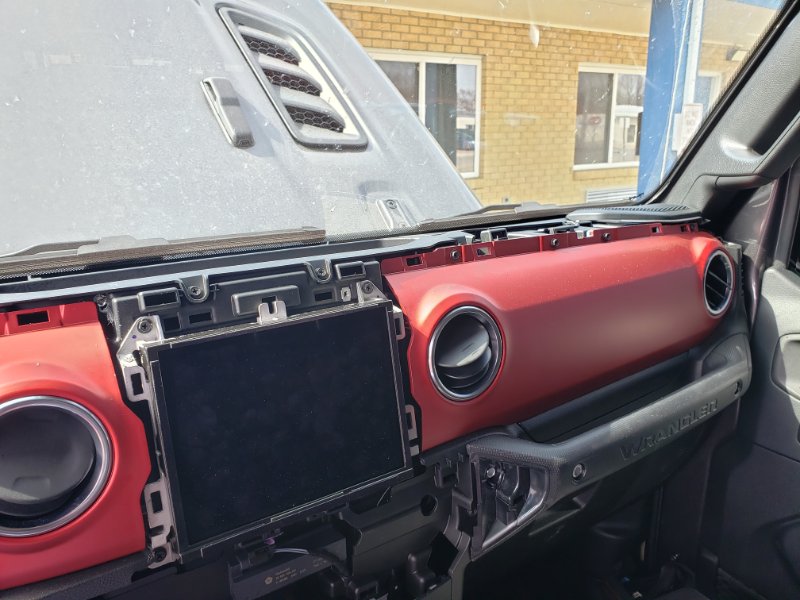
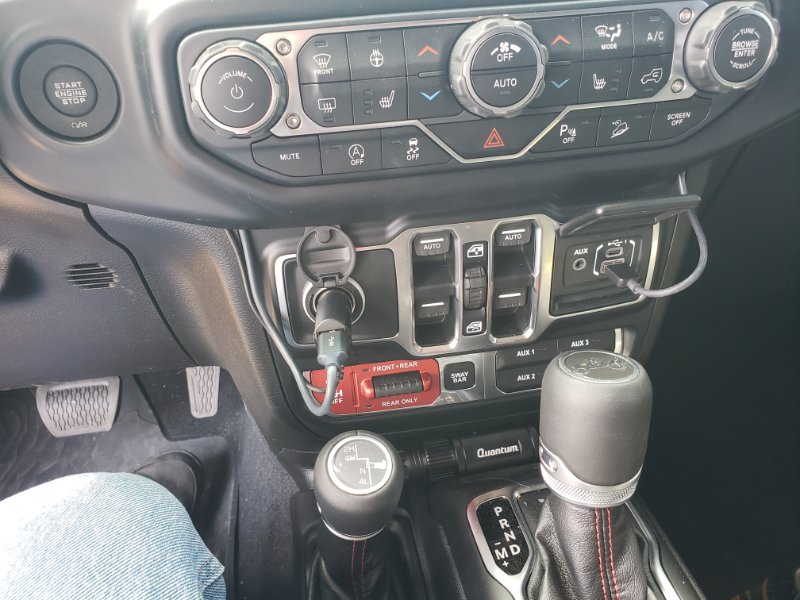
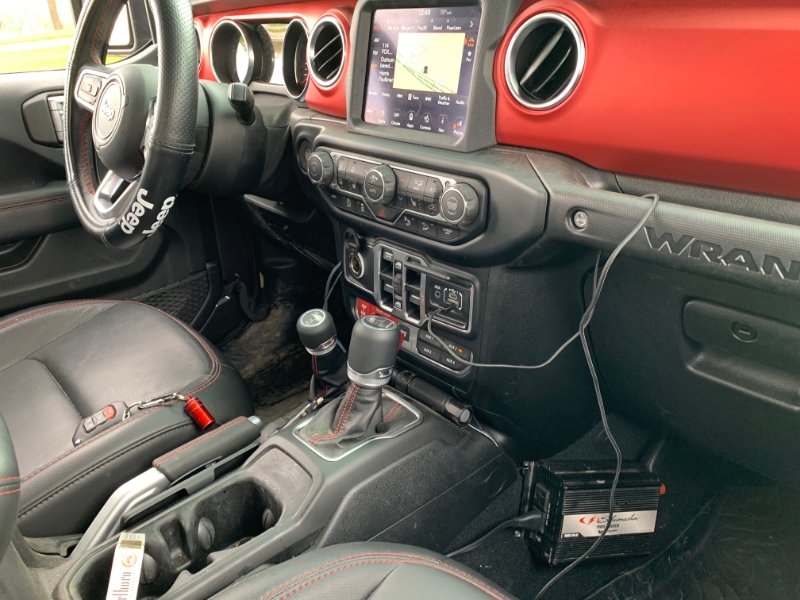
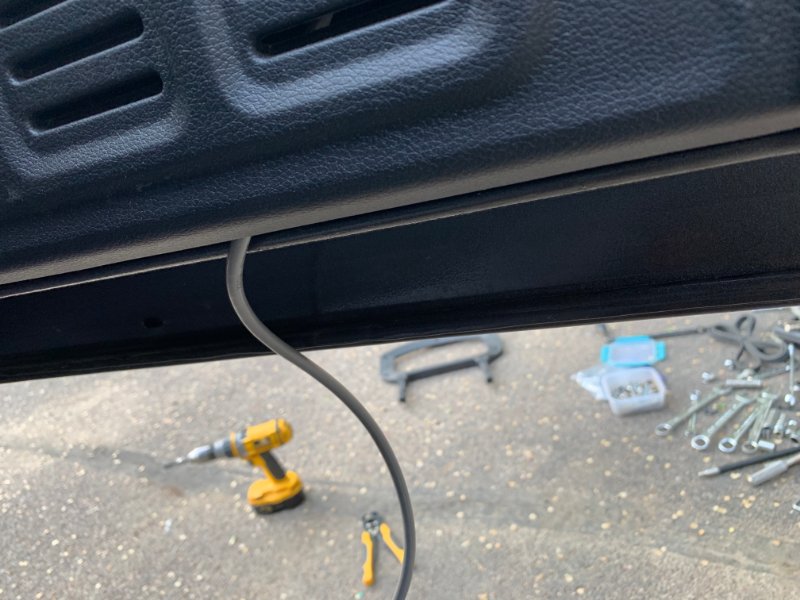
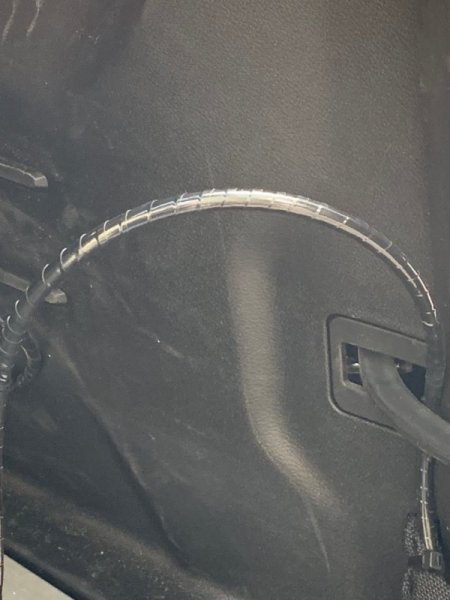
I watched U Tube Videos so I could become an Instant Master, and what do ya know it worked... So I ripped my dash all apart so I could tuck the wires I was adding into the jeep and make it look clean... I also have since updated to the Spiral wound Cables in ten foot lengths and pay attention to how you route and you can make it all but seamless... The climate control gauges cluster snaps straight out all you need to do is pry gently on one side or the other the idea grip would be a little section left side and a small section right side then yank towards your chest straight back and the clips all release outward... Then look there are screws holding in the rubber boot around the radio face and also then you see the metal frame... I routed my wires through and around without removing much the trim piece across the dash in leather remove the single screw holding it top right of radio face under rubber boot you will see it remove that then grab one edge at the end of the strip drivers side or passenger side and gently pry outward in sections as you move from one side to the other removing it you will get the idea after you hear the first one break what not to do....Just kidding relax buttercup its not that tricky and you should only hear the release of the plastic clips and if you do lose one ot two clips this is red neck free shit your doing so worse thing is you buy a new trim piece and your still ahead, but odds are your clips are just fine they havent had ten yrs to sun rot on ya yet...
-
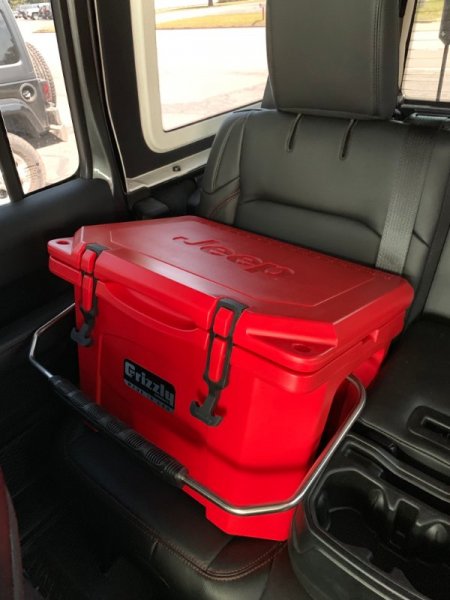
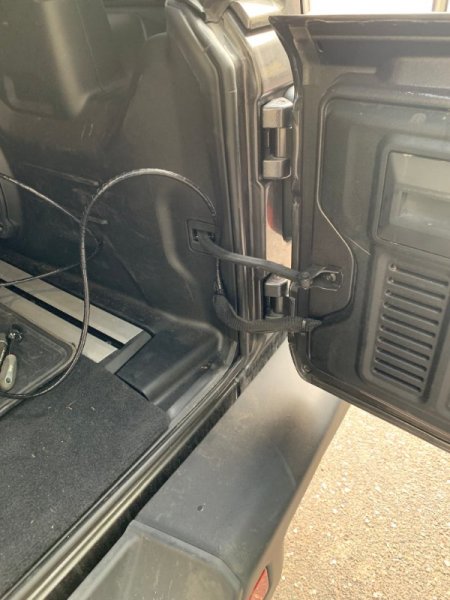
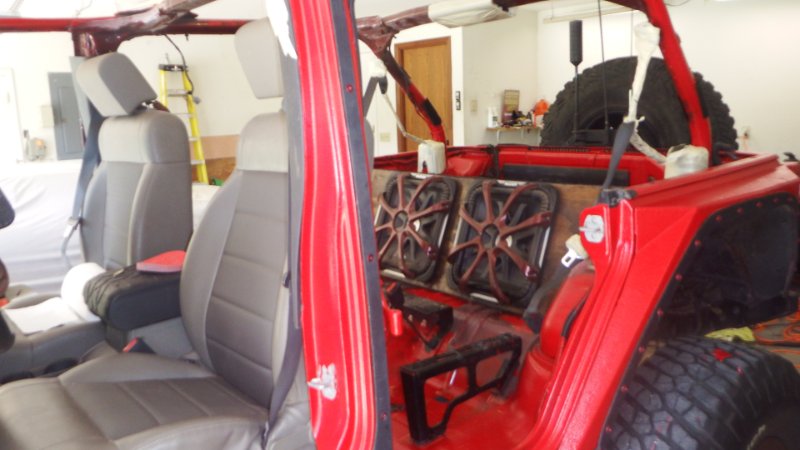
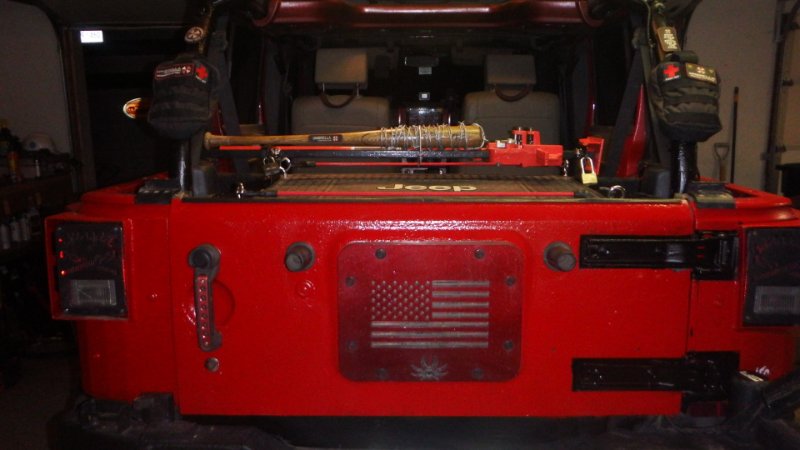
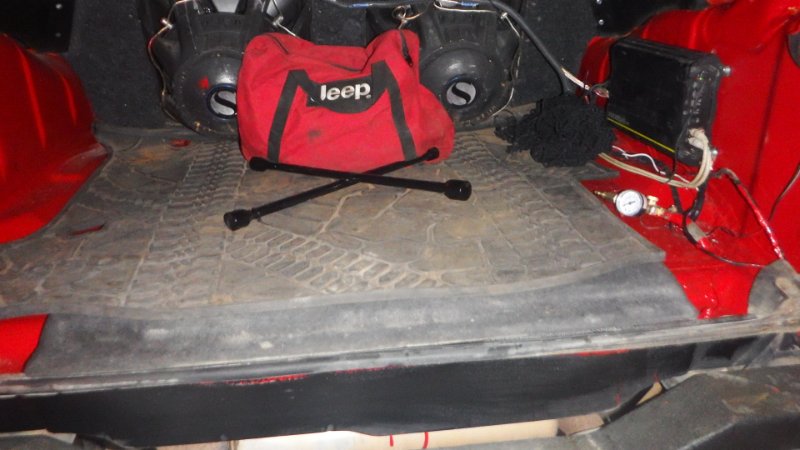
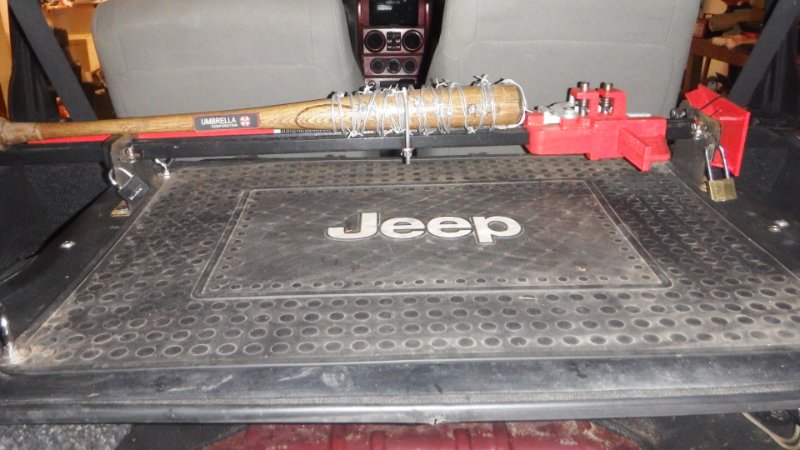
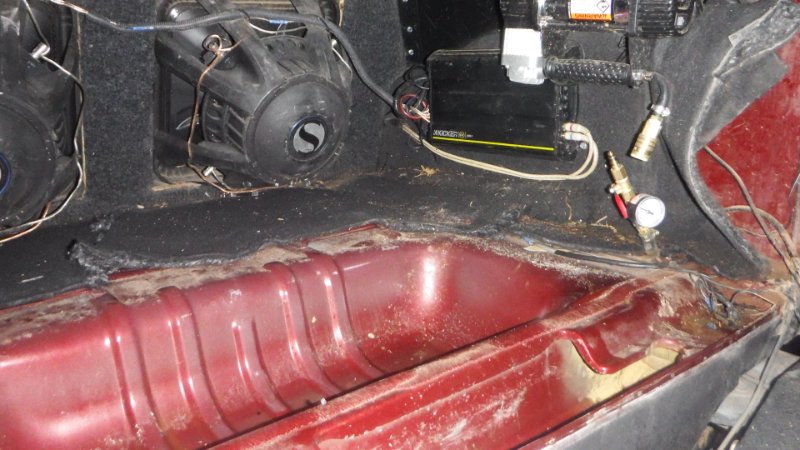
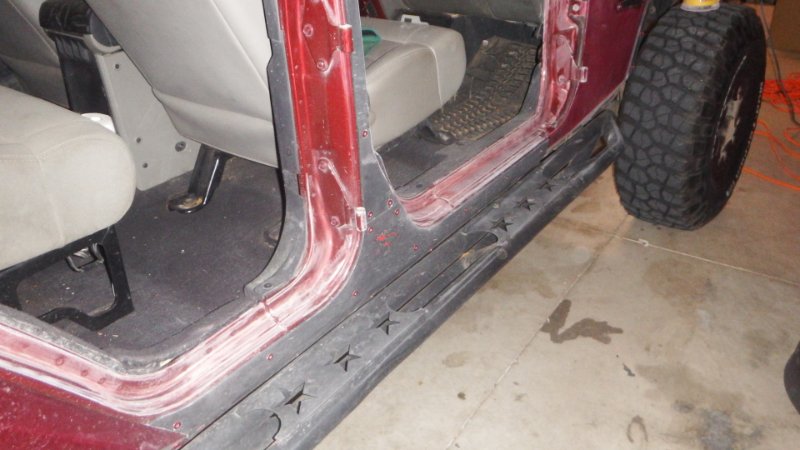
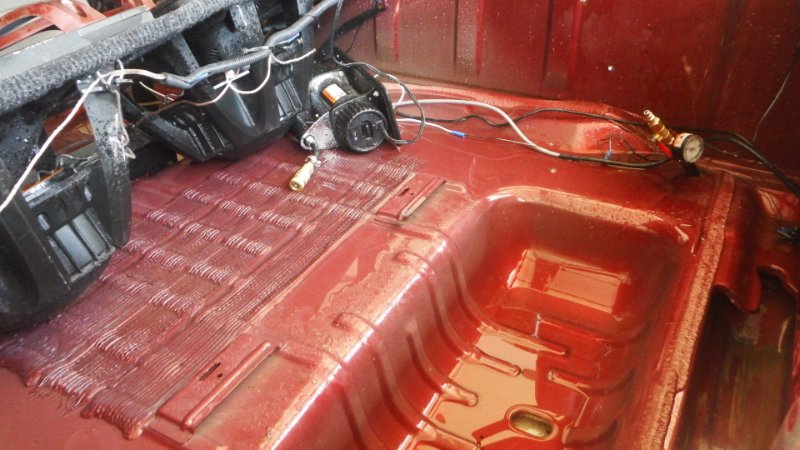
Well I paid for the added Track System for the cargo area... Moving points for straps and bungies... There is also a set along the tailgate...
-
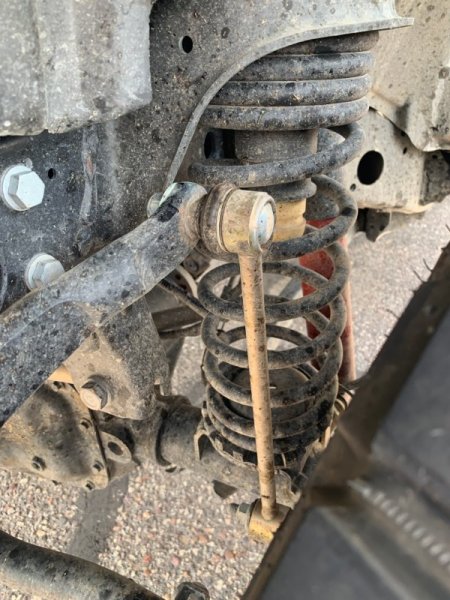
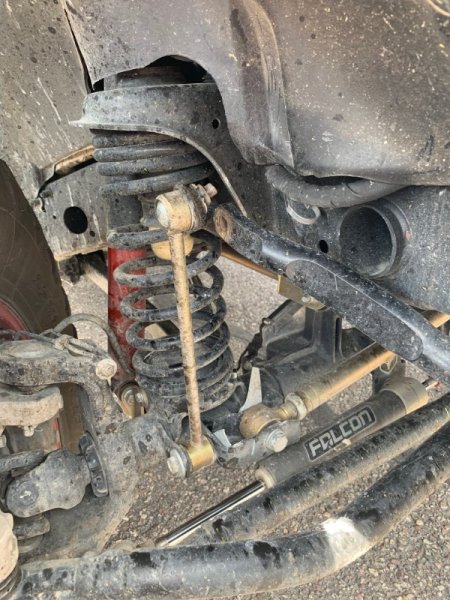
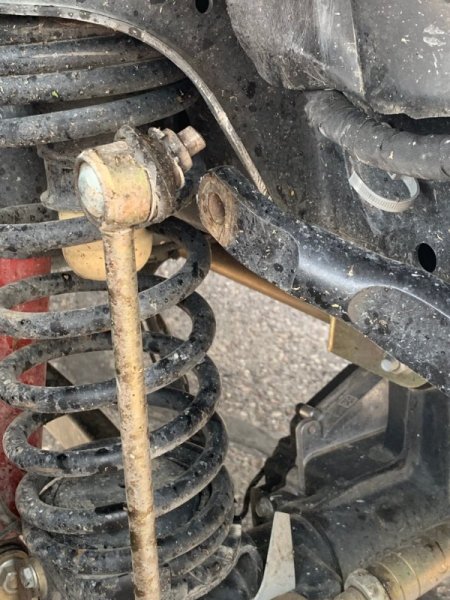
I did somehow manage to snap a Sway bar connect rod on passenger side so Metal cloak sent me a set back so I had a spare just in case I needed to trouble shoot while I drove daily... I thought that was pretty cool They said dont worry about it keep it and they hope I never need it...lol So Far so good I am over 50,000 miles now...
-
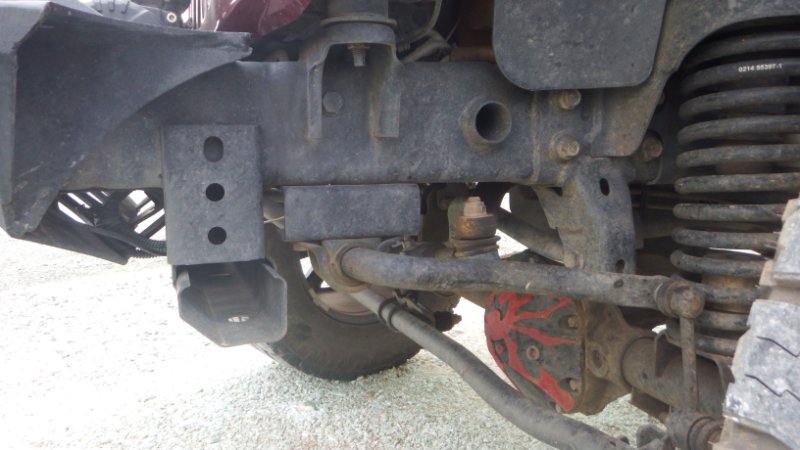
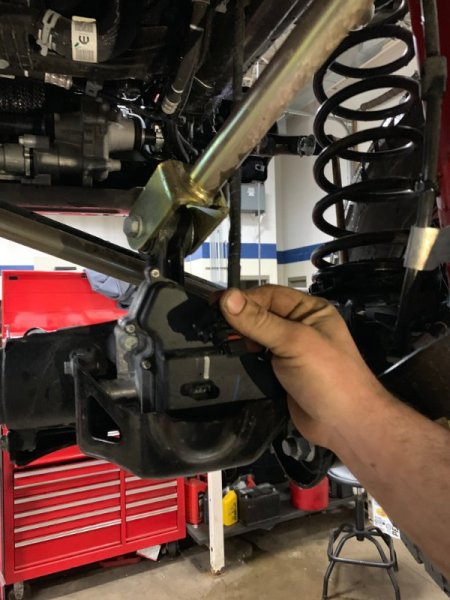
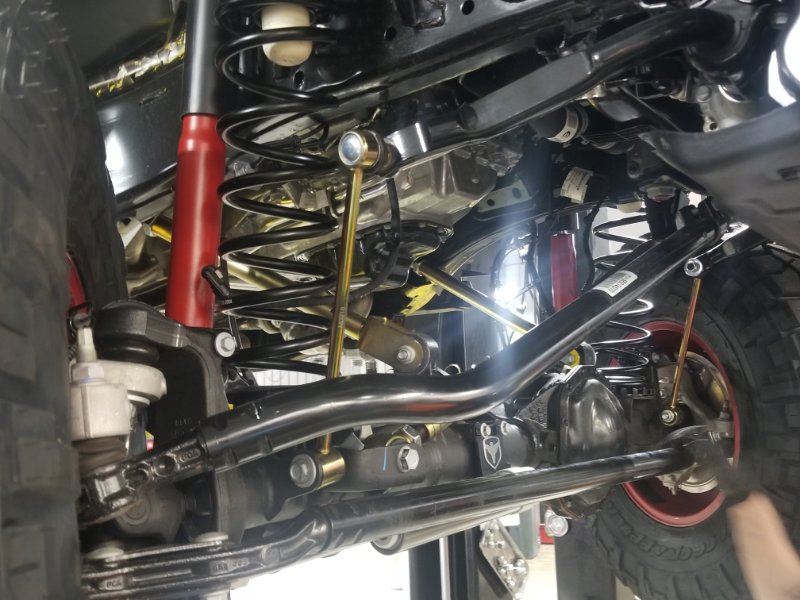
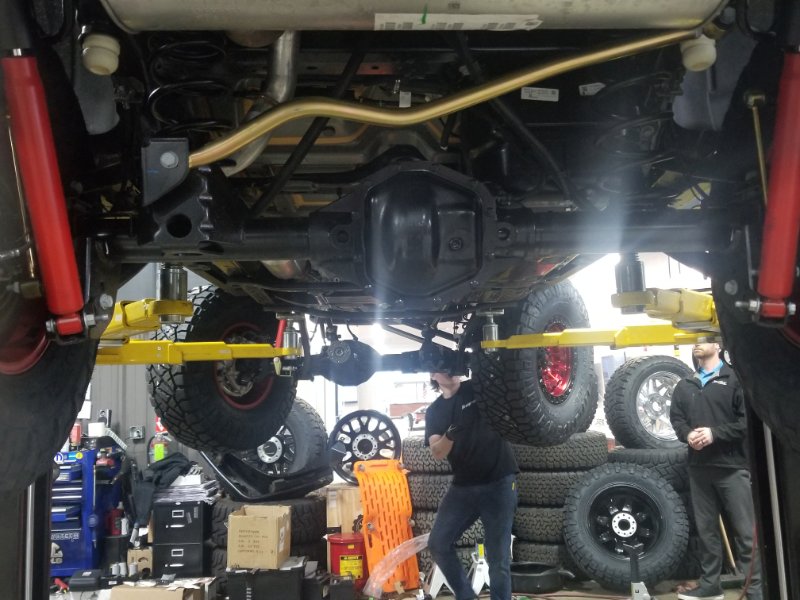
The rear Track bar was installed upside down... this was and has been corrected... The dealer did the initial install and it required 1100 in repairs from another dealer to correct it all... including nicked brake lines that could end worse than well... I have stainless steel braided lines now 100 dollar mod and to me so much more worth it... Also had to get a new 4 wd hub selector and add length to the wires about 8"-1' The original dealer paid the bill...
-
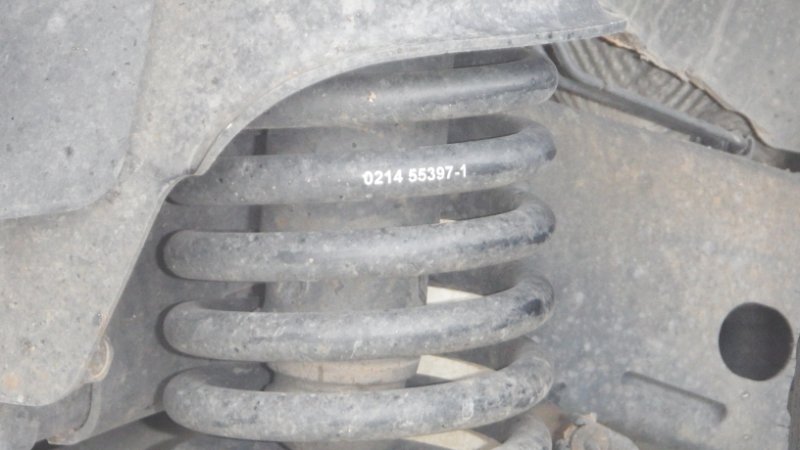
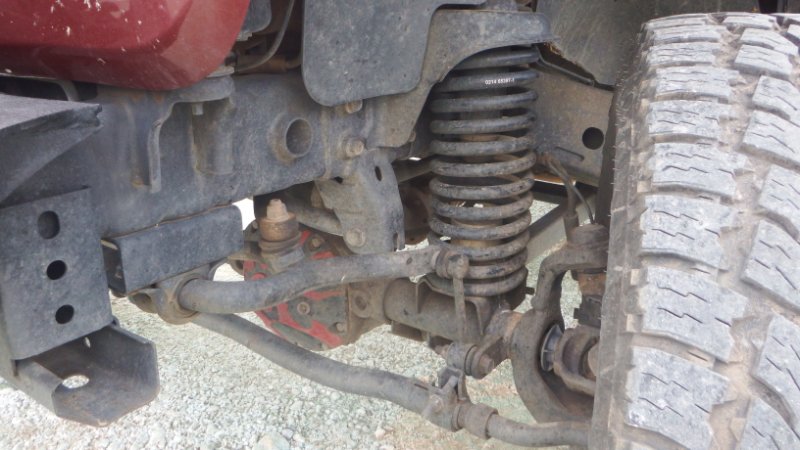
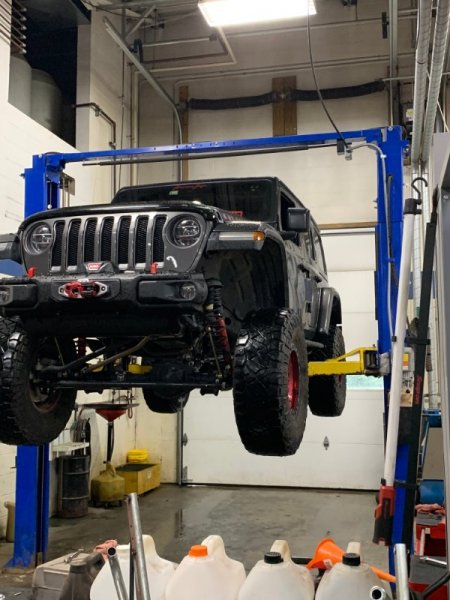
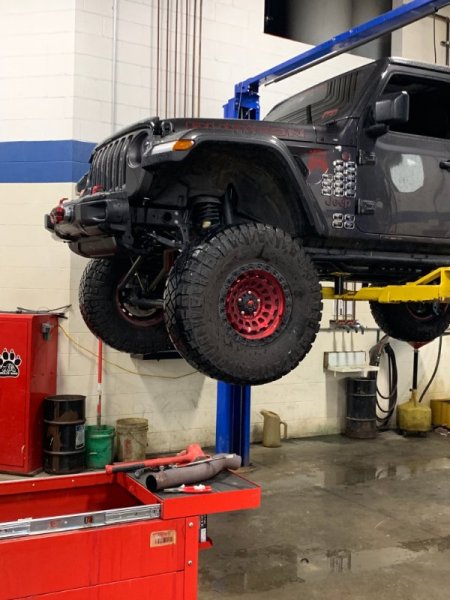
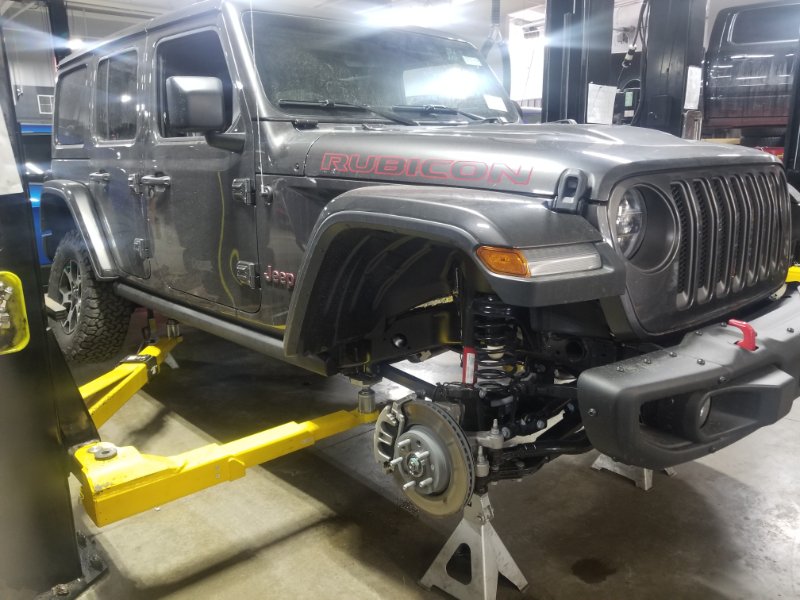
Suspension is Metal Cloak 3.5" Progressive or Loaded Spring Set up Mid arm kit. No need for long arms on a JL...
-
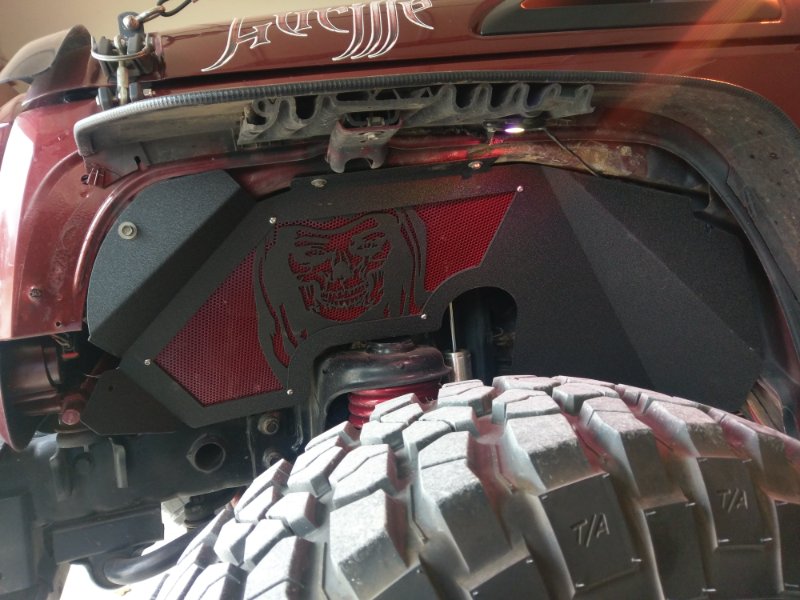
See pics I love them I now also have one like it in Lucille as well...
-
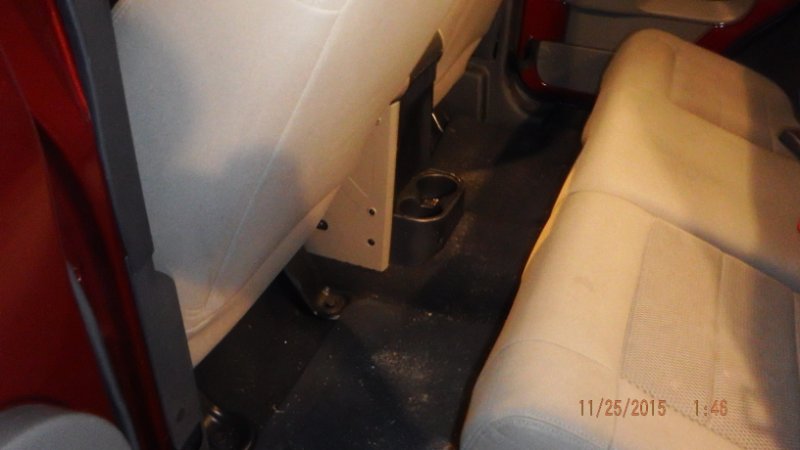
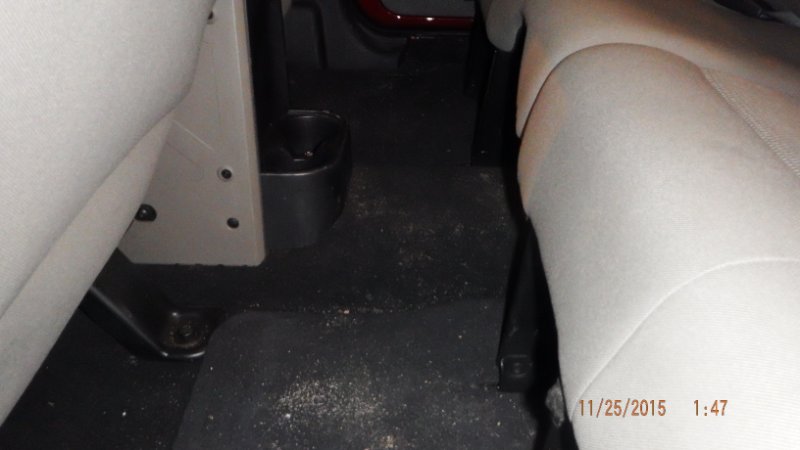
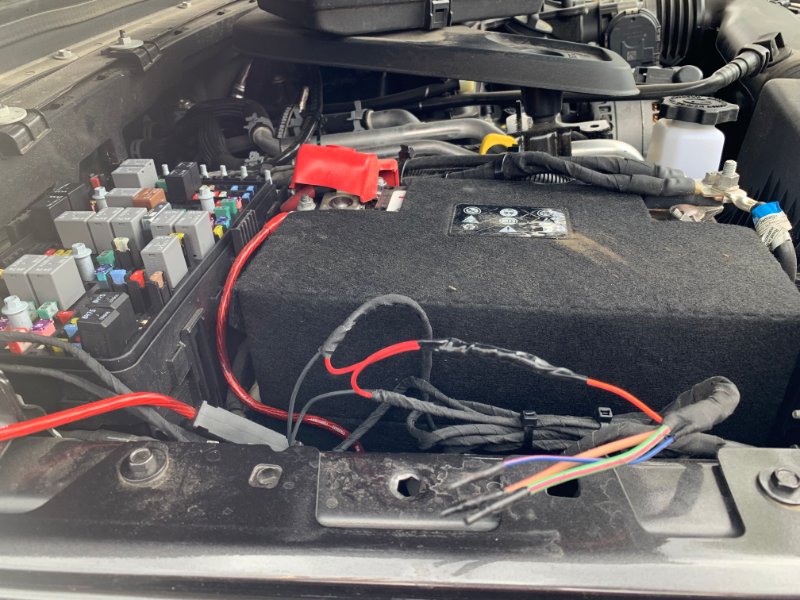
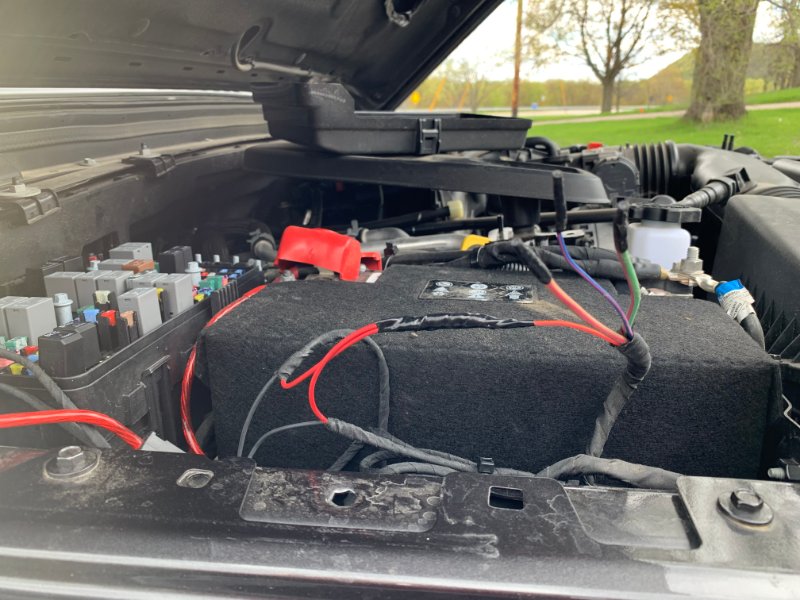
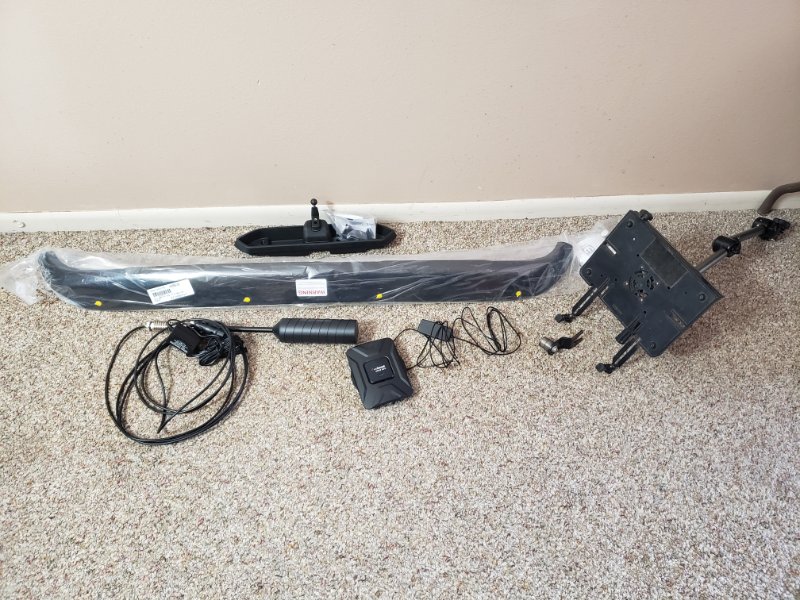
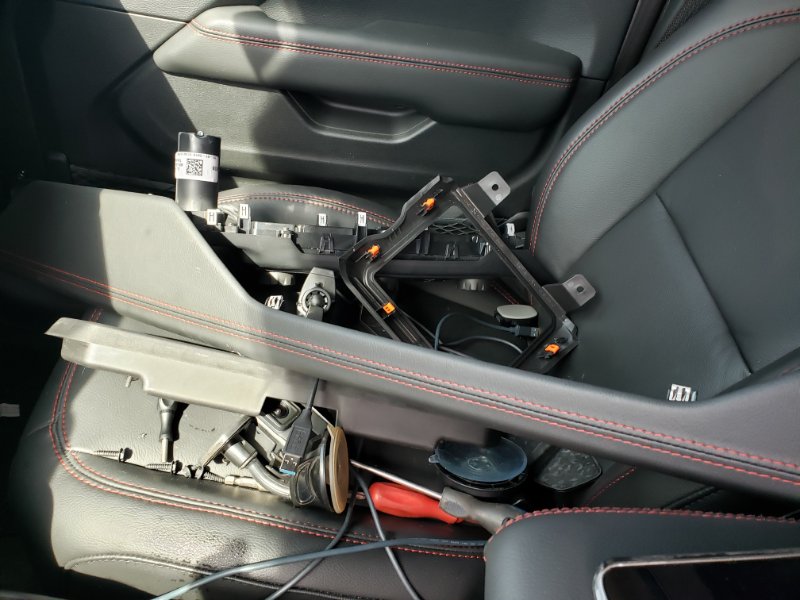
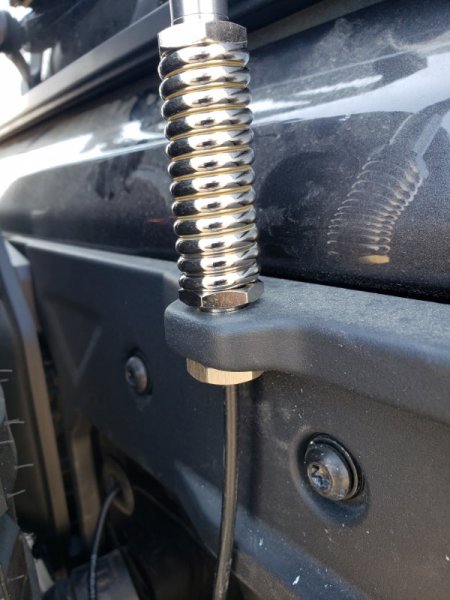
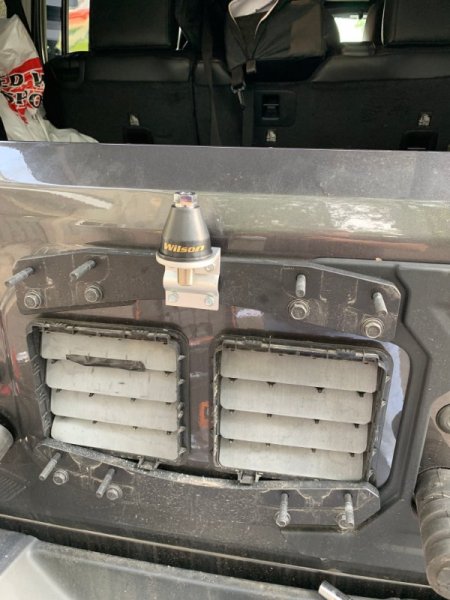
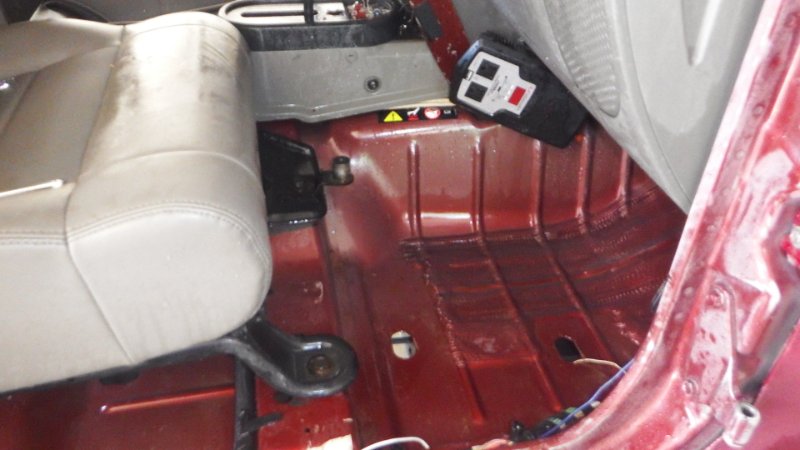
I routed the wires under the carpet passenger seat to the rear seat and under that then zip tie attached it to the coils under the read back right passenger seat along with enough slack the seat can be moved and folded flat without any damage to wires of the Unit... Ill add a pic later...
-
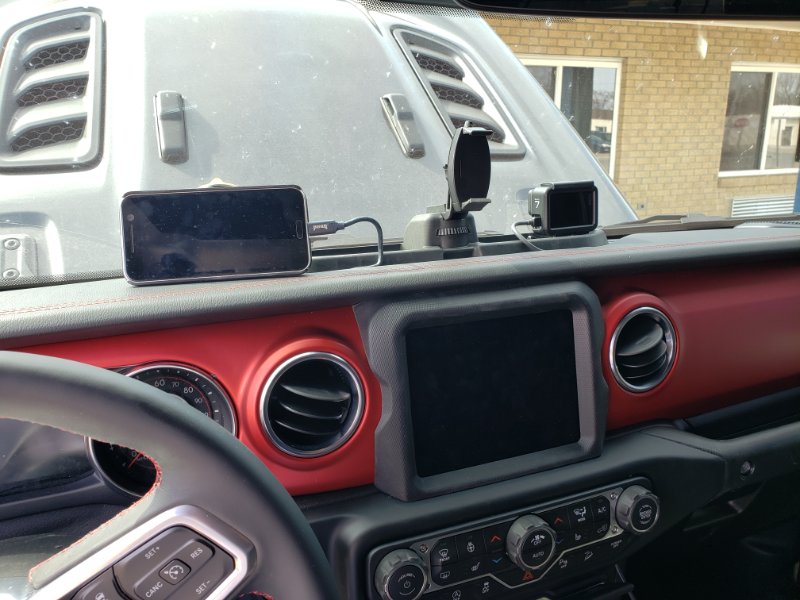
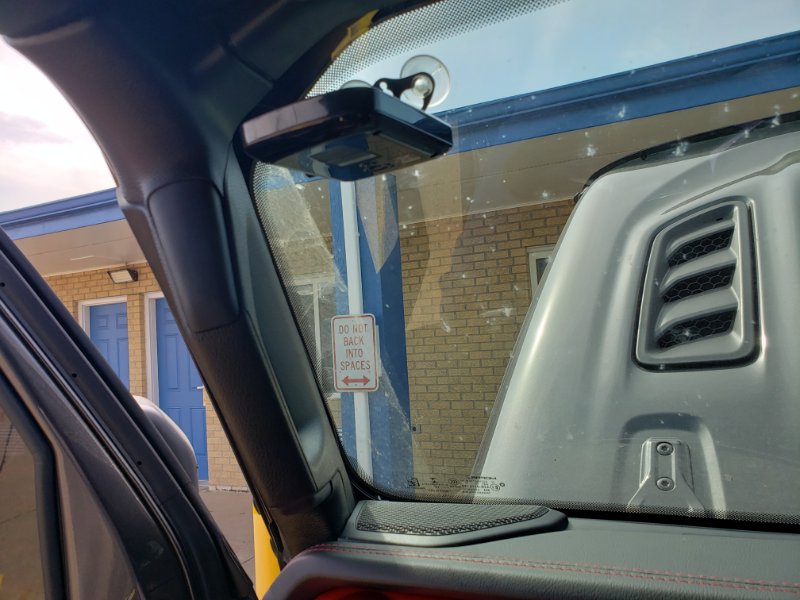
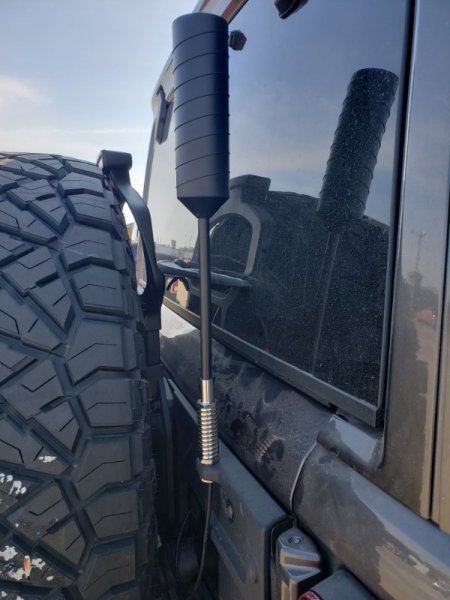
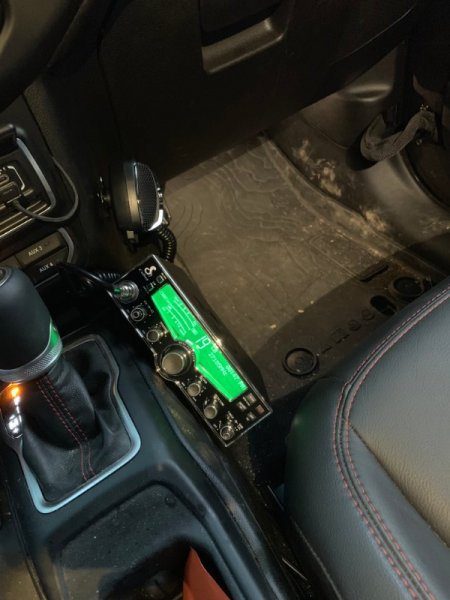
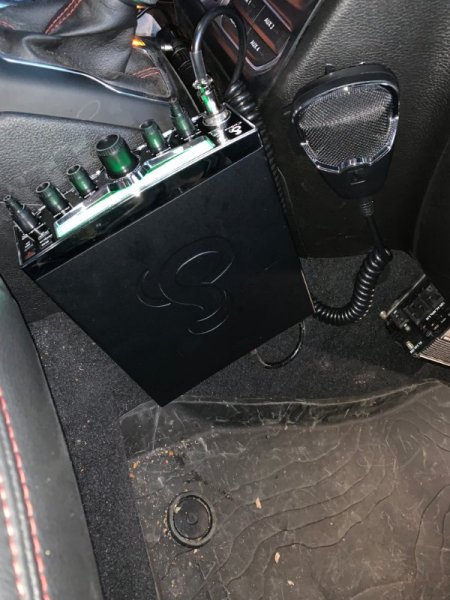
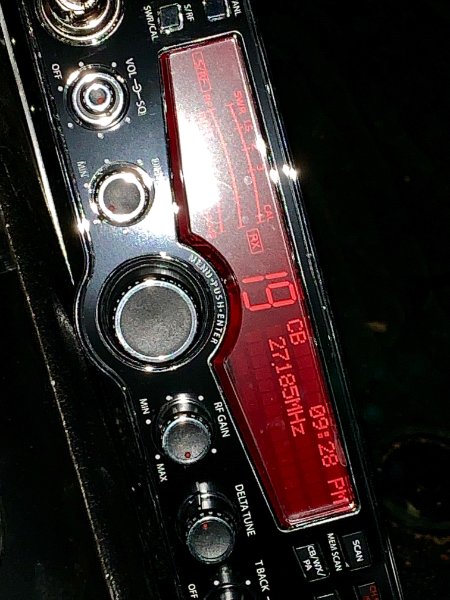
Pretty simple I mount up attached to the underside of the passenger back seat so its also higher than floor level in case of water or possible mud intrusion... I then located it under the cell phone cradle on the dash... This provides Max reach fro what Im running... 1-3 bars added to what you already see... IMG_1118.HEIC
-
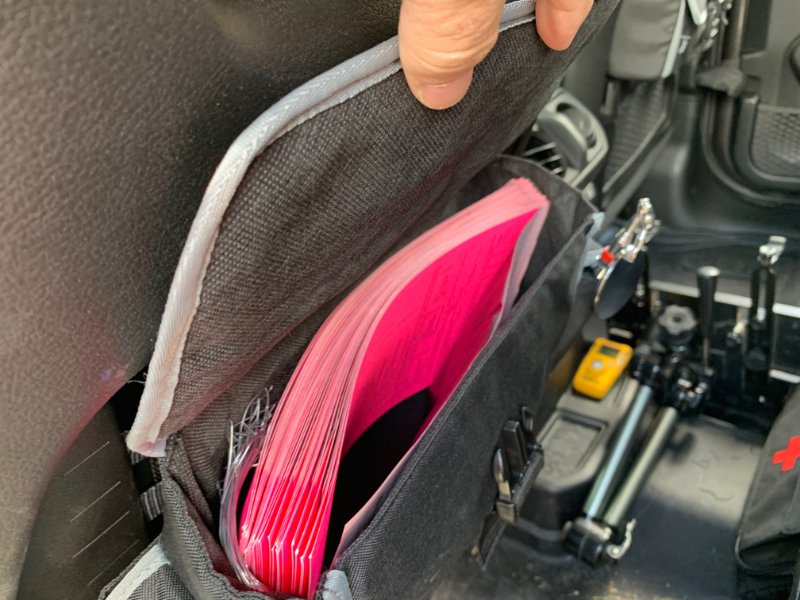
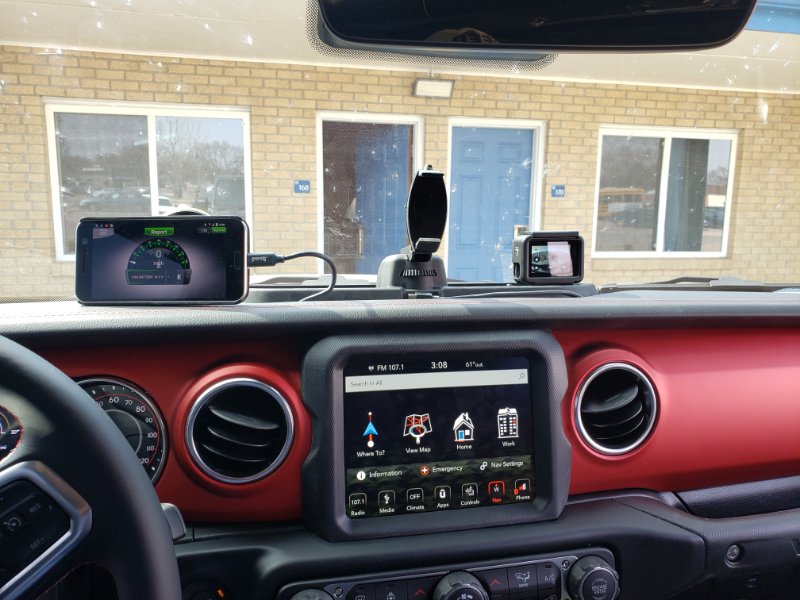
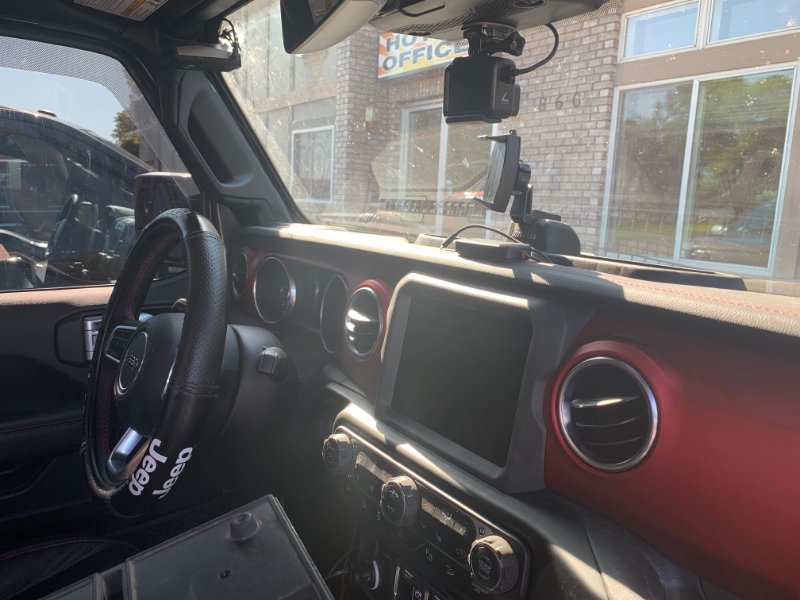
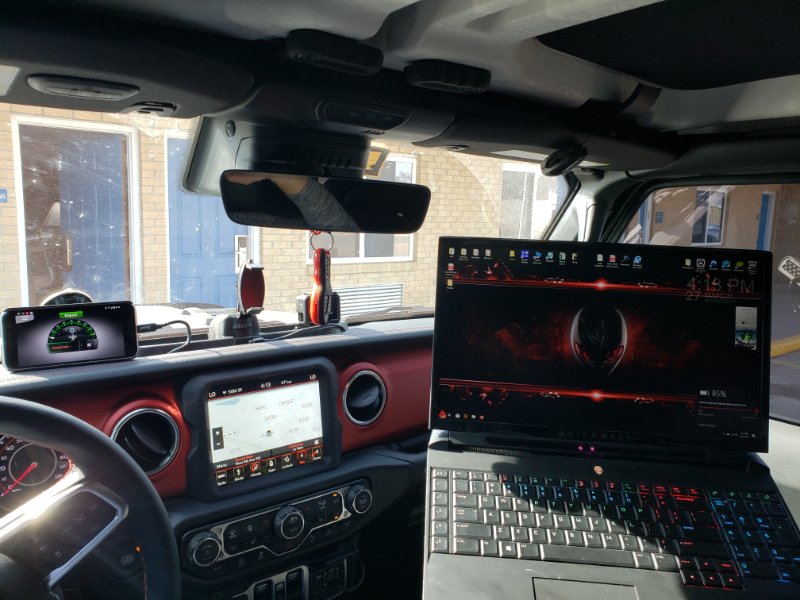
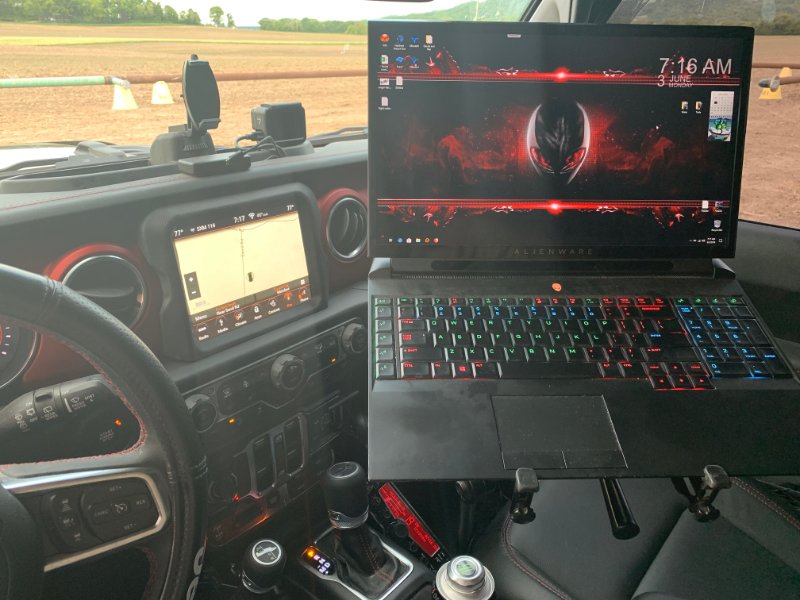
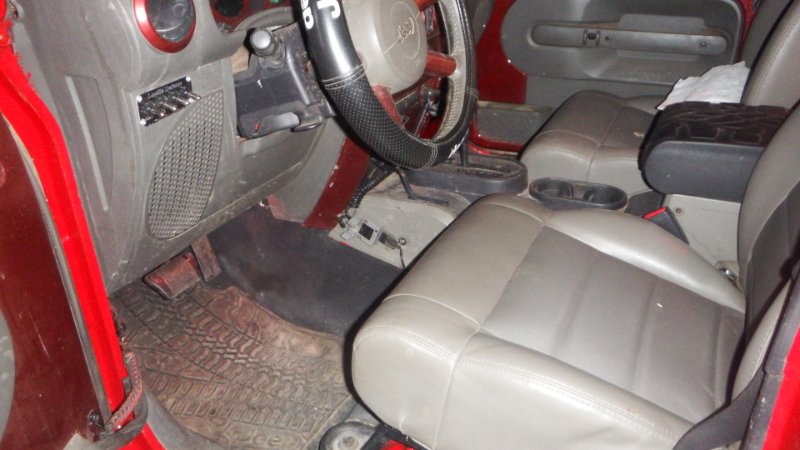
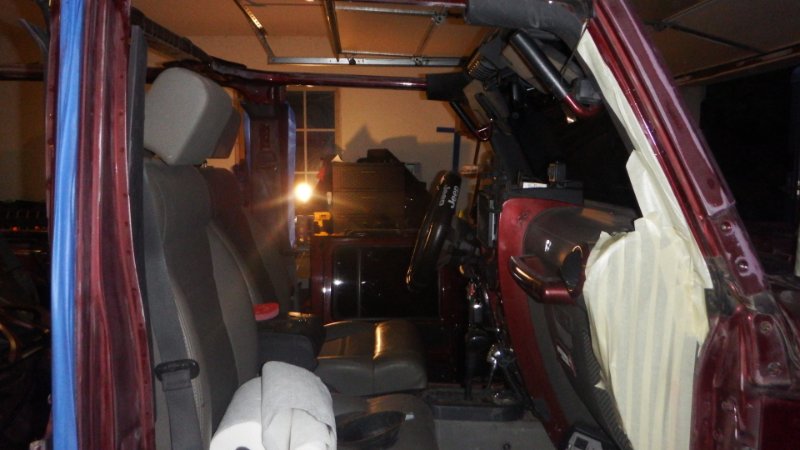
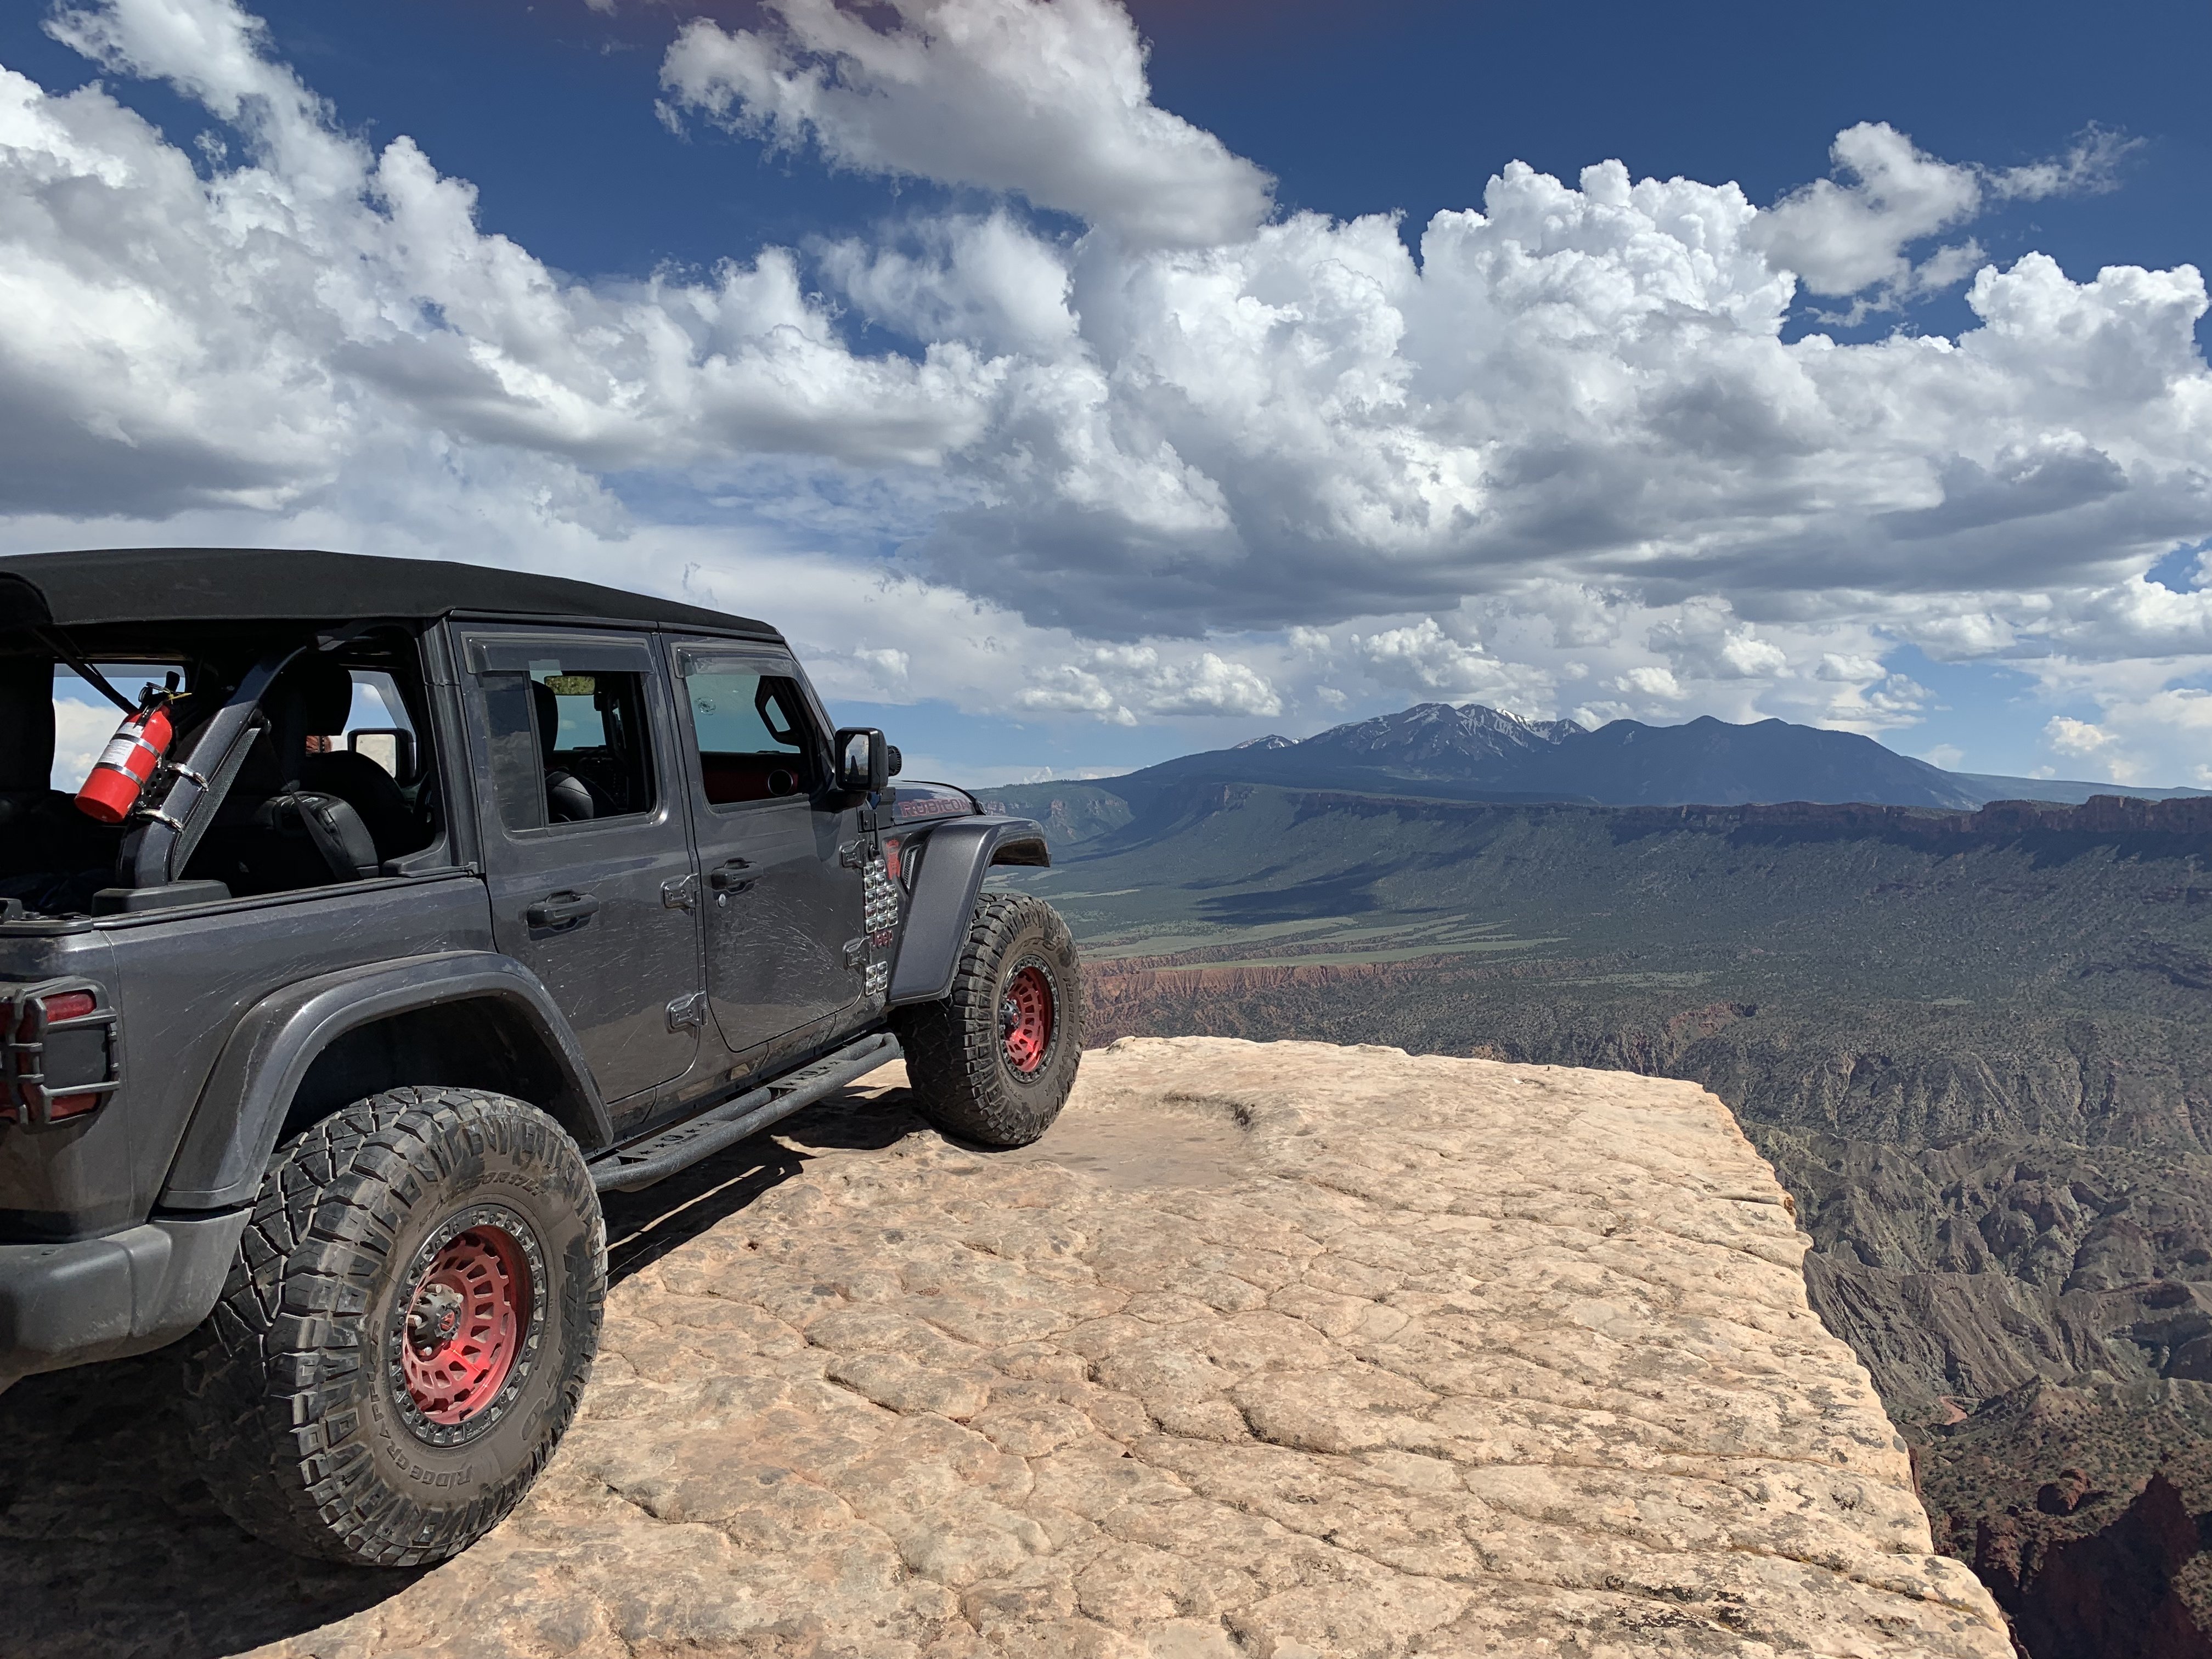
My Office while I work on Cross Country Pipelines...
-
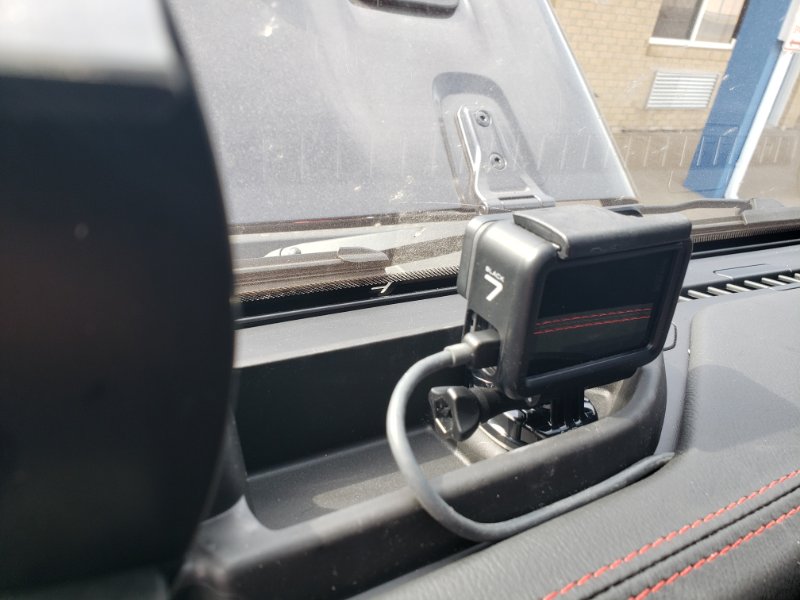
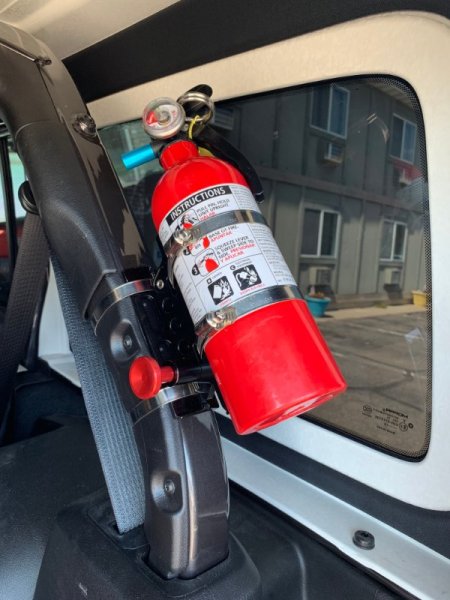
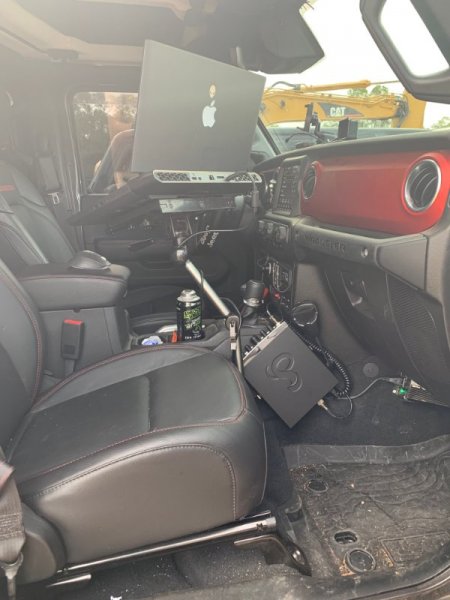
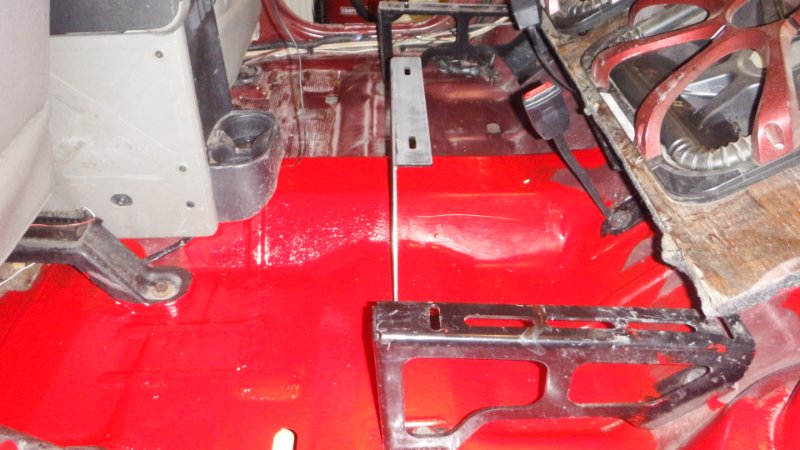
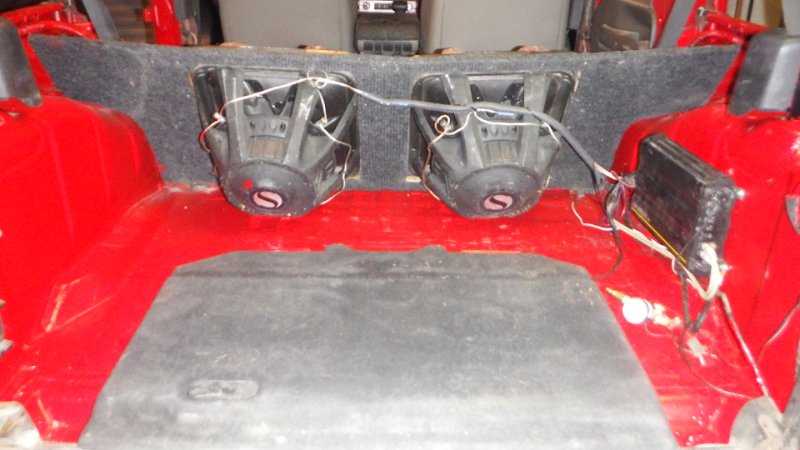
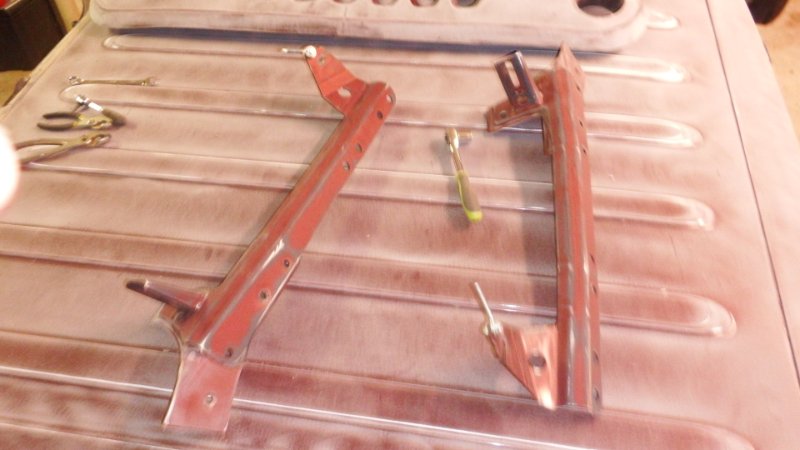
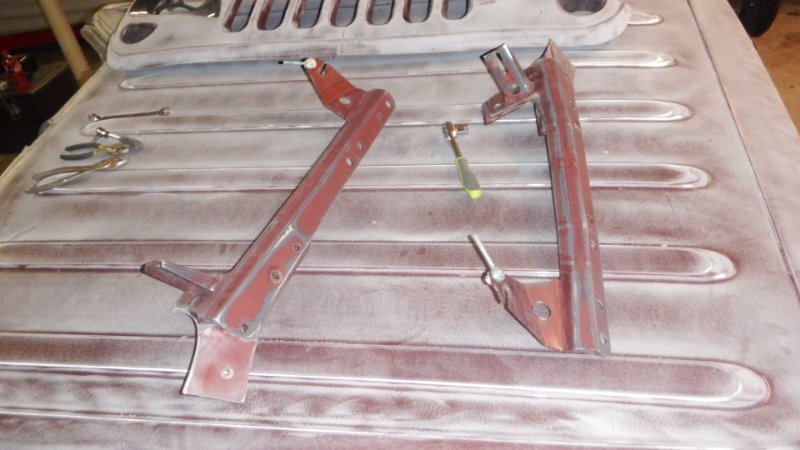
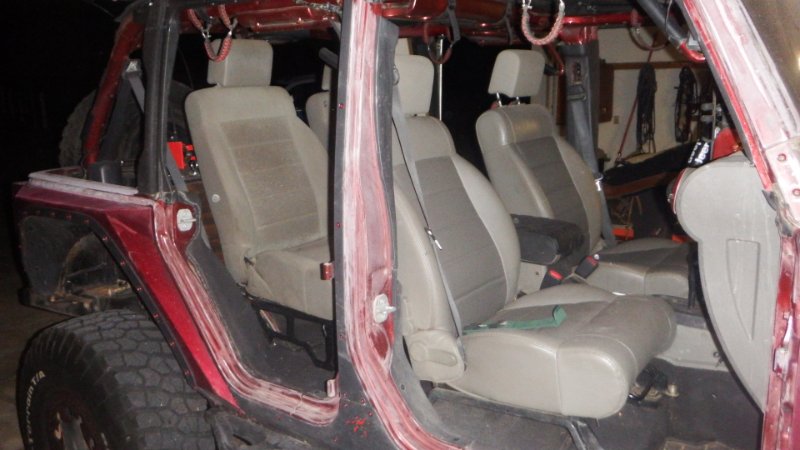
Here they are Post Installation... Not difficult just takes a few minutes a seat...
-
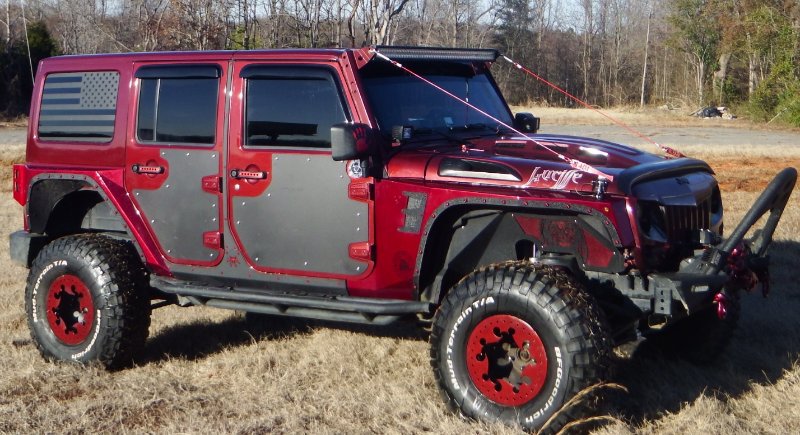
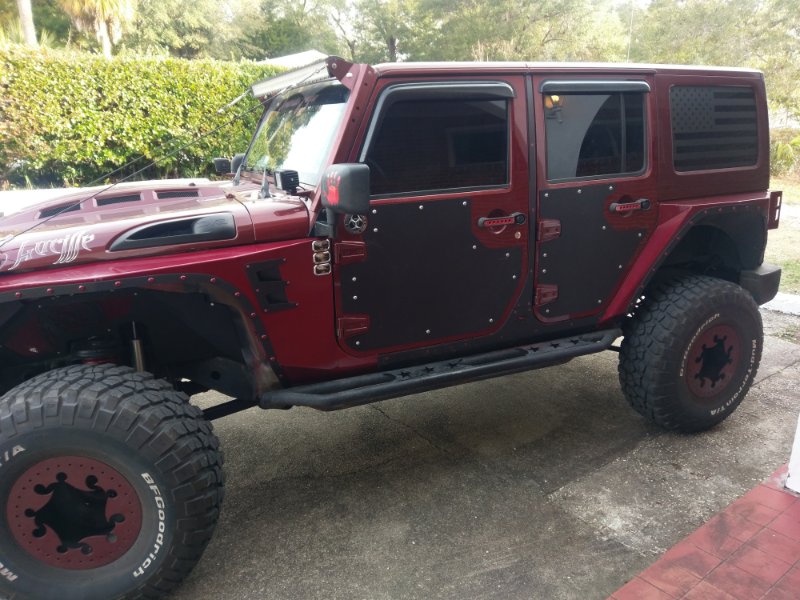
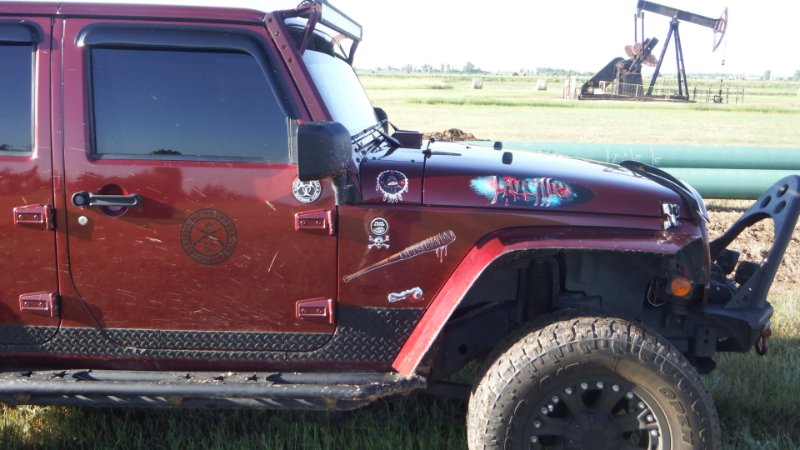
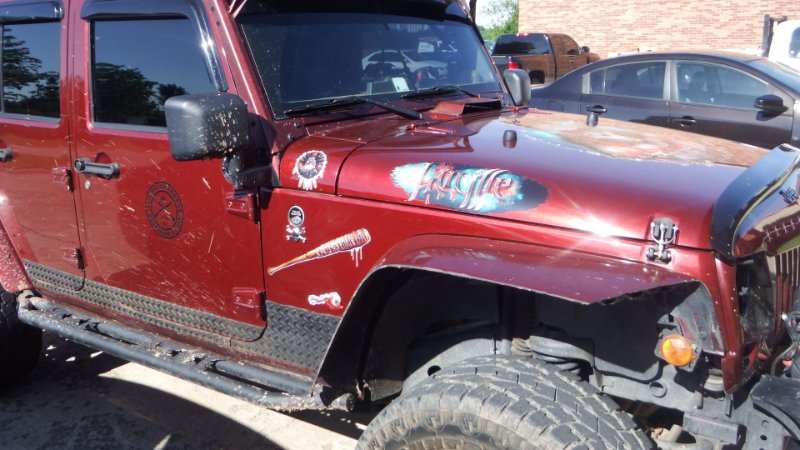
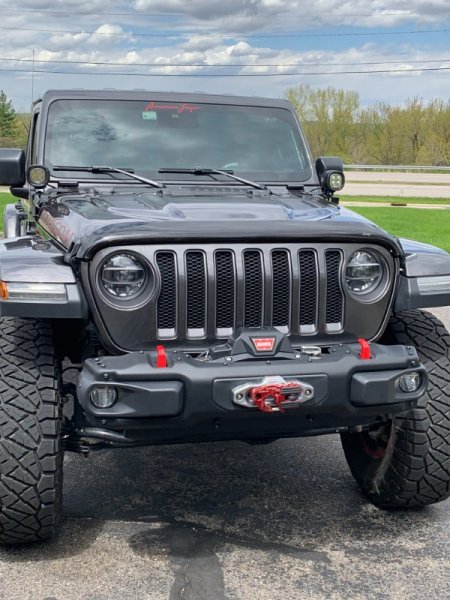
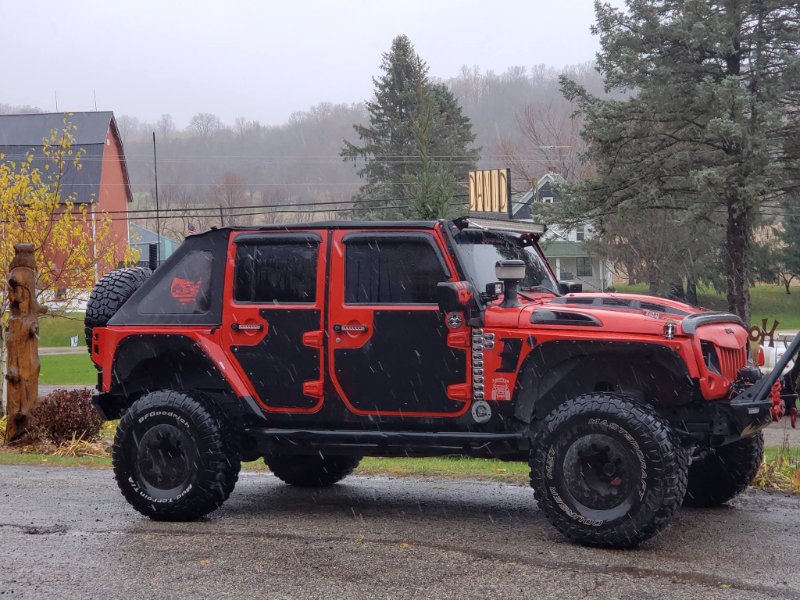
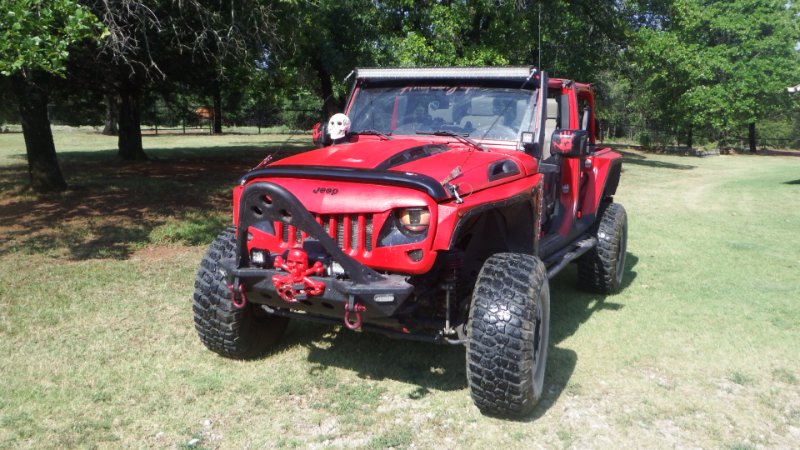
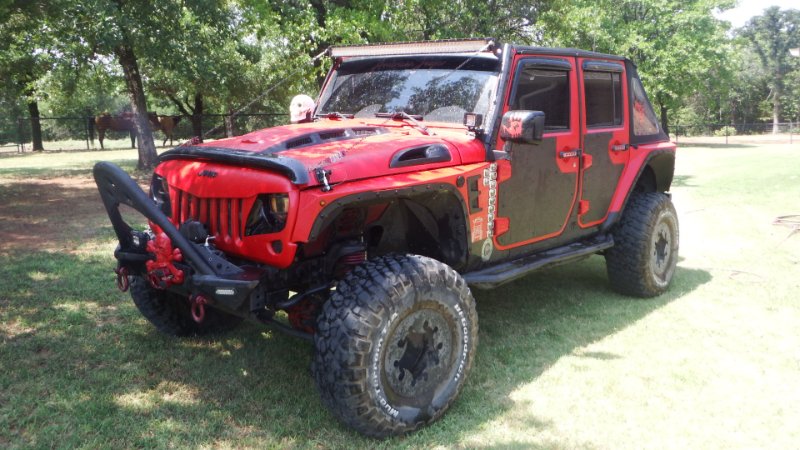
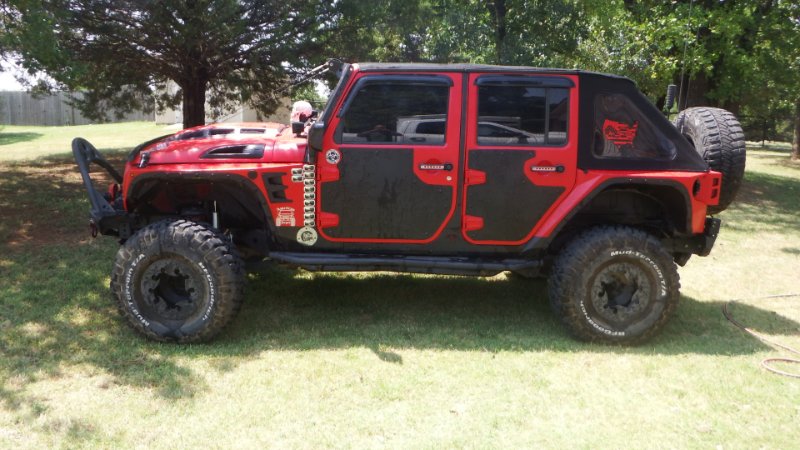
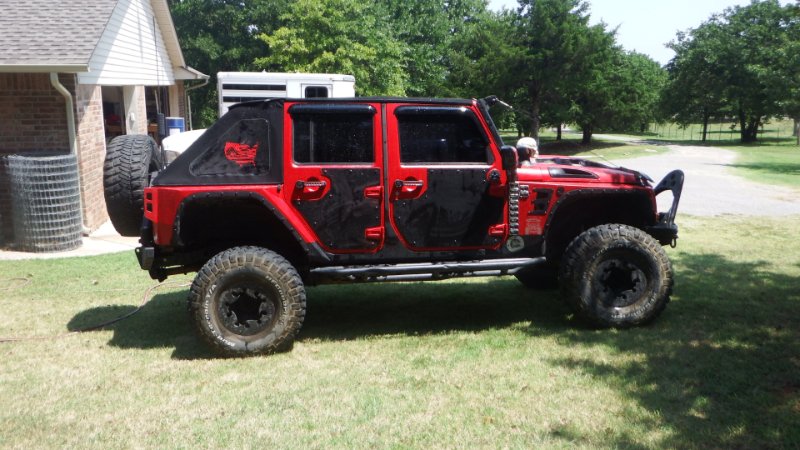
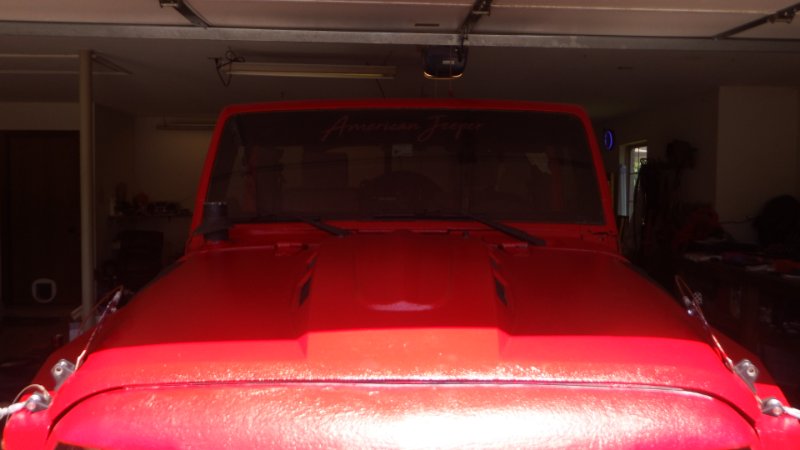
This is one of my Favorite Pavement shots of Lucille...
-
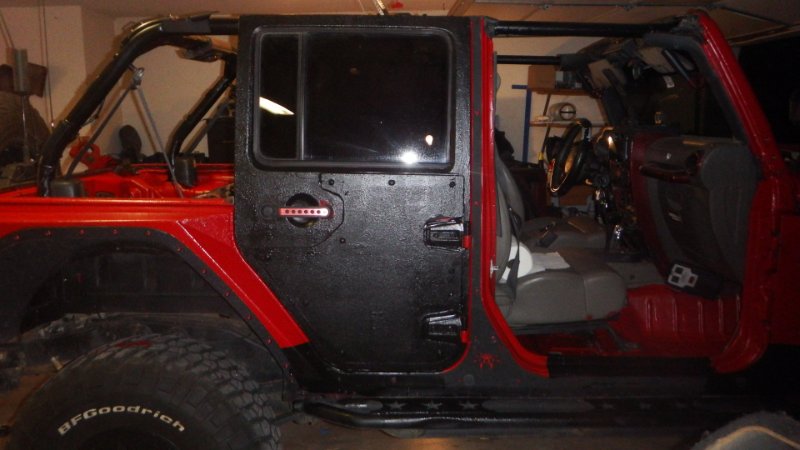
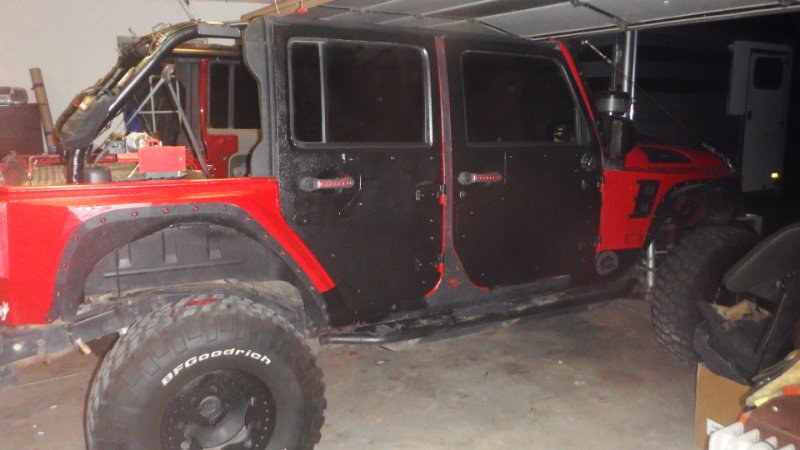
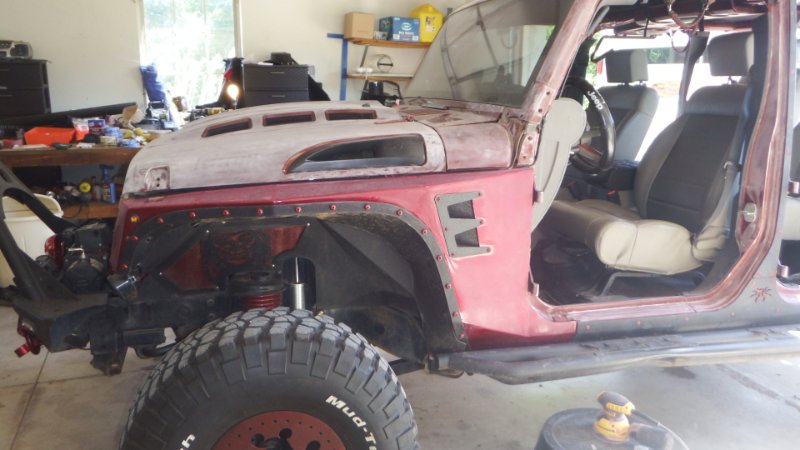
Finally I got two things a Day to finish the doors off better... and sunshine...
-
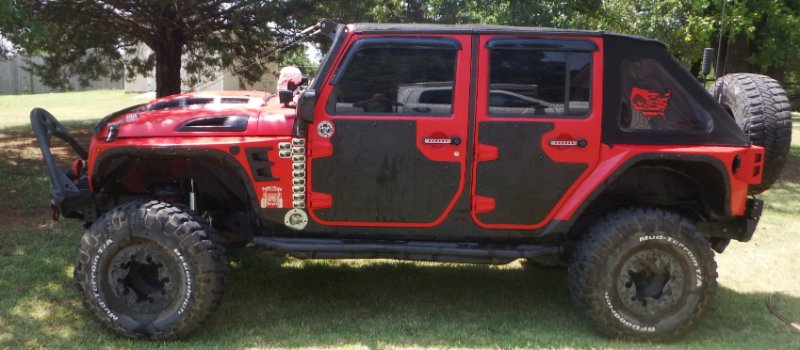
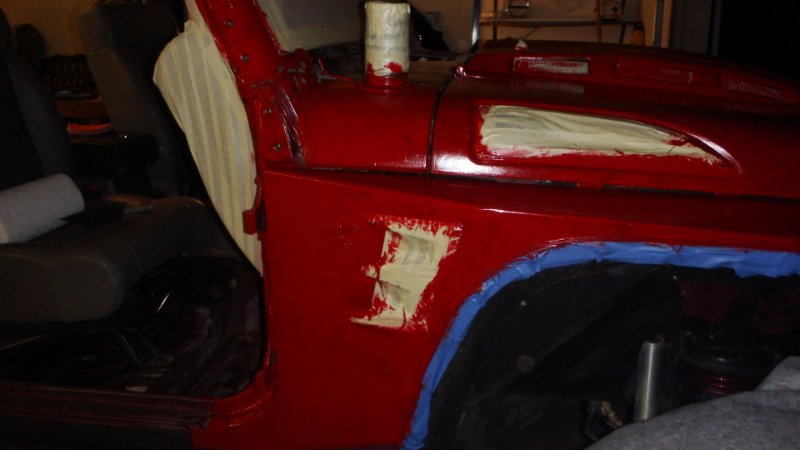
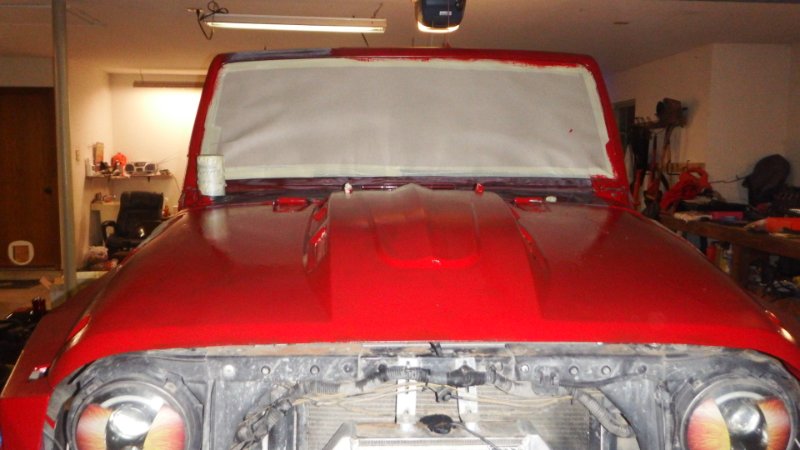
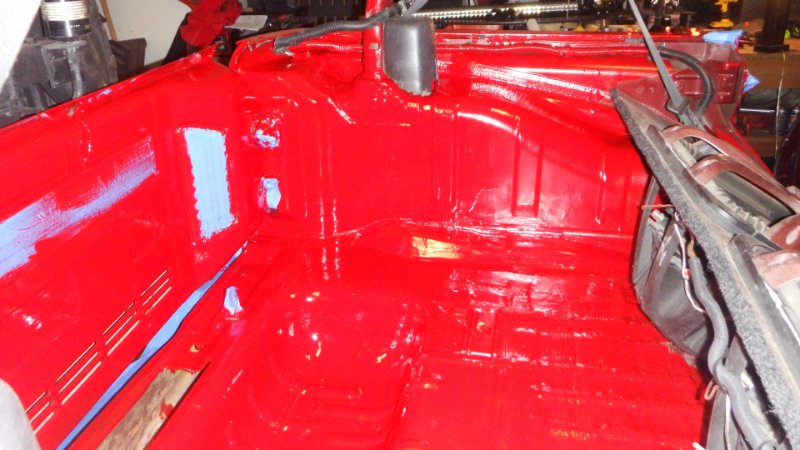
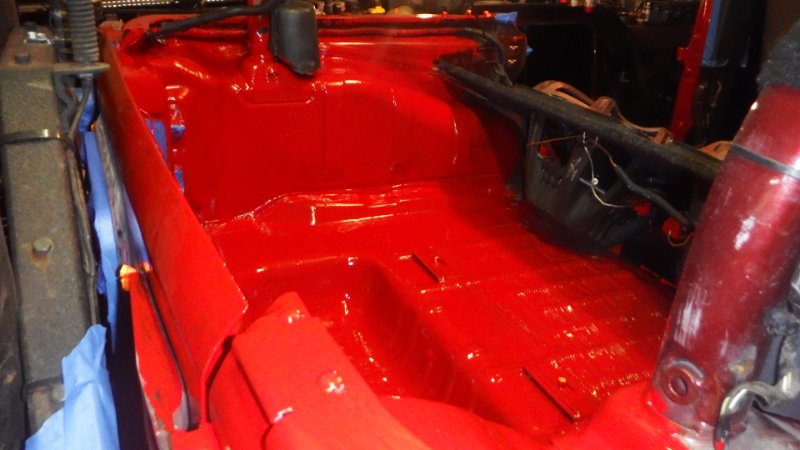
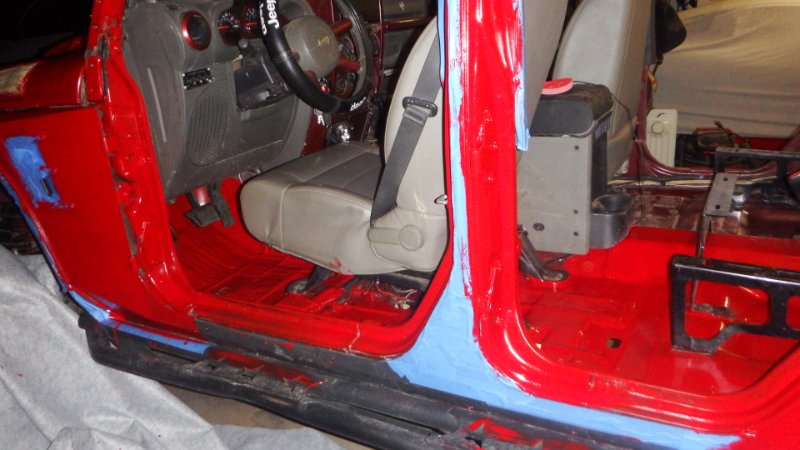
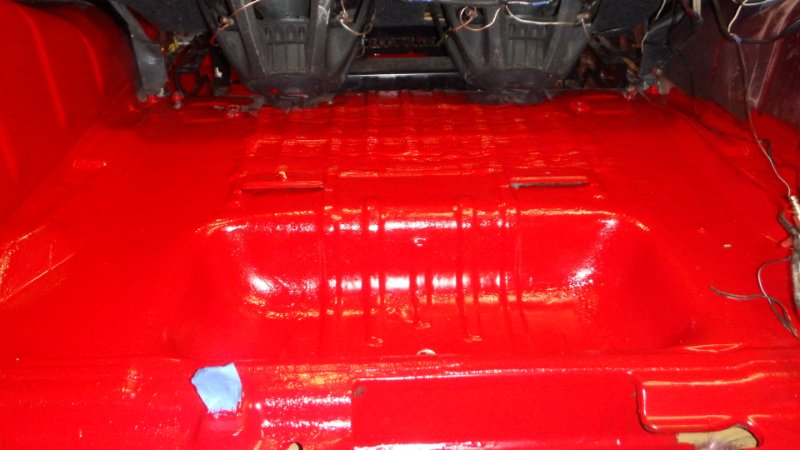
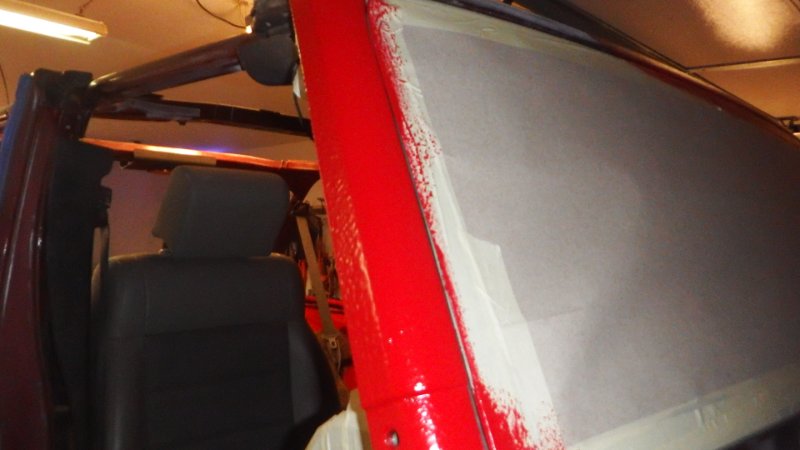
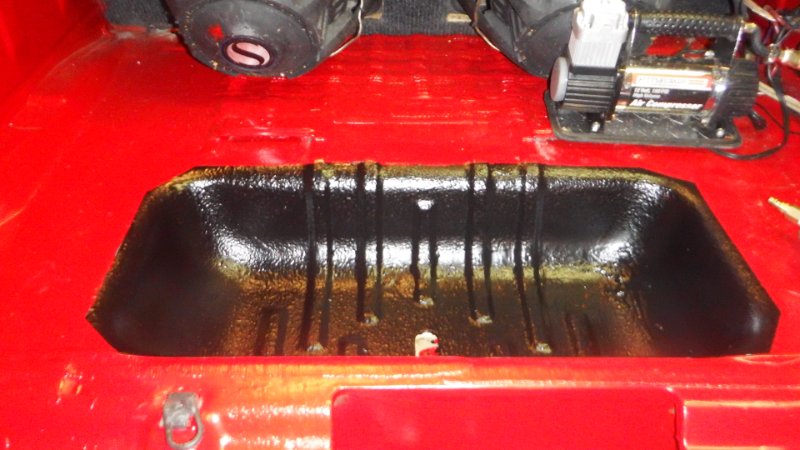
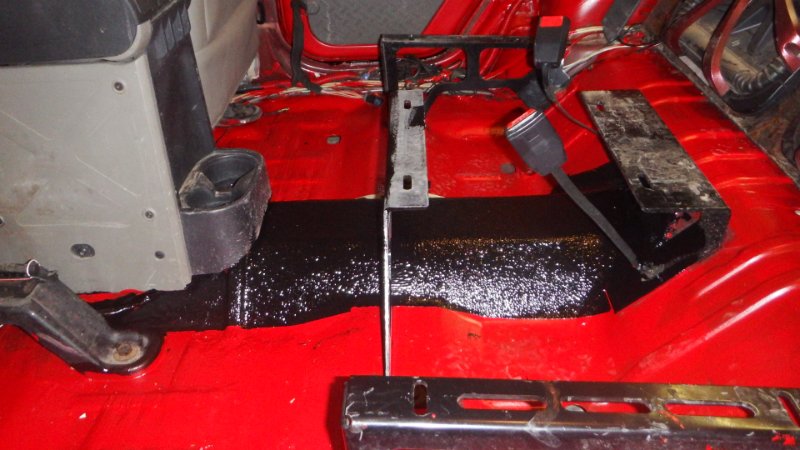
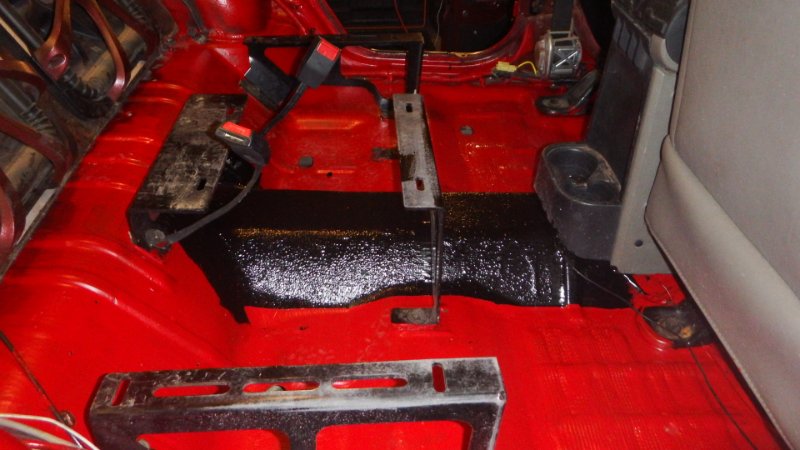
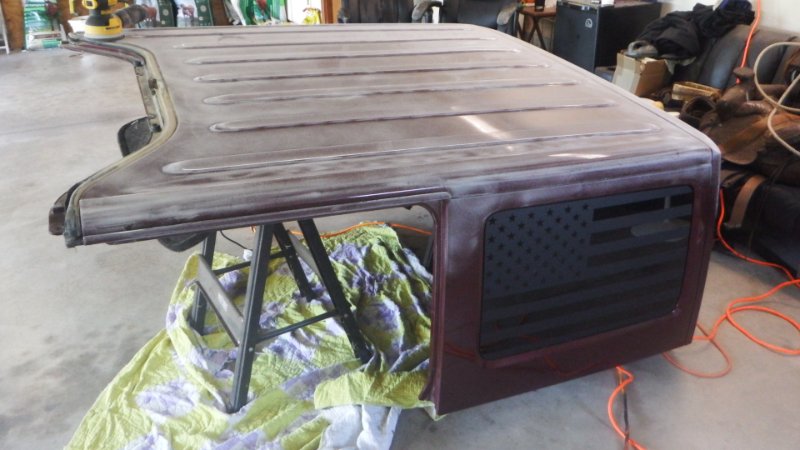
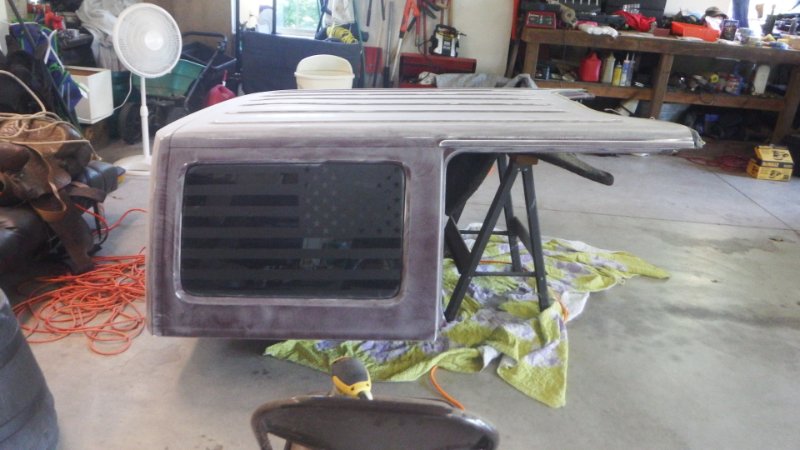
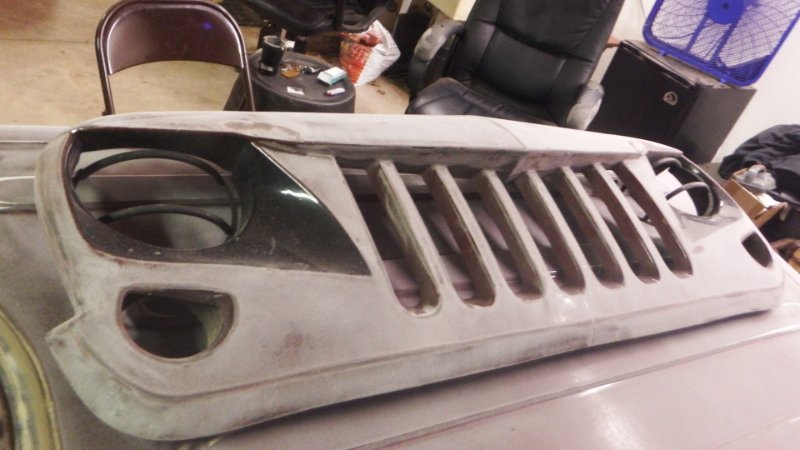
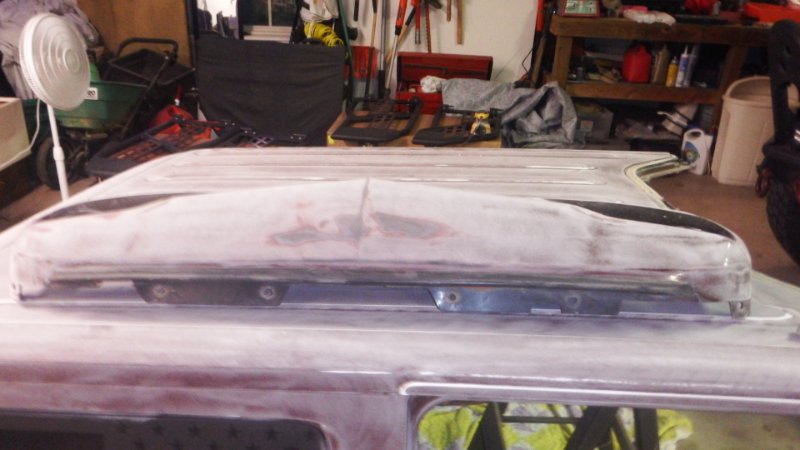
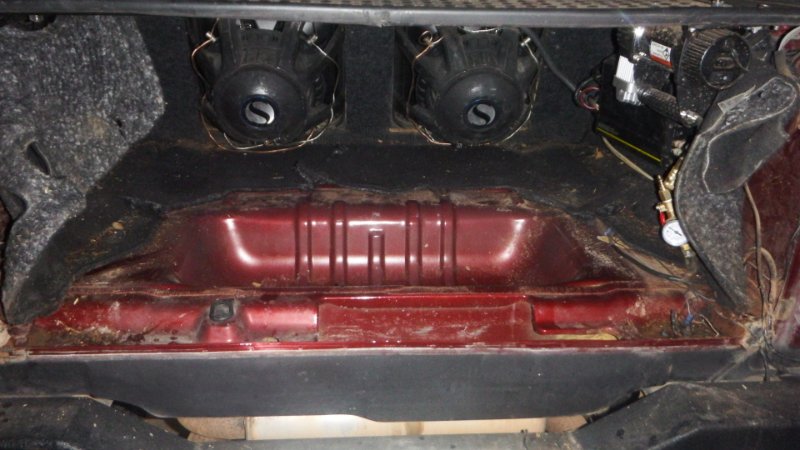
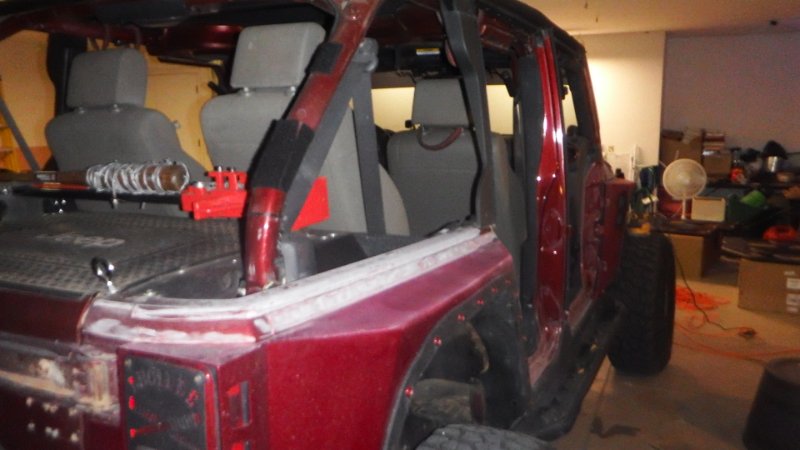
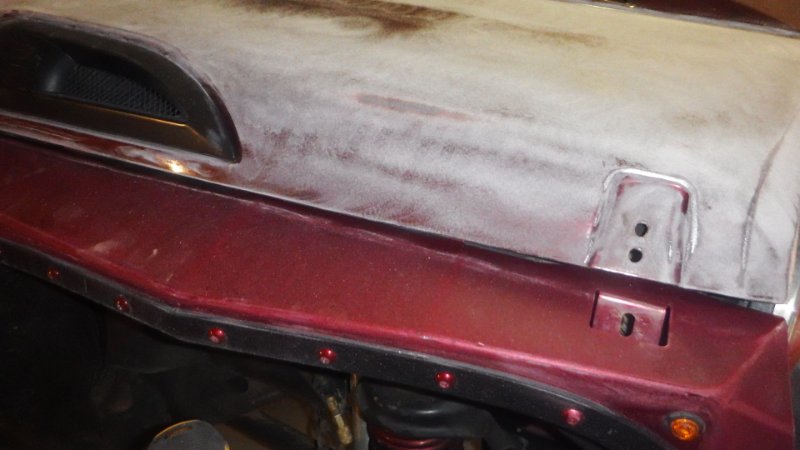
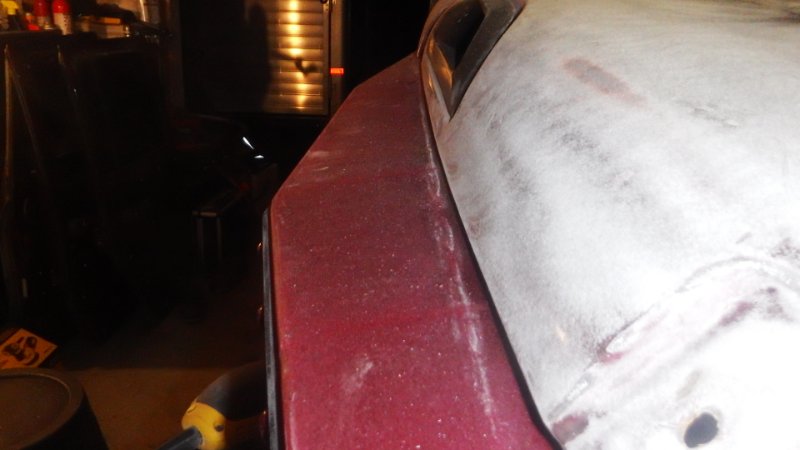
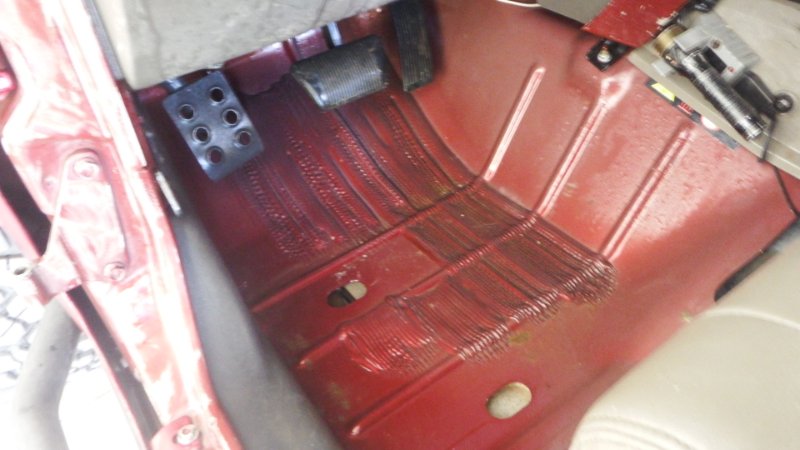
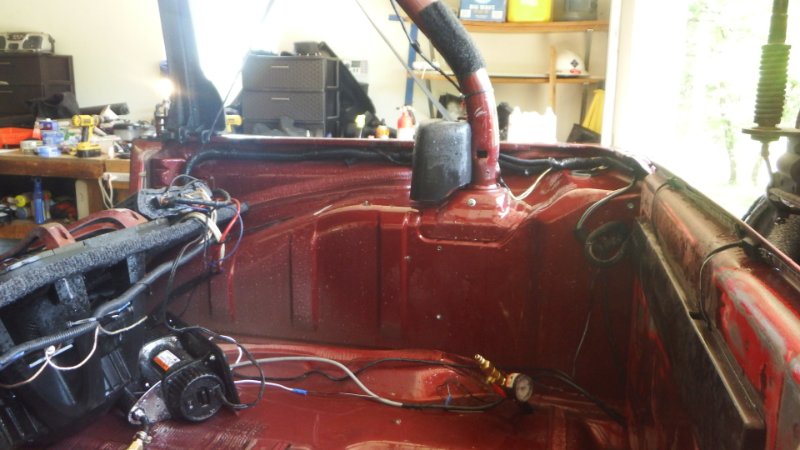
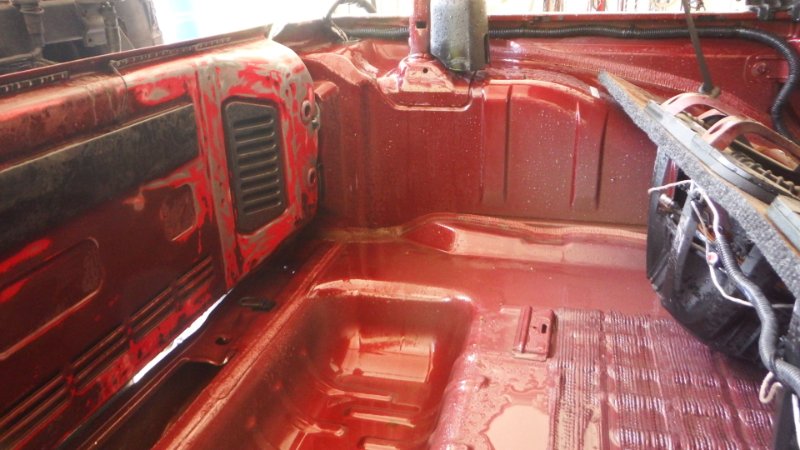
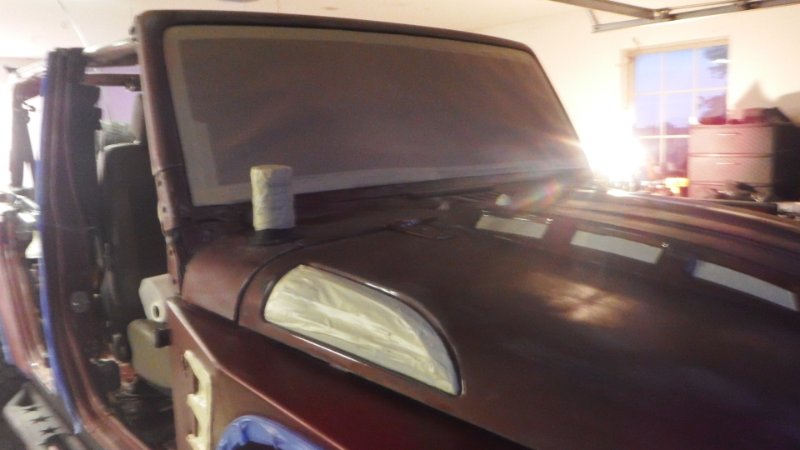
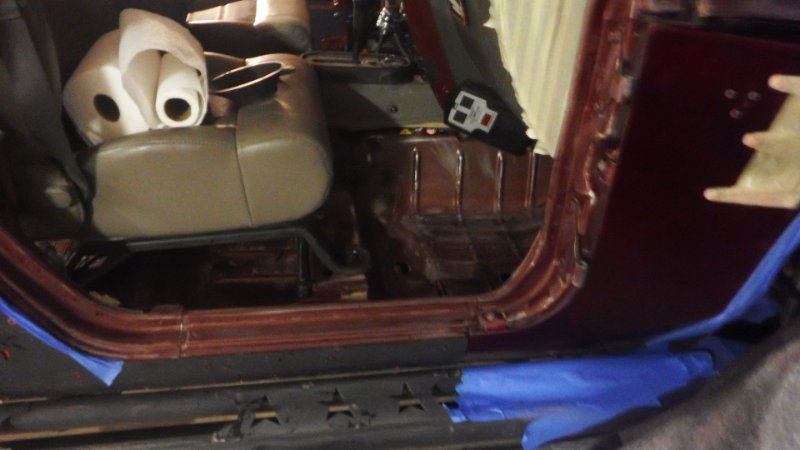
Ok I started in the trunk and on the floor boards and then door trims... Then doors laying flat and I did them in red first then black then I panned on going red again then black a final time defining the doors but I got a call telling me to be on the jobsite in three days so I had to just let dry and drive like this for the next two months... soon to get completed mostly... I started sanding the hardtop that same day I got the call to return to work, does it matter well now its half sanded in addition to not matching until that point I had 3200 in that hardtop and all so I should have started when I was positive I could complete, oh well work called so I jump... With correcting the proper roller and use in the technique of application cutting in and free handing and thinking so I dont mind a red mark on the bottom of the seat when I see it Ill still think well its a single stroke shit happens and I didnt have to remove those damn bolts and worse to get her done...
-
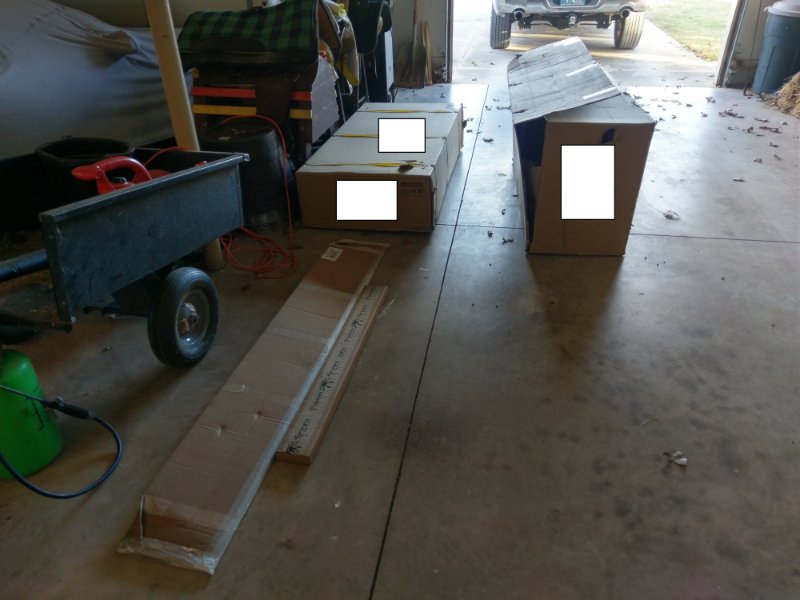
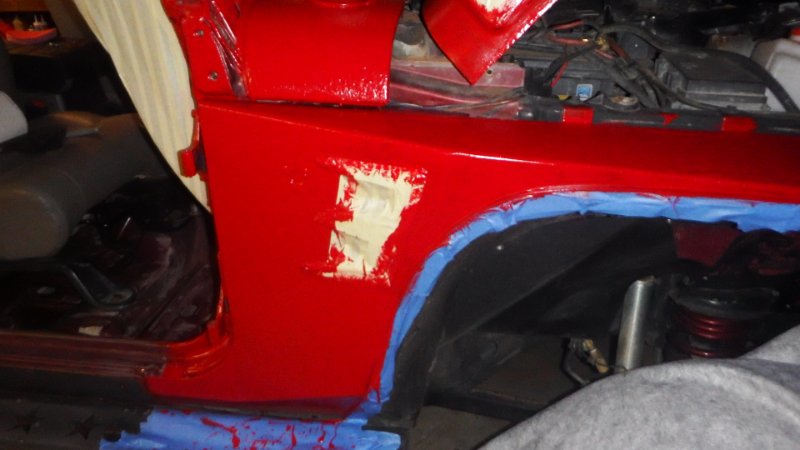
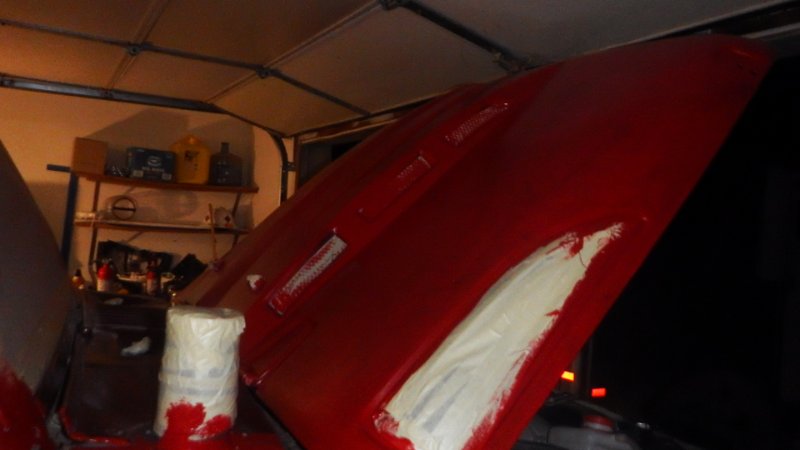
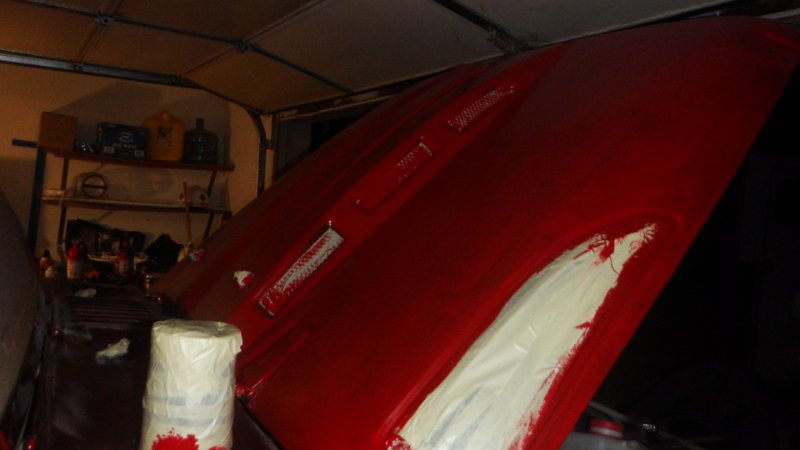
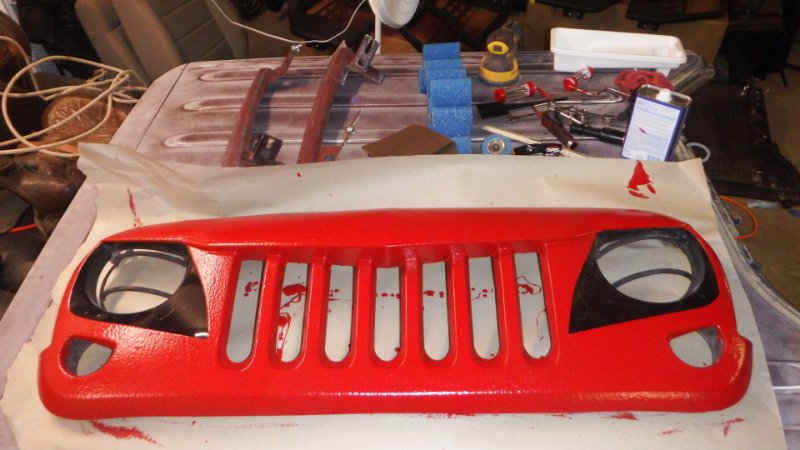
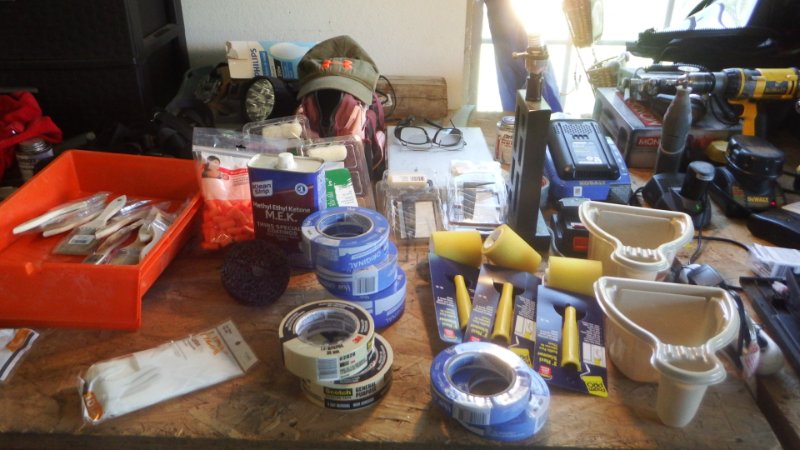
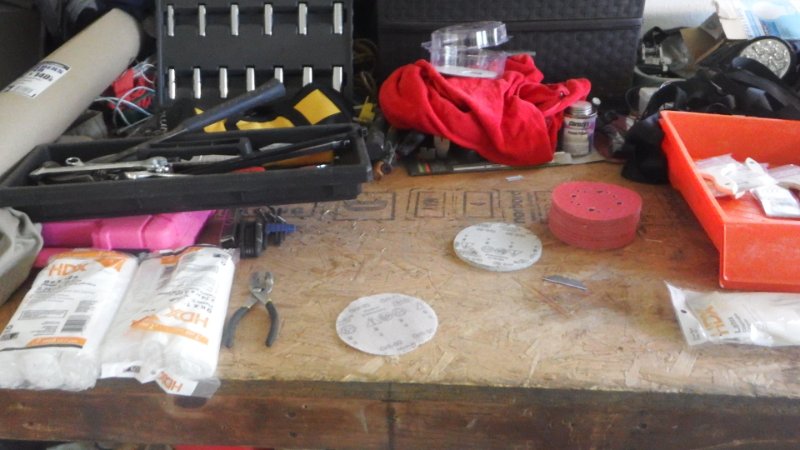
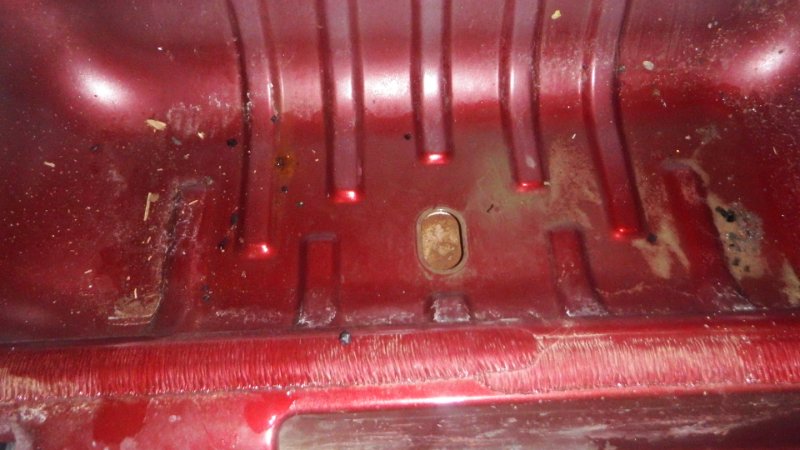
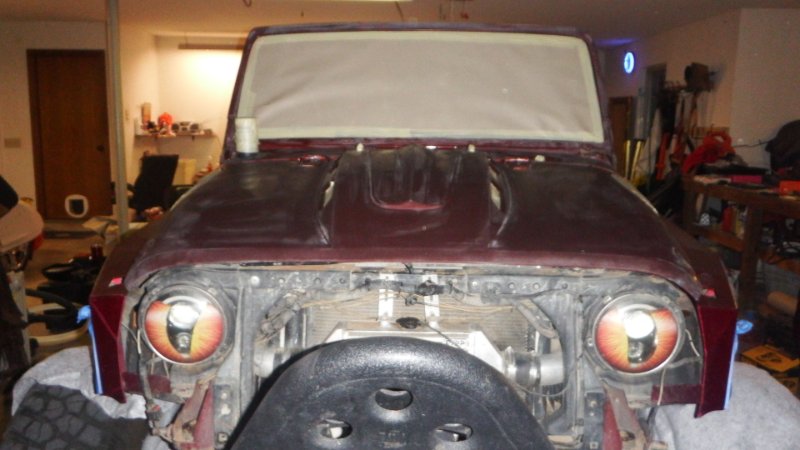
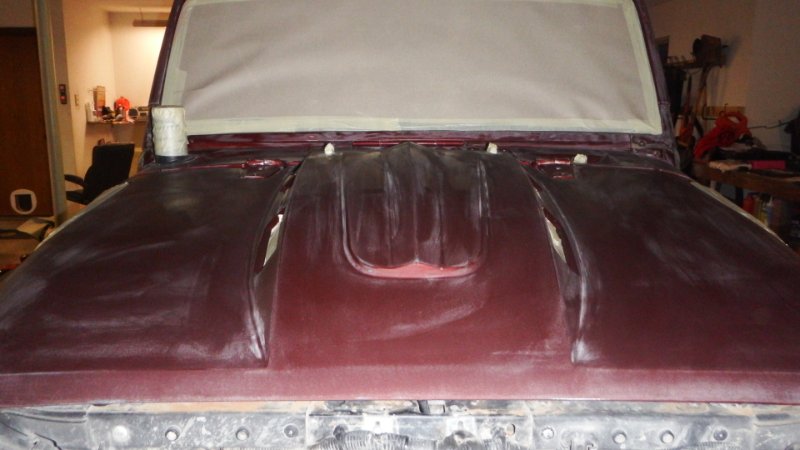
Ok, now to pick this up I'll start with I have already purchased Two set ups one for Red Using Woman in Red color from them (now you can also tint it to your exact color match ask them...) So I have one set in Woman in Red enough to reportedly do a jeep - Trust me buy a 1/3rd more than estimated amount... Reason being touch ups third forth coats in some areas... and also having a back up for minor touch ups for future if it doesnt last oh well no big deal... Im in at about 800 plus for the parts and materials required... Next you Prep and no matter how much you do prep you will find many things you didnt even catch until the red glob is already there...or black in my case.... I prepped for four and 1/2 days and Ill be honest finally I said screw this I mean I could never stop... so Im gonna red neck the job because my fingers are killiing me I have been to the store now three times to buy Painters masking tape...to work with and IM tired plus it takes four to five days to fully cure you dont want rock chips and dents and bugs and guts in your paint job... even though the bugs wont really matter since they are biodegradable... as long as your cool seeing the antenna for that flying whatever for the next two yrs... So you start to apply...when you do keep this in mind... When you paint and get to much build up it will run... Usually rattle can if you wait about 15-20 min to hit the same spot again it will hold and not sag or run on you... This stuff does the same thing for 8 hours... at least a solid 5 so when you do things like the hood move them every fifteen to 30 minutes to prevent sagging and runs... Trust me if you can lay it flat do so and leave it be then you can grab most in a second coat touch up coat... If your doing the underside of the hood work on getting the underside upwards angles first then the flat next... this way it will aid with some sode surface tension and will help keep the flats up until they start to get solid... I did my hood three to four separate times due to this very thing... Pay attention and thin to win...remember make five coats but if you go thick and it drops on you or a sag starts to run your going to have to wait or wipe with mek immediately and feather the edge and wait then retry... then smooth all that crap out with third and forth coats... This is now the application section... You will discover just like me that rather than using the blue Styrofoam rollers you may in fact realize that solvents eat That Styrofoam crap... and soon you will have a tiny sliver at the top sharp as glass strong as fiberglass and will get you and sand away you will for all your points that roller leaves a boat load as it starts to fail... and its due to also the amount of pressure you push down as to exactly how long until it def fails... So I opted for a more material mini roller and found they lasted about 3 times as long and you will get the FEEL for it as you work on your whatever your Monsta lining... More pics time...
-
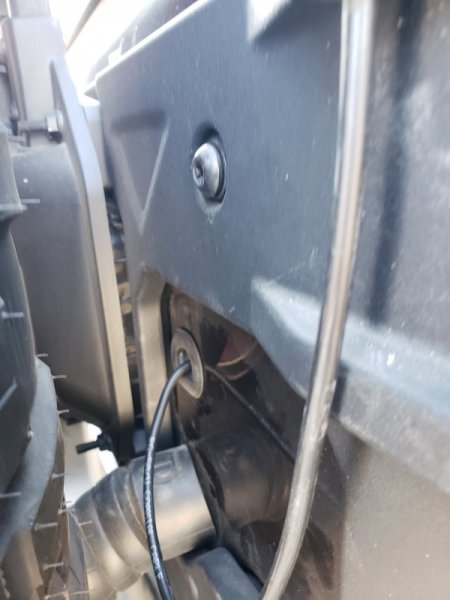
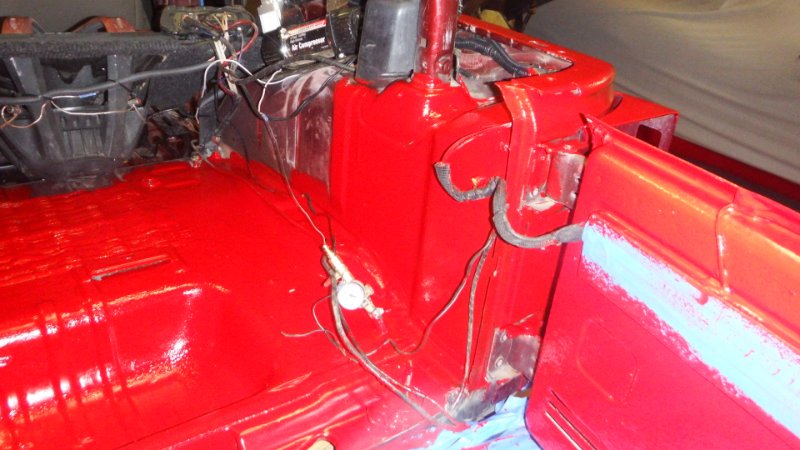
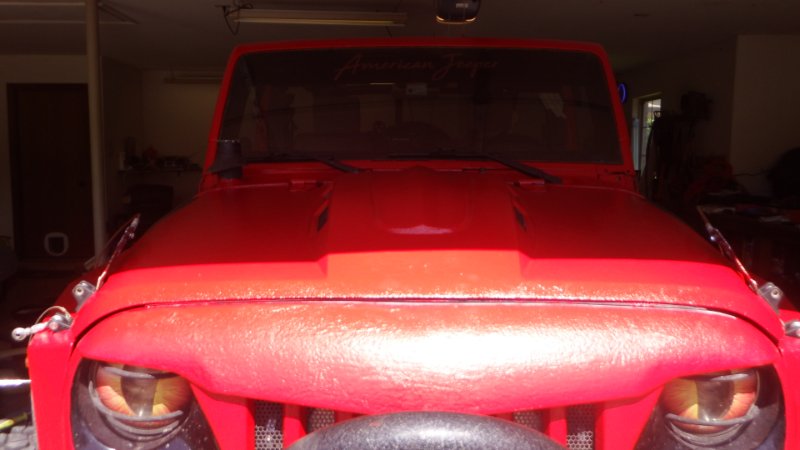
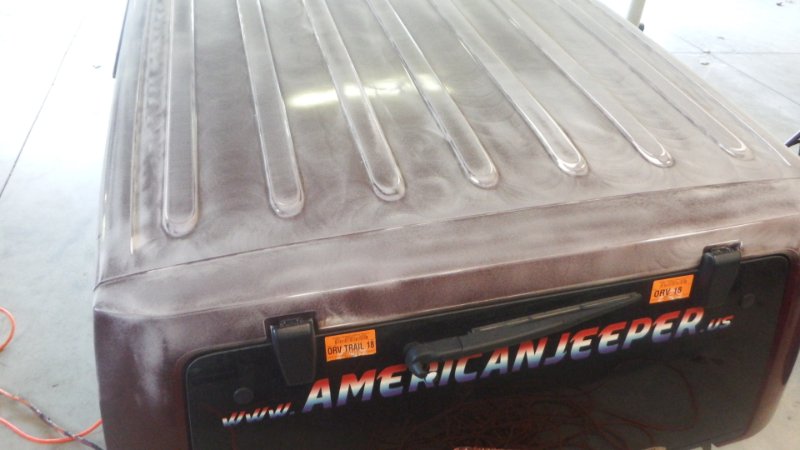
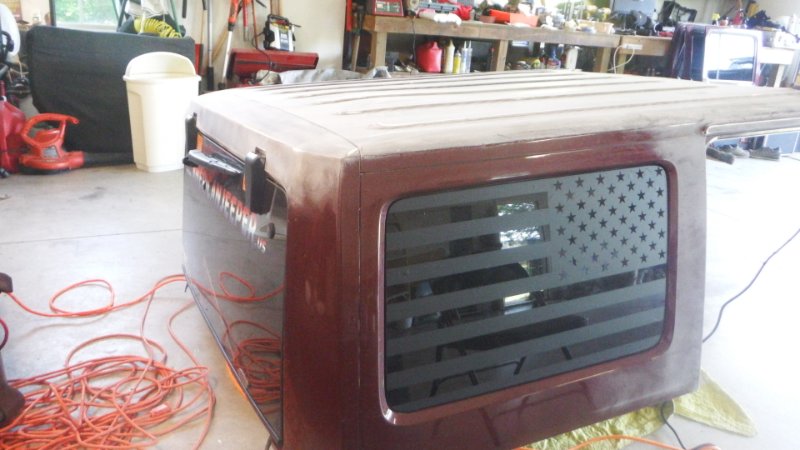
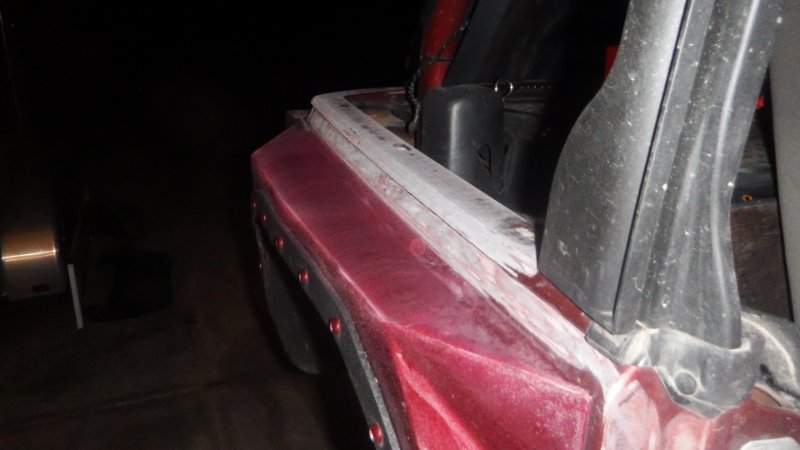
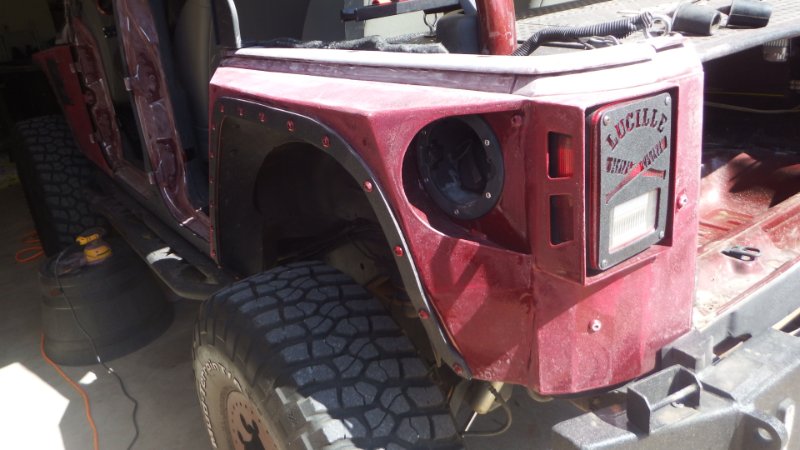
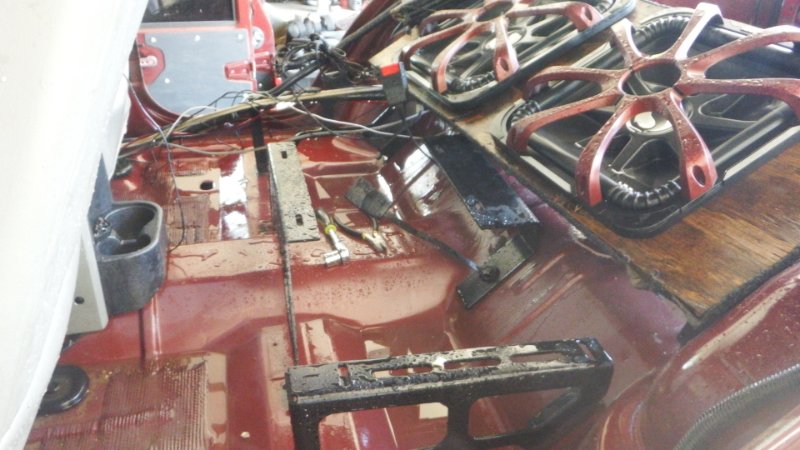
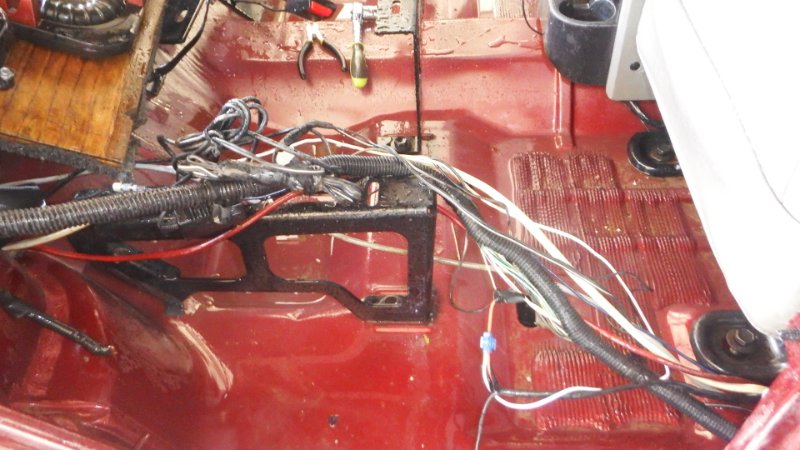
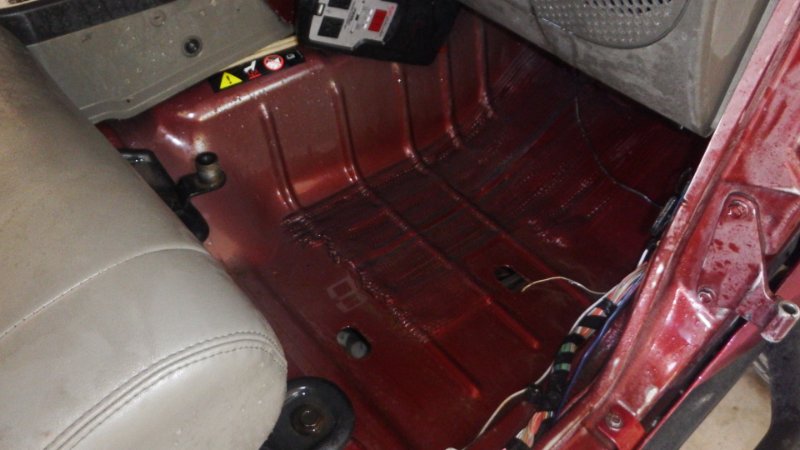
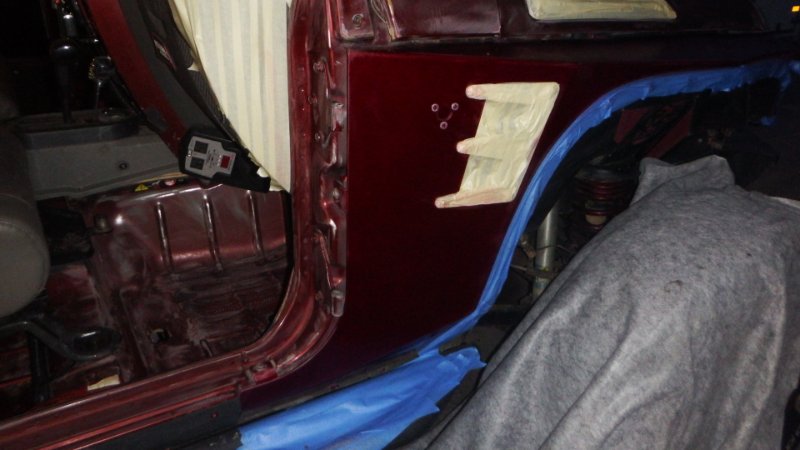
Just when you thought you got it all ooops more Prep you missed... See images... We will pick this up down below a bit...